If you’re a great cook and want to share your passion, video is the way to do it. The outsize success of Buzzfeed’s Tasty videos make it clear that videos about food are a great way to reach a wide audience. With this simple guide, you can sidestep common mistakes and create a food video that will get your viewers’ taste buds salivating!
Essential Equipment
This largely depends on your budget and the number of people on your team, as well as the complexity of the final result you are going for. A good cooking video doesn’t have to be particularly fancy in terms of shot composition – the most popular examples out there rely on one camera angle and carefully choregraphed action.
At a minimum, you’ll need a camera, a tripod, a way of capturing clear audio without visible microphones, and solutions for lighting. Optional items include secondary cameras for b-roll or additional camera angles, and more microphones to capture the sizzles and pops of food being cooked.
The right camera(s) to use depends on the shots you want to get. If you are using only fixed angles, and don’t require any zooming or shifts in the field of focus, you could get away with a smartphone so long as it’s capable of filming HD video. This solution has the advantage of being low cost and highly flexible in terms of camera positioning. However, the low quality of the built-in microphone and lack of manual controls or remote controls will introduce some difficulties into your creative process.
If you are looking to achieve more dynamic shots, with panning, zooming or changes to the field of focus, you’ll need at least one camera assistant, and possibly two cameras (one operated by the assistant, and one stationary on a tripod for b-roll) to make sure no key moments in the process are missed. This approach is more costly and requires more helping hands, but will likely be more efficient than if you are working by yourself with just one camera.
However you decide to film, a tripod is essential for a professional result. Even if you are using smartphones, there are good options out there for ensuring a smooth shot.
You’ll also need to invest in lighting, which is possible without a large outlay. We’ll discuss this later in the post, and have an in-depth guide to lighting on a budget here.
Beyond the basics of a camera kit, you’ll also want to consider setting an attractive stage. A well-loved recipe book on an attractive cookbook stand, a bowl of fruit and a vase of fresh flowers will create an inviting scene.
What You Don’t Need
We’ve looked at what you need for shooting a food video, but it’s also wise to think about what wouldn’t look good. Remove any crumbs, the trash can, pet food bowls, toys, and clutter on the worktops. Make sure all surfaces are clean and clear. Don’t forget to turn off the clock on the oven!
Plan for Multiple Takes
In all likelihood, you’ll need to repeat certain stages of the cooking process multiple times to get adequate footage for your desired final result, so make sure you have enough ingredients for several takes.
Also, it might make sense to have a fully prepared final product, artfully arranged and plated, so that making the big unveil at the end goes smoothly.
Where to Stand
Surely that’s obvious – in the kitchen! That’s true enough, but consider the layout of your kitchen. Can you cook comfortably in it without turning your back to the camera? Can you operate the camera equipment safely while also cooking actively?
Plan your angles and shots out carefully, and you’ll be able to work around most spacial challenges. Alternatively, ask a friend with a particularly nice, open kitchen if you can borrow it for a day.
Once you have your space all set, you’ll need to look at the different locations within the kitchen from the viewpoint of the audience. If you think about most cooking shows on TV, the chef is standing at an island with the background relatively far behind them. That’s because being right up against a wall will make the subject look like they’re part of a police lineup, and makes the kitchen look tiny.
To avoid that unwanted visual effect, try to create as much distance as possible between the subject and their background with your camera angles. This will help to focus attention on the cook and create a greater depth of field.
If you don’t have access to a huge kitchen, then it’s time to think creatively. Does the majority of filming even have to take place in the kitchen? It’s not strictly necessary to be there for activities that don’t involve kitchen equipment you can’t easily move around, like the stove. If you have a nice table or a room that would work well on camera, it’s worth giving these a try for the majority of your shots.
Lighting
If you rely solely on your house lights, the video will be yellow and flat, with unwanted shadows caused by the overhead lighting. For those reasons, it’s unwise to depend exclusively on these lights.
Windows can be an excellent light source, but this depends on the layout of your kitchen. Also, the light will change as you film, which is really difficult to correct in post production, and could mean worsening lighting as the day goes on.
For these reasons, it’s best to purchase or configure a basic light kit. We recommend one with three lights – a key light, a fill light, and a backlight. If you don’t have much of a budget for purchasing a kit, you can still get great results with available light sources so long as you still follow the principles of classic three-point lighting.
The key light is used to illuminate the main subject of the camera, which might be the cook’s face, or whatever’s cooking. The optimal placement for a key light is slightly off to one side of the camera, and angled slightly down at the subject. This creates a softer effect than having it pointed directly at the subject, and will create depth thanks to the shadows on the opposite side.
A small backlight should be positioned behind the subject and out of view of the camera. Not to be confused with background lighting, a backlight is aimed at the camera, and serves to separate the subject from the background, creating a more three-dimensional effect.
The right position for the backlight depends on where your camera is and where your key light is, so expect to play around with it to get the desired result. You’ll know you have it right when the top of your subject’s head is clearly defined, but the light is not visible, and no unwanted glares are hitting the camera.
A fill light counteracts the shadows created by the key light, and is usually a much softer light. It helps ensure no details are lost in the areas of the shot not illuminated by the key light. The fill light should be on the opposite side of the camera from the key light, and angled so that the shadows are gently filled in (hence the name). Like the backlight, you’ll have to play with it to get it right.
Substitutes for a professional light kit include table or floor lamps (key lights), windows (backlights), and white foam boards or similar softly reflective surfaces (fill lights).
The Shots You Need to Get
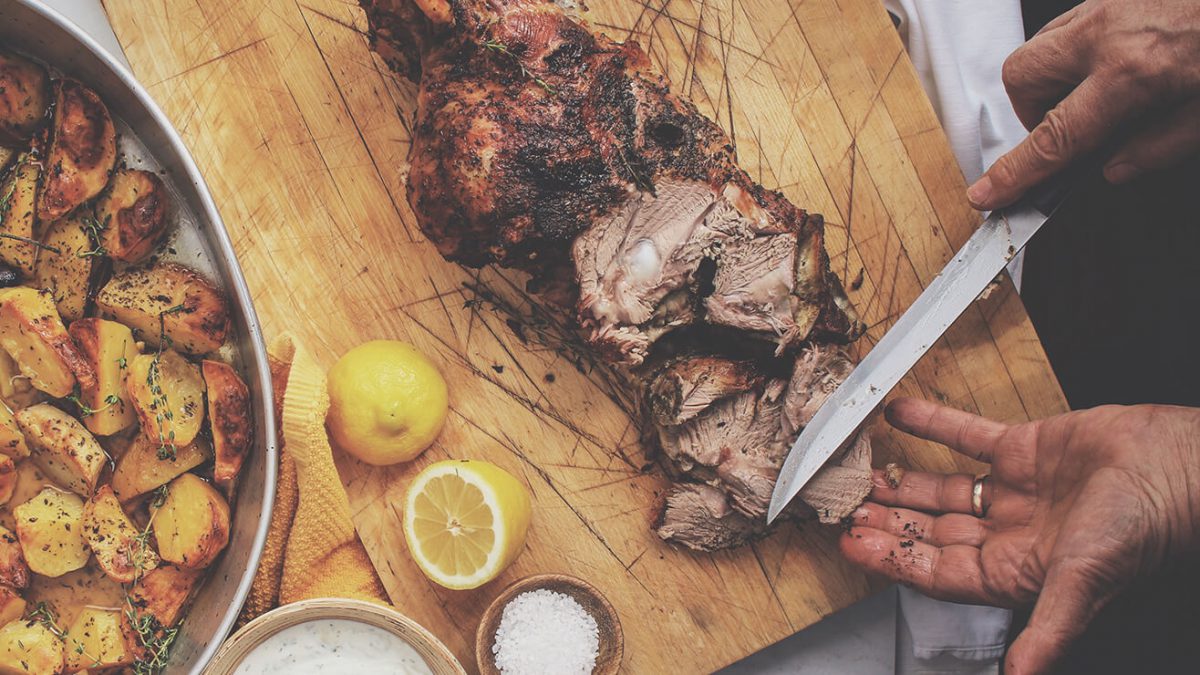
Although you might think the chef is the star of the show, the tasty food should really be front and center. Use close-ups, slow zooms, and the field of focus to give your viewers a visual feast.
If you can catch an awe-inspiring moment, like a sauce dribbling down the side of a steak, a flambé bursting into blue flames, or a close-up of intricate cake decorations taking shape, you’ll have a real winner on your hands.
Importantly, don’t worry if the cooking process itself looks less than perfect, so long as the end result is enticing. If a few onions jumped out of the pan, or you spilled a little flour on the counter, it’ll only make it seem more relatable and achievable to your viewers.
Additional Content
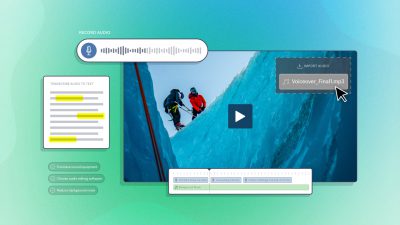
The editing process presents an excellent opportunity to include additional information in the form of a voiceover or text. Both are especially useful when it comes to communicating measurements of ingredients, or troubleshooting tips.
Bon Appetit!
We’ve all seen the cooking shows and vlogs where the cook and their behind-the-scenes team make filming food look easy. The truth is that it requires a lot of preparation before a camera is even switched on, but once you’ve mastered the essential skills, you’ll be hooked, and so will your viewers!
If you have created a food video you’re proud of, we’d love to watch it! You can share it with the SproutVideo community on Facebook or Twitter.