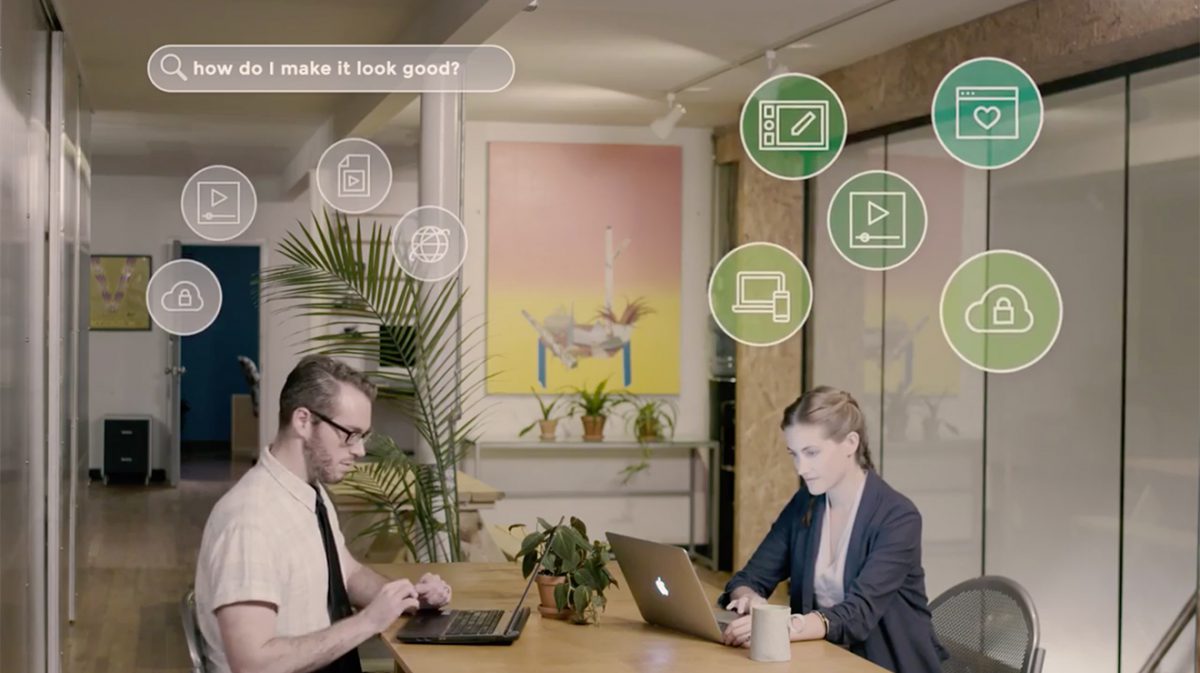
Explainer videos have a bad reputation for being expensive and difficult to get right. When we set out to make a video showcasing our video website features, like any normal company with finite amounts of time and resources to throw at a given project, we had those very same concerns in mind. Here is a breakdown of how we managed to stay under budget and still achieve a quality result we were happy with.
Set Clear Goals
The very first step towards completing any goal is to specifically define what you’d like to achieve. We wanted to make a video that highlighted the main benefits of our video websites succinctly, and clearly, with a friendly, upbeat tone.
That might sound relatively general, but it’s certainly a lot more specific than setting out to make a video about our customizable websites. That particular feature can be used in a variety of ways, so there are many, many angles one could take. By zeroing in on specific aspects of one big new feature that we wanted to showcase, and the tone we wanted to invoke, we had enough direction to get started.
Stick to the Subject
From there, we defined the main benefits we wanted to highlight, and focused on them exclusively when writing the script. This served to limit what we addressed in our video, which is critical when your aim is to keep it short and sweet, like a good explainer video should.
Without careful forethought about what we wanted to achieve with our video, we could have meandered off course and wound up with a script that fell flat, or didn’t highlight the core benefits of the features we wanted to emphasize.
For example, our platform works really well for many businesses that aren’t using our video websites, but for this particular video, most of the features that make us great in those use cases aren’t worth highlighting because they would obscure the core message we wanted to deliver.
Start focused, and stay focused. Save anything not directly relevant to the goals of your video for a future video.
Design Within Your Budget
We knew we didn’t want to break the bank on this video, and set a strict budget for the project of $4,000. It’s certainly not a small amount of money, but in the world of video, you can easily spend many times that amount on a similar project. With our budget cap in mind, we didn’t expect to produce a Hollywood blockbuster with celebrity cameos, but still wanted it to look great.
If you have limited resources, you have to stay flexible and compromise on areas where you don’t have specific requirements for your project to succeed. We kept an open mind when considering concepts and approaches for creating the video, and it worked out beautifully for us.
Spend Where it Matters
The best thing we did was hire a professional producer/director to make this video happen. This was the largest expenditure we made, especially if you include the production team that he brought in as well, but the benefits were tremendous.
Our director brought a vision to the project that ultimately delivered on what we wanted to achieve with our video. We would have wasted every single penny without that key element. With that vision, he also shaped the script, helped us make our shoot location look amazing, and knew the right equipment we needed to get the desired end result in an efficient amount of time.
Pay Your Friends
Throughout this process, we definitely called in some favors to stay within our budget. When we needed help with set design, we turned to a friend with a knack for interior design (you probably have that friend too, whose house is always immaculately appointed with clever decorative touches), and they did a fabulous job. That same friend happens to have gone to school for professional makeup and hair, so they were happy to make our talent look great on camera. Speaking of the talent, the actors in our film are consummate professionals, but also friends who have other day jobs, and only one of whom actually has acting experience and works in theater.
That being said, just because we knew those who contributed to the success of our video outside of work doesn’t mean they weren’t compensated for their involvement. Ultimately, it’s work, and people should be paid for work, especially your talent. The promise of building a portfolio will not pay the bills, and it’s important to be respectful of the value of people’s time. Would they have done it for free? Probably, but we didn’t ask.
Save Where You Can
There are often creative, low cost solutions for many expenditures common to video shoots. For instance, selecting the right location is very important, but you don’t necessarily need to pay a fortune to get the desired effect on camera. Much can be done with lighting and set design. We probably spent about $40 on some new plants, but other than that, it was all about rearranging the space we used (for free) in a visually appealing way and lighting it properly. Instead of renting a space, think about anyone you know with cool offices, a swanky apartment, or a public outdoor space that might work.
Location isn’t the only area where you can skimp either. Consider borrowing or renting equipment and props, looping in talented friends, and keeping an open mind to different approaches to producing your video – all easy and fun ways to save on your next shoot.
Summing It Up
When all was said and done, here is what we spent, and where:
| Director | $2,000 |
| Film Crew and Equipment (lighting and Sony F5) | $1,000 |
| Talent | $600 |
| Set Design | $40 |
| Pizza and Beer | $150 |
| Total | $3,790 |
And, here is the resulting video:
Do you have any ideas for saving money on video shoots? We’re all ears! Sound off in the comments or share your tips with us on Twitter.


