
All of our plans include the ability to customize your landing pages, while the Sprout, Tree, and Forest plans include a fully customizable video website. This guide will cover how to set:
- Theme Colors
- Theme Font Settings
- Site Introduction Settings or Site Description (Supported on Spruce, Cypress, and Maple)
- Home Page Featured Video (Supported on Spruce, Cypress, and Rosewood)
- Settings for Home Page Organization
- Title Display Options (Supported on Oak)
- Date Display Options
- Settings for Displaying Related Videos
- Player Options for Video Landing Pages
- Settings for Content Listing Pages
- Contact Form Settings (Supported on Spruce)
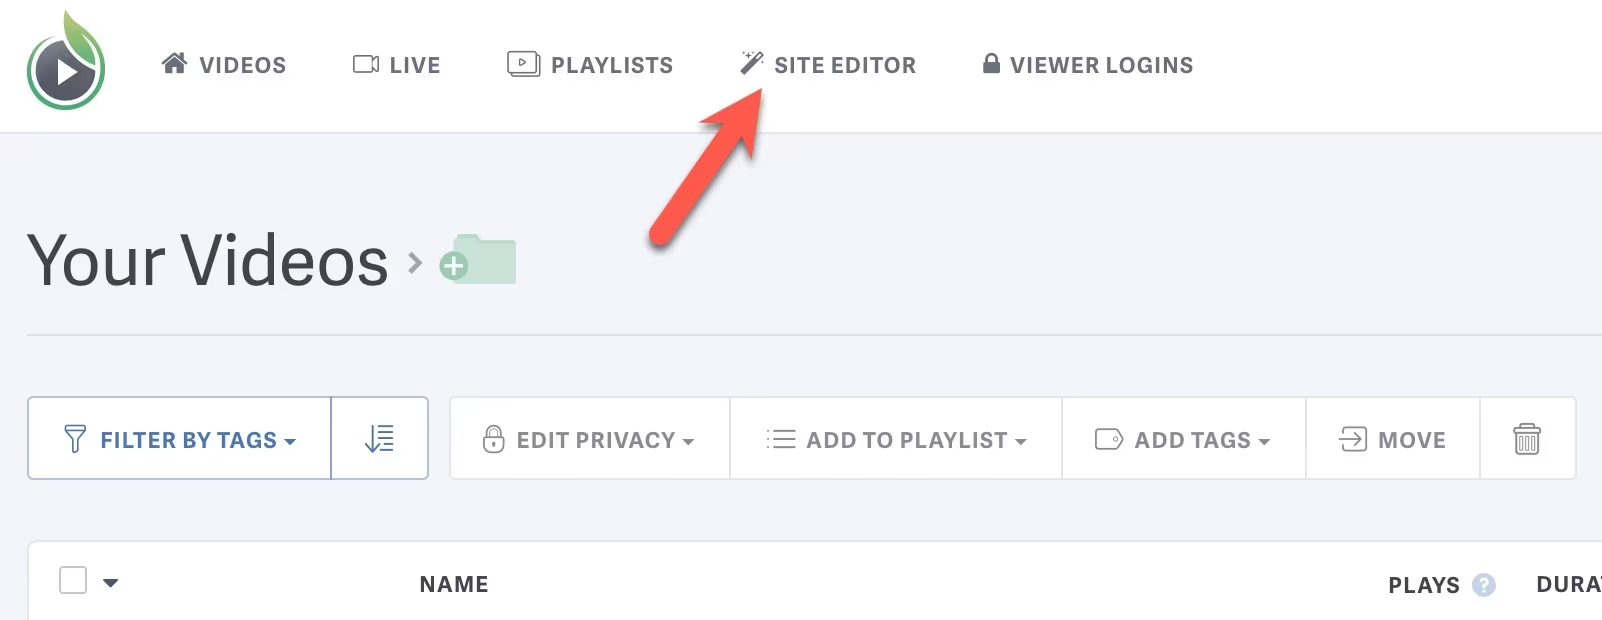
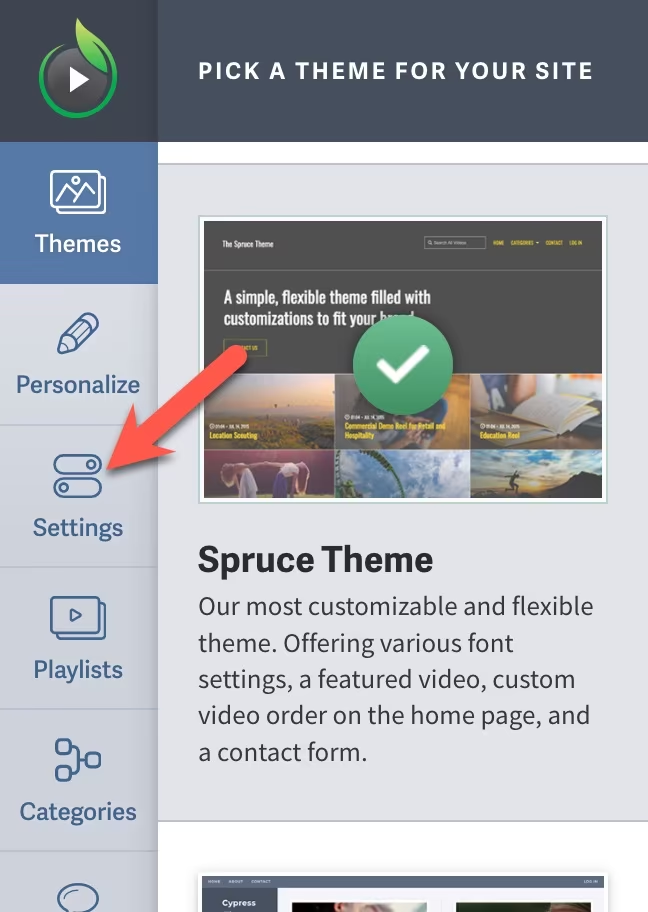
The video website is an easy way to share your videos with an audience. To change the settings for your website, select ‘Site Editor’ at the top of your screen, then navigate to the ‘Settings’ tab.
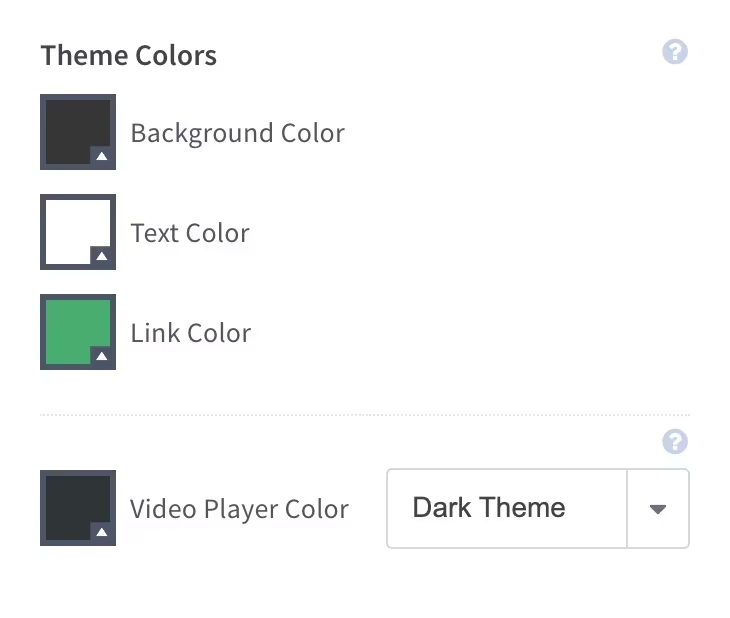
Theme Colors
Each SproutVideo website theme has different colors you can change, but the basic process is the same. For the majority of themes, you can change the background color of your site, which appears in the main body of the site, the link colors, text colors, the player color, and player theme. Some themes feature additional options, like borders and card background color.
To change your selected colors click on the small color box next to the text ‘Background Color,’ ‘Link Color,’ ‘Body Text Color,’ or ‘Video Player Color’ to open a color picker. You can move the selector around and use the slider to the right side of the color picker to get the exact shade you want. You can also enter a HEX color value into the ‘HEX value’ field in the bottom righthand corner of the color picker. Using a HEX value is the best way to get an exact match. Be sure to click the ‘Publish Changes’ button when you are finished to update your live site.
NOTE: The selected ‘Video Player Color’ will be used in the meta Open Graph image when sharing a video landing page or a playlist video landing page.
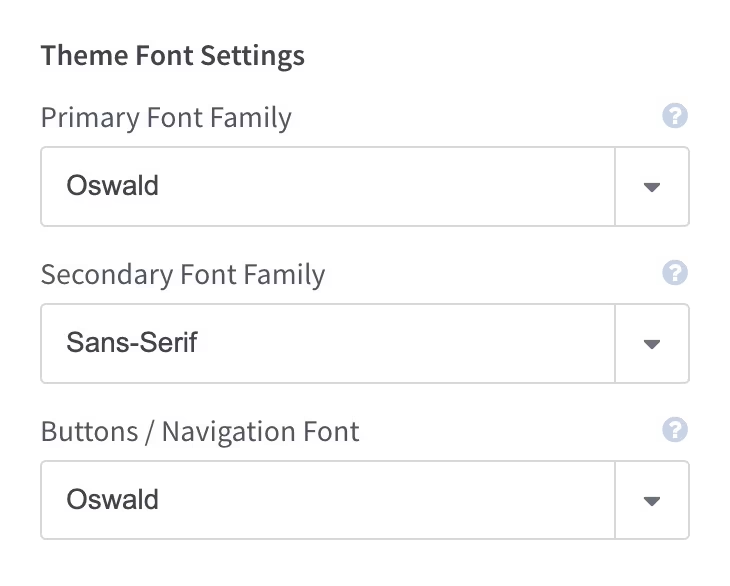
Theme Font Settings
You can choose the Primary, Secondary, and Button font independently to acheive your desired look.
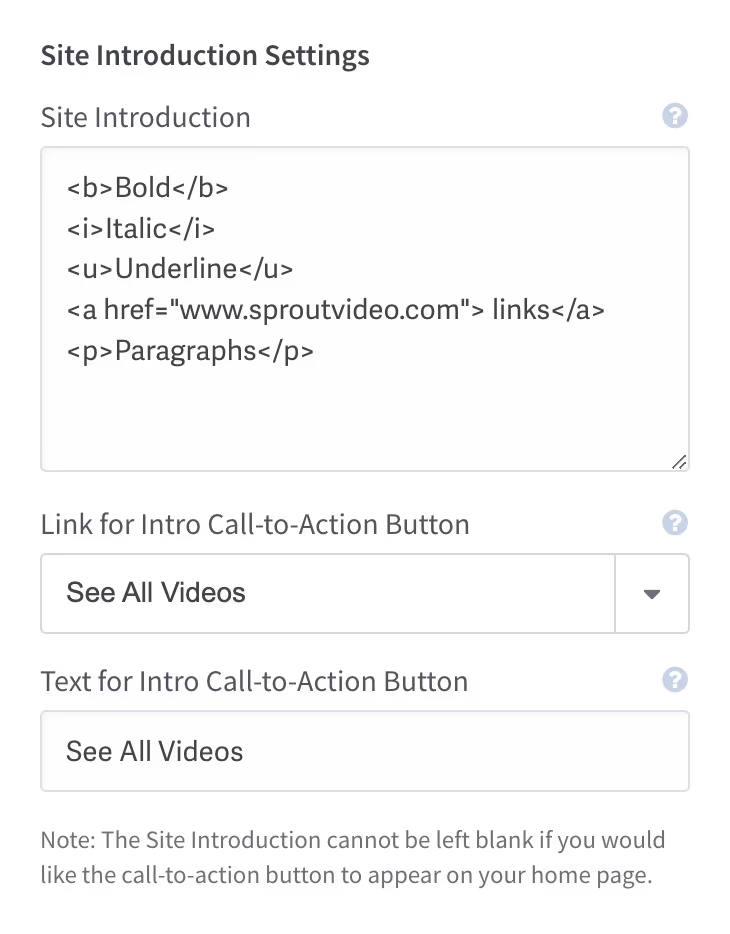
Site Introduction Settings or Site Description (Supported on Spruce, Cypress, and Maple)
The Spruce, Cypress, and Maple themes support a site description or introduction that will appear on your home page (if the full site is enabled). This could be a short bio for your company, a welcome message, or announcement.
This field also supports limited HTML:
- Bold <strong> OR <b>
- Italic <em> OR <i>
- Underline <u>
- Links <a>
- Paragraph tags <p>
- Bridge Return <br>
- Class
Home Page Featured Video (Supported on Spruce, Cypress, and Rosewood)
Setting a Featured Video allows you to display a video front and center at the top of your homepage.

Settings for Home Page Organization
This allows you to choose how to display the content on your home page and what content is shown.
You can list all of your videos (sort order and page size, configured below), list your video categories, list all playlists, choose a custom selection of videos or playlists, or choose to exclude the content list from your home page entirely.
If you choose to organize by playlist, please note that playlists have additional display settings available in the ‘Playlists’ settings tab. The home page is considered a listing page, so the “Settings for Playlists Listing Pages” section in that tab will update your home page layout as well.
If you choose to organize by video category, you can customize more details for each category and modify the order they’re listed in the ‘Categories’ tab.

Title Display Options (Supported on Oak)
This setting allows you to hide or display the title of your videos and live streams on the individual landing page and/or any listing pages (home page or category pages).

Date Display Options
This setting allows you to hide or display the date your videos and live streams were uploaded (finished streaming) or replaced on the individual landing (detail) page and/or any listing pages (home page or category pages).

Settings for Displaying Related Videos
You can display a list of related content in the footer of your video landing pages and customize the header for this section of your page. The related videos shown are generated based on your video tags. If you do not utilize video tags, it is unlikely that any related videos will appear on your landing pages.

Player Options for Video Landing Pages
These settings determine how the video is displayed when your site loads or if you prefer to autoplay your videos. There is no pre-play state if you enable autoplay. Most browsers will prevent videos from autoplaying with sound, so your videos will often autoplay muted. However, your videos will autoplay with sound whenever possible.
You may also choose to pause playback when viewers switch to another browser tab. If enabled, video playback will resume automatically when the landing page is in focus again.

Visible Player Controls
You can also customize what player controls are availble to the viewer. This will let you hide the settings button, seek bar, volume bar, and fullscreen button. By default all player controls are displayed to the viewer.

Settings for Content Listing Pages
“Videos” Link in Site Navigation Menu - By default, the “Home” link in your site’s main navigation menu acts as a link to see a list of all videos. However, there are various reasons you may prefer to add another top-level site navigation menu item for your “Videos” page, especially if your Home Page Organization preference is to list video categories or playlists.
Note that if you select a placement inside the Categories menu, you must have at least one video category selected for the Categories menu to appear.
Content Per Listing Page - Select the number of items (videos, etc.) you’d like to be displayed on your content listing pages.
Video Sort Order - Select the order in which your videos will be listed on your site. You can sort videos by the original upload date, the last uploaded date (if the file was replaced), and the title.
Viewer Progress Tracking - If you choose to ‘Track Viewer Progress for Videos’, a visual indicator of viewing progress will be added to all video listing pages to allow your viewers to see their progress and resume watching videos from where they left off.
When ‘No Viewer Progress Tracking’ is selected, no visual indicator will appear on video listing pages to display progress, and videos will always play from the beginning.
Viewer progress tracking works best when combined with Viewer Login Protection, but it will also work for any visitors to your site that have cookies enabled.
Poster Frame Cropping for Thumbnails - Customize the look of your video thumbnails on listing pages. By default, poster frame images are set to fill the entire thumbnail container within the grid, which could result in cropping for some aspect ratios. If you prefer to avoid cropping, choose ‘Contain Image’ to fit your poster frame image within the thumbnail container on your listing pages.
Poster Frame Crop Focus - If any of your poster frame images require cropping, you can determine if you’d like to center the crop on any faces in the image (‘Detect Faces’), or if you’d like to focus the crop on the most ‘interesting’ area of each image (‘Detect Area of Interest’). Keep in mind that the ‘interesting’ area of an image can often be a human face. Animated poster frames will only be cropped to focus on the center of the image.
Poster Frame Animation - Determine when to allow animated poster frames for content listing pages. Your videos and live streams must have an animated poster frame to animate. By default, poster frames will only animate on hover on your video site listing pages, but . If you’d prefer to allow animation, enable this setting.

Contact Form Settings (Supported on Spruce)
Configure a contact form to appear in the footer of all pages on your site. You must enter your contact email address for the form to appear on your site after enabling. Under certain regulatsions it is important to include the URL to your privacy policy URL if you have one.

Other articles in the Video Websites section:
