Today’s guest post comes from Ben Hancock of Aletalk Productions, a London-based corporate video production studio.
The limits of green screening are almost endless, and grant filmmakers on all budgets the ability to create impressive digital effects within their videos. Its versatility and the resulting post-production freedom mean that with a carefully planned green screen shoot, you can open up the door to an infinite number of editing possibilities. It also provides you with a fully controllable environment for shoots, allowing you to avoid common issues like background noise, natural lighting, and a whole host of other uncontrollable factors that go hand-in-hand with location shoots.
I’ve compiled what I feel are the four essential tips to ensure that you get a professional green screen result in all your future video production projects, and avoid having to spend endless hours in post-production correcting issues that are easily avoidable during the production stage! Read on for my top tips to getting green screens right.
Why Green Screen?
When you record video on a bright green background, you can then use video editing software to “key out” that specific color. This leaves you with a transparent background behind your subject, allowing you to layer other images, motion graphics, or backgrounds seamlessly behind them.
Green is by far the most common color used for chroma keying and there is a good reason for this: the sensors on video cameras are most sensitive to the color green, and therefore it produces the cleanest key. Green is also the furthest away from human skin tones on the color spectrum, providing a good contrast between your subject and the screen. Technically speaking, you can use any uniform and distinct color as your background and still successfully key it out, but it can be much more difficult to do so.
Using green is an excellent starting point, but here are four more specific (and less obvious) tips for getting a professional green screen result.
1. Avoid Spill
Green screen spill is green light that is reflecting off of your green surfaces onto your subject. This is a really important aspect to focus on when lighting your subject against a green screen. Not only is spilled green light going to make your subject have a greenish tint, but it’s also going to make the keying process much more difficult. When you begin to key out the green background, you will begin to lose the color information in your subject that contains similar gradients of green to your background.
So how do we avoid it? The first thing to do is to move your subject away from the green screen. Creating this space minimizes the amount of green light bouncing off of the screen and onto the person you’re interviewing. This, coupled with some basic lighting techniques outlined below, will ensure that you minimize the spill on your subject.
The overall goal is to create zero-spill, however, the production process doesn’t always run smoothly, and you may be in a rush to grab those last few shots at the end of the day. As a general rule, there is no quick fix for bad green screen lighting, but you can use post-production effects like Spill Suppressor in After Effects which, with enough time, can help make improvements to your final chroma key.
2. Light Your Subject & Screen Separately
Lighting your subject separately from your green screen is going to make the chroma keying process much simpler and more effective because it’s extremely difficult to pull a key from a poorly lit green screen. Follow these simple lighting techniques to get the best final results.
Lighting the Green Screen
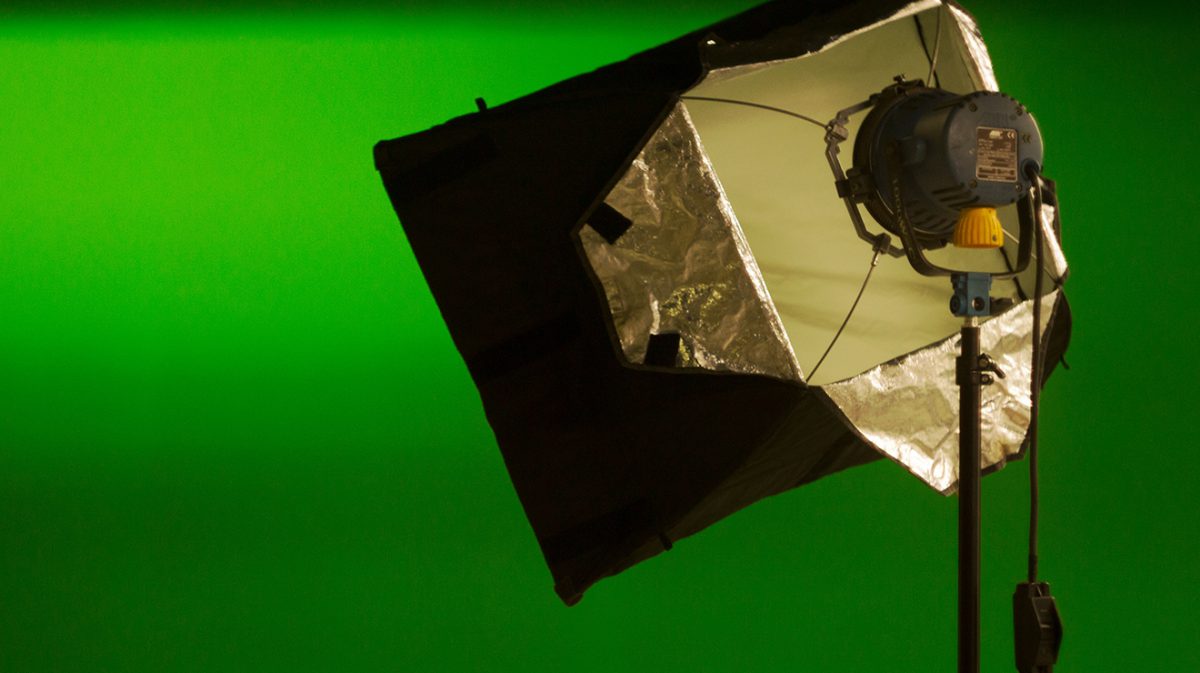
Make sure that you light the screen evenly – the aim is to make the screen the same gradient of green across the entire screen. This means no hot spots (overexposed areas) or shadows. The easiest way to achieve this is to set up two lights, one on either side of the screen, and position them a good distance from the screen. This will cast an even light over the whole background, and avoid getting an overexposed spot in the center of the lit area.
Lighting the Subject
Position your subject around 6-10 feet in front of the green screen, and use separate lights. At this point, you need to think about what your final keyed image is going to look like and position motivational light sources accordingly. If you’re simply shooting an interview or vlog, I recommend using a standard 3 point lighting set-up: Key, Fill & Backlight. Make sure that your backlight pulls the subject out of the backdrop, and their hair catches the light as this is going to make the keying process a lot faster. One final check to make is that your subject isn’t casting a shadow onto the screen. If this is happening, bring your subject forward and re-position your green screen lights to evenly light the screen.
3. Whats the best material?
There are many different options when it comes to choosing a material for green screen compositing. The best choice depends on a number of factors – what projects you’re going to be using it for, the method of keying, and of course the project’s budget.
Big budget projects, such as Hollywoood films, use huge sets with specialist painted walls and floors with large lighting rigs throughout the studio. However, it is possible to get great results on a budget. Indie films and short-film makers may use something as simple as a green cloth suspended from a horizontal rod between two light stands. In any case, many of the same principles apply when it comes to production.
Here are three low cost green screen options, affordable to most filmmakers:
- Green Screen Paper: It’s possible to achieve some great results with a super cost-effective green screen paper backdrop. One thing to consider is that the paper backdrops are disposable – once you’ve had people walking around on a backdrop it will most likely be unusable for the next shoot, so you’ll have to wind on the roll or purchase a new one. These paper backdrops can be found as either Glossy or Matte. I recommend using the Matte option where possible, but it does require extra light to ensure it’s evenly lit.
- Muslin Cloth & Other Fabrics: There are a range of different fabric options available, with the most common being Muslin Cloth. These are great for draping over items where you require multiple levels or objects in your shot that you’re going to digitally composite onto during post-production. They’re also really good for using on the go as they pack up small, don’t crease too much if folded carefully and can last for a long time when taken care of.
- Vinyl: Another option is vinyl, which also comes in both matte and glossy, and would be my preferred option to paper as it’s really easy to clean after a shoot. It’s also a quite hard-wearing material, and is unlikely to rip or tear during use. For these reasons, and the fact that it doesn’t crease, it is a great option for those looking to green screen on a limited budget.
4. Reflections, Wispy Hair & Green Shirts!
There’s a lot to focus on during a green screen shoot, so taking the time to do some final checks before you start rolling is essential to making sure you haven’t missed anything. Watches, jewelry and eyeglasses during interviews can all cause unwanted reflections. Double-check that your lights and camera aren’t reflected anywhere in your shot, and re-position your camera or ask your subject to remove the item causing an issue if necessary.
Hair is notorious for being difficult to key out. Something as simple as having a make-up artist or your talent brush or smooth their hair will minimize the number of wispy strands, and avoid a painful keying process in post-production. Having a small bottle of hairspray on hand can save the day if your subject’s flyaways just won’t quit.
Finally, but most importantly, remember to ask your interviewee or talent not to wear a green top as you may end up having to trade shirts!
Planning to try a green screen in your next shoot? Questions about getting it exactly right? Let us know in the comments below!


