MemberSpace makes it easy to create a subscription membership website using Squarespace and SproutVideo. This article covers how to start selling videos with SproutVideo and MemberSpace.
Getting Started
Before you get started, you’ll need a SproutVideo account, a Squarespace website, and a MemberSpace account. You’ll also want to have uploaded at least one video to test with.
1. SproutVideo Settings to Use
Navigate to your SproutVideo account, and do the following:
-
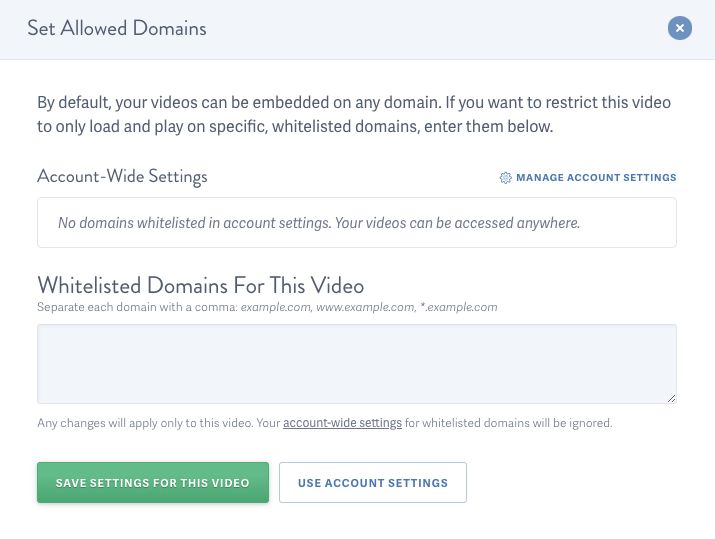
Enable Allowed Domains for your video. Enter your website domain name, or the specific URL where your video will be located. This will ensure your video embed code only works on your website.
-
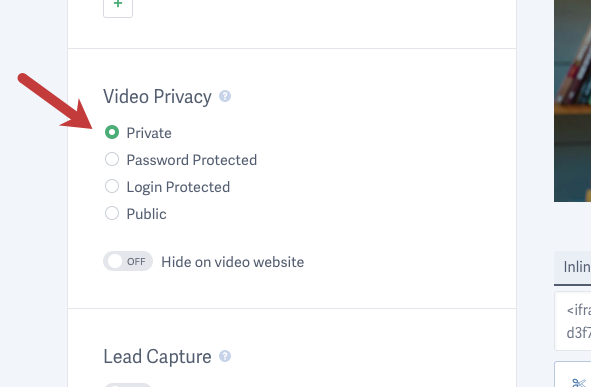
Ensure your video is set to private. Private videos only appear where they are embedded.
2. Configure a Payment Processor
Before setting up MemberSpace, you’ll need to make sure that you have an activated Stripe account. Once that is set up, you’ll be able to connect your Stripe account to MemberSpace with one click during the creation of your Member Plans, which is covered below.
3. Setting up MemberSpace
MemberSpace allows you to lock access to any page of your website, then set a price for people to pay to access that page (or pages).
Creating Member Pages
-
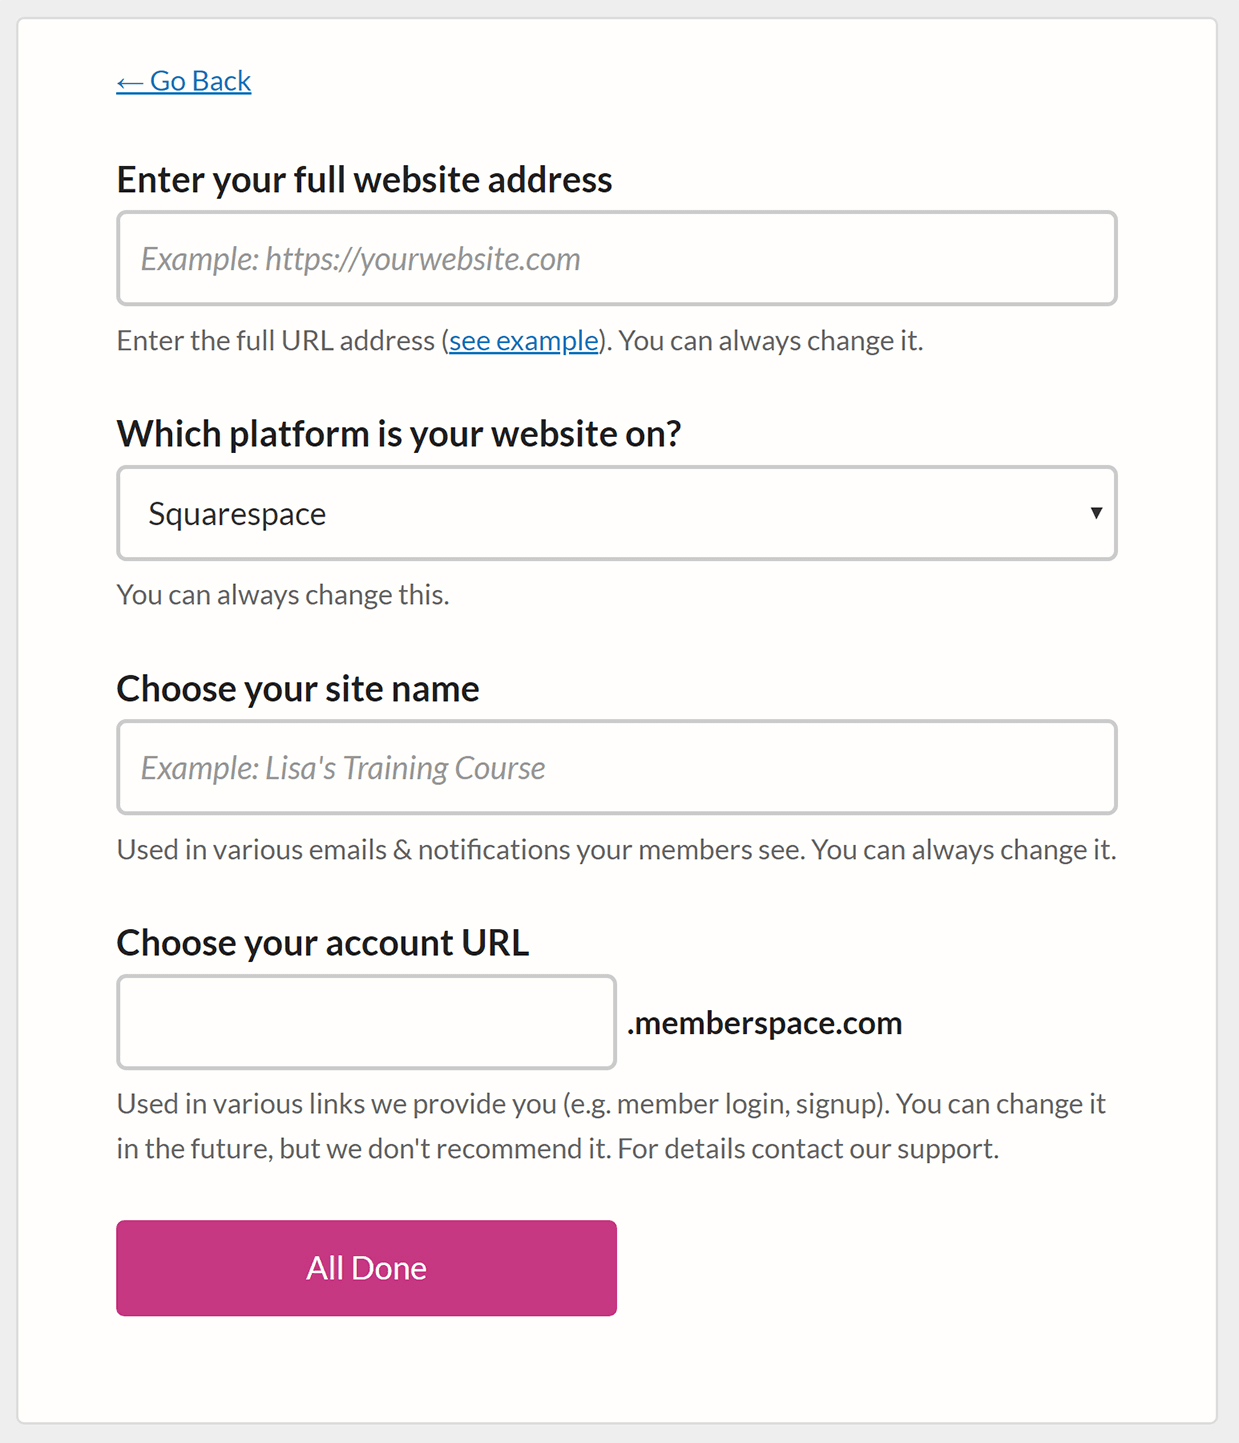
Enter website details.
-
Next, click either the Select Member Pages button or the Blackout Your Pages option. Both work similarly in terms of setup. The only difference is with the Blackout Your Pages option, there will be no preview of the secured page when waiting for the registration pop up.
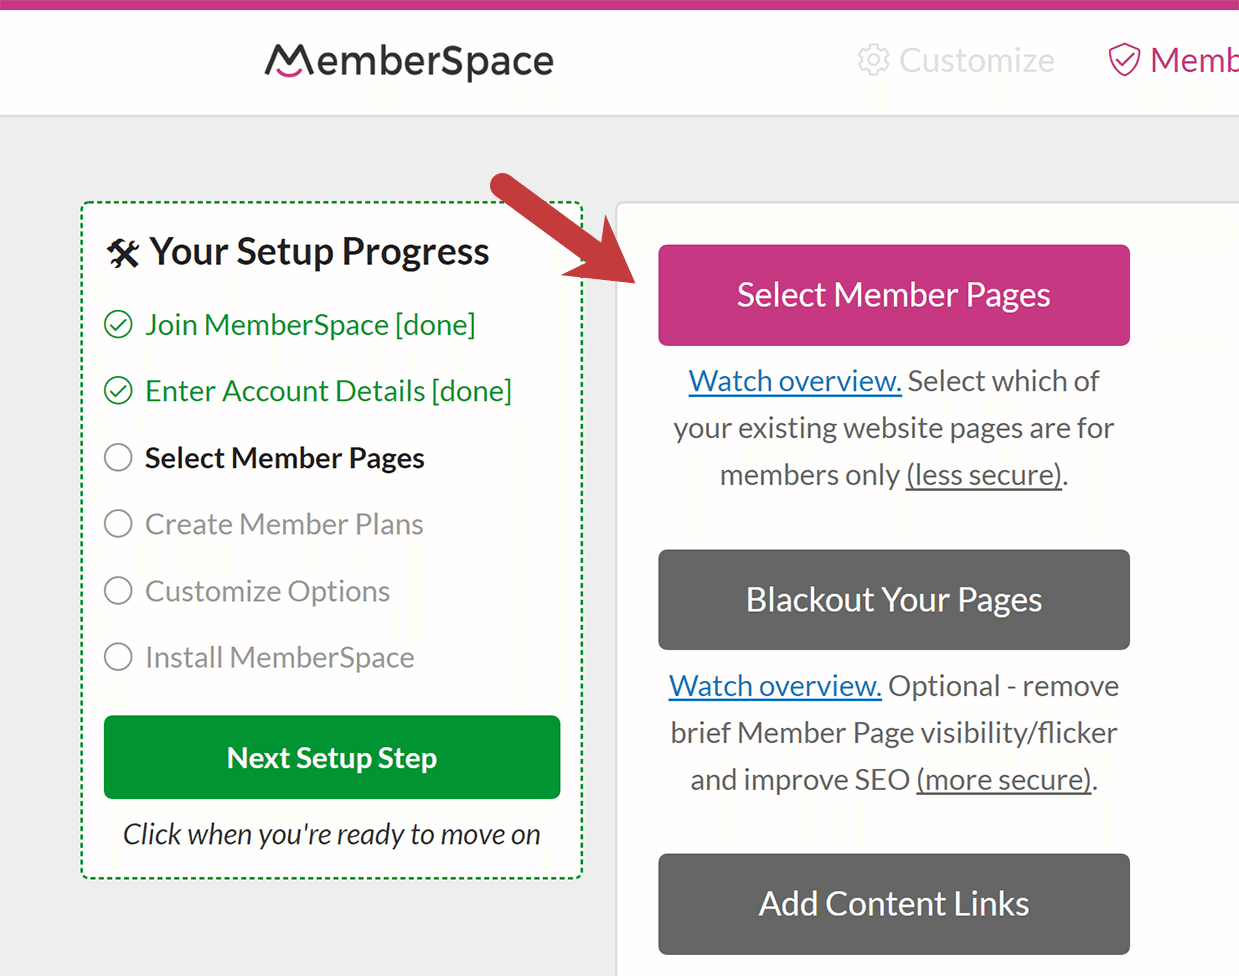
NOTE: The Add Content links currently do not support SproutVideo.
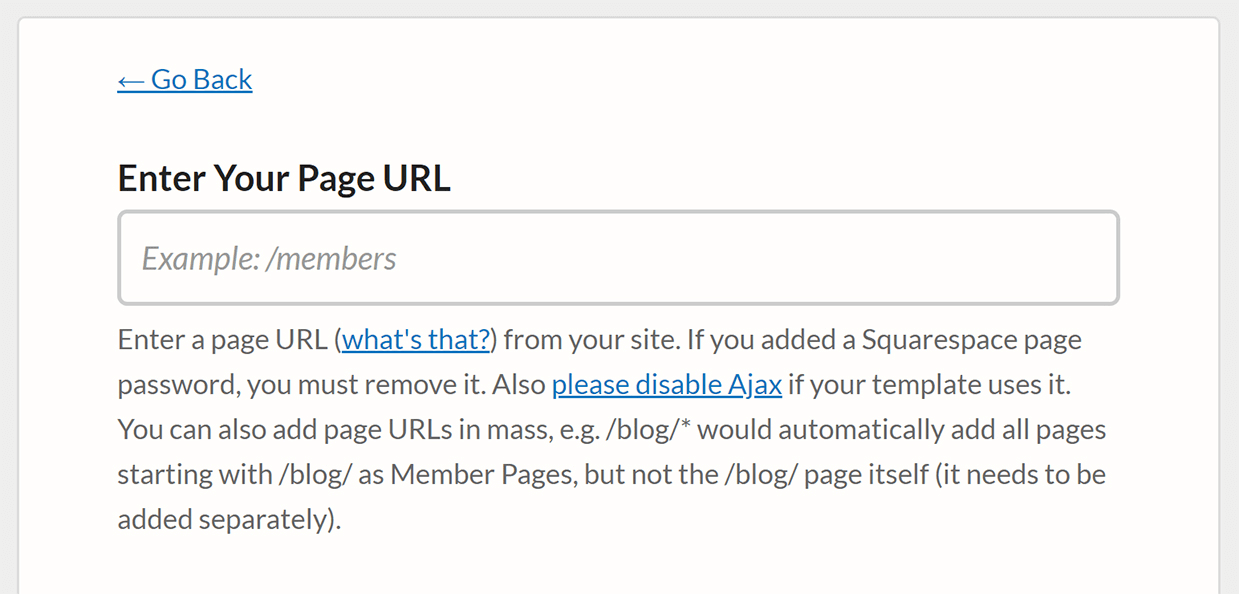
- For this step, you’ll need to embed your video(s) on a page on your site. To embed a video on your Squarespace site, reference this guide. Once your video is embedded, add the page URL for the video you would like to sell.
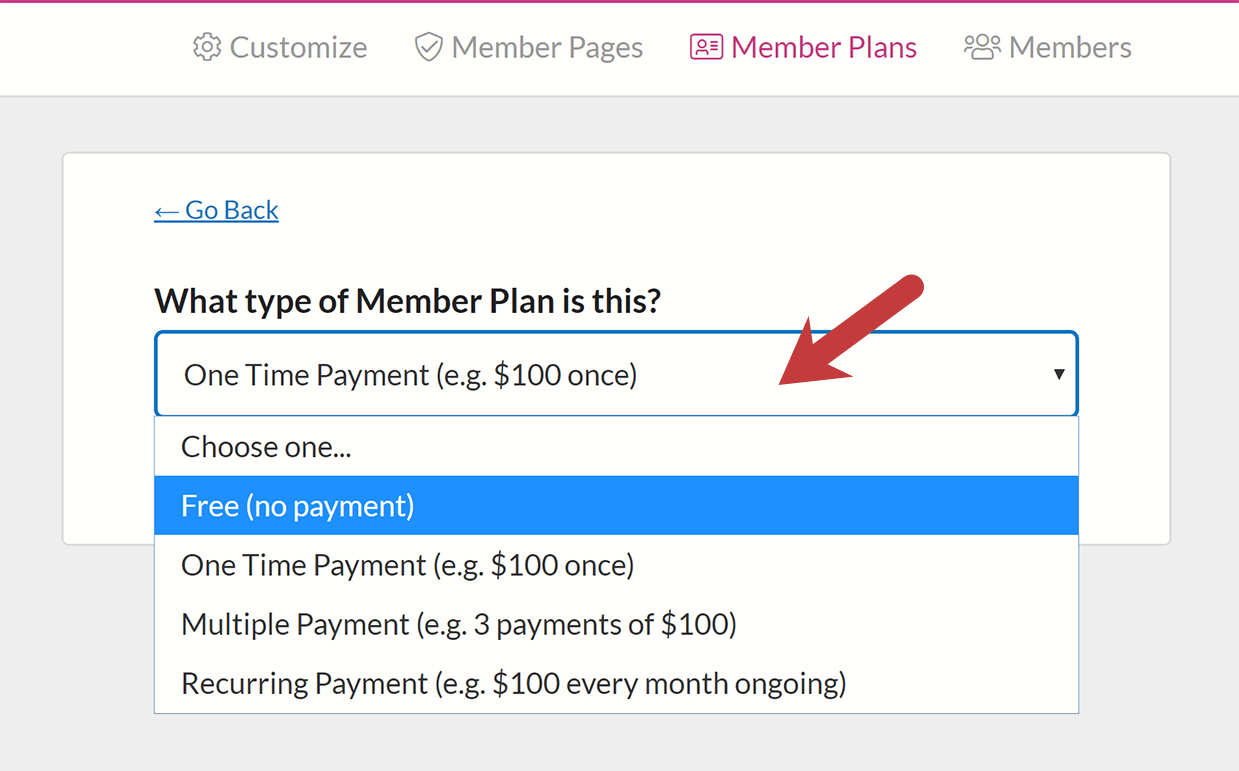
- Next, you’ll need to create the designated Member Plans/pricing. Options include: Free, One Time Payment, Multiple Payment, and Recurring Payment. For our example, we’ll be using the free option.
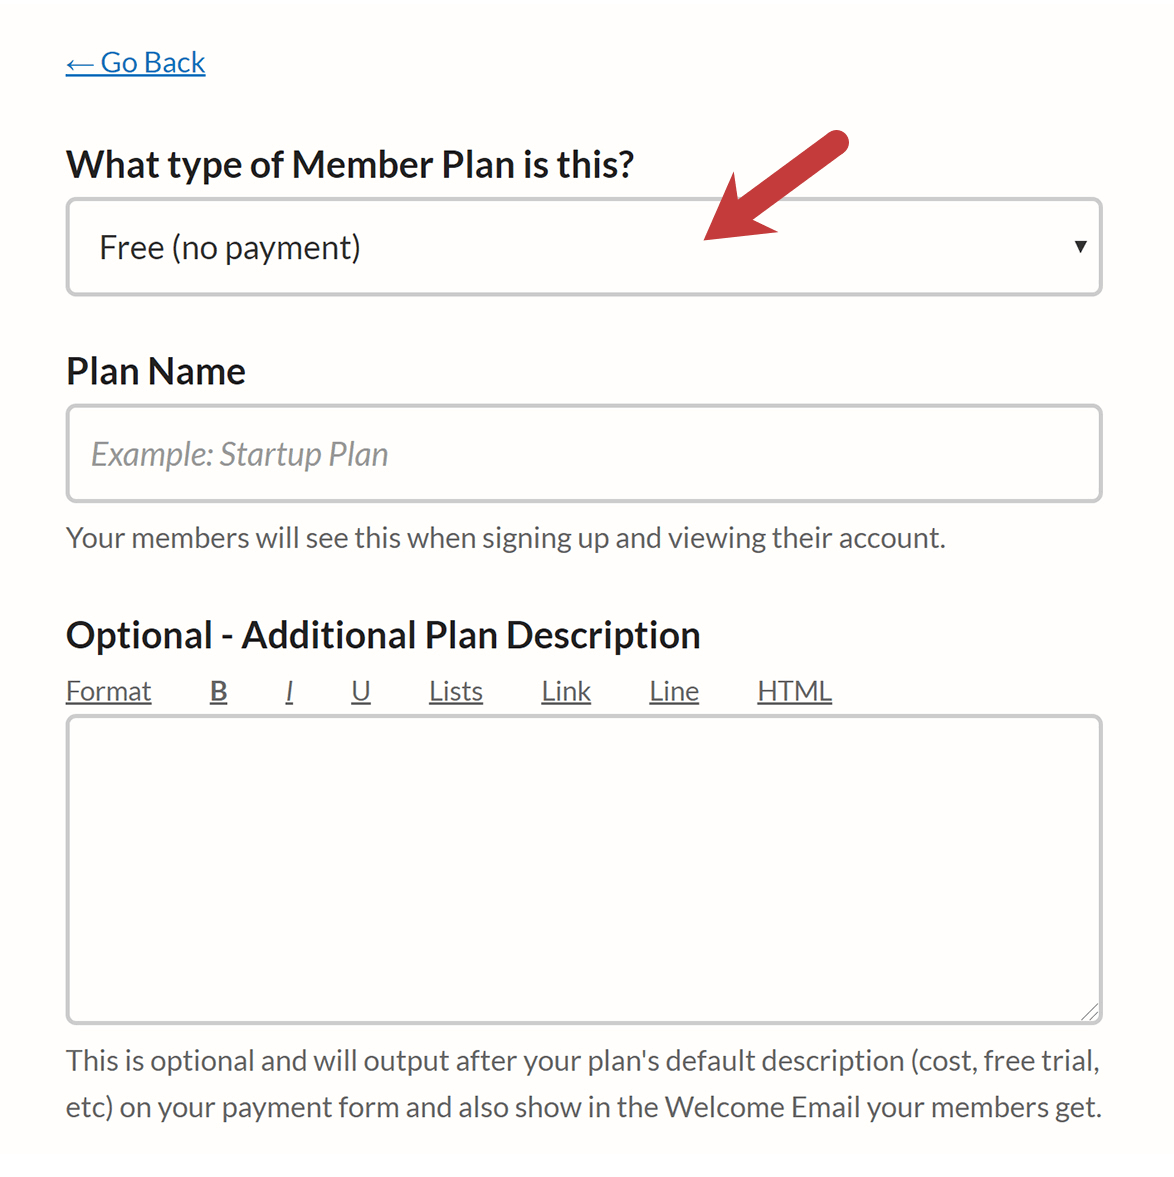
- Once you choose a plan, enter the the price you’d like to charge (if applicable), name the plan, and add an Additional Plan Description if you’d like.
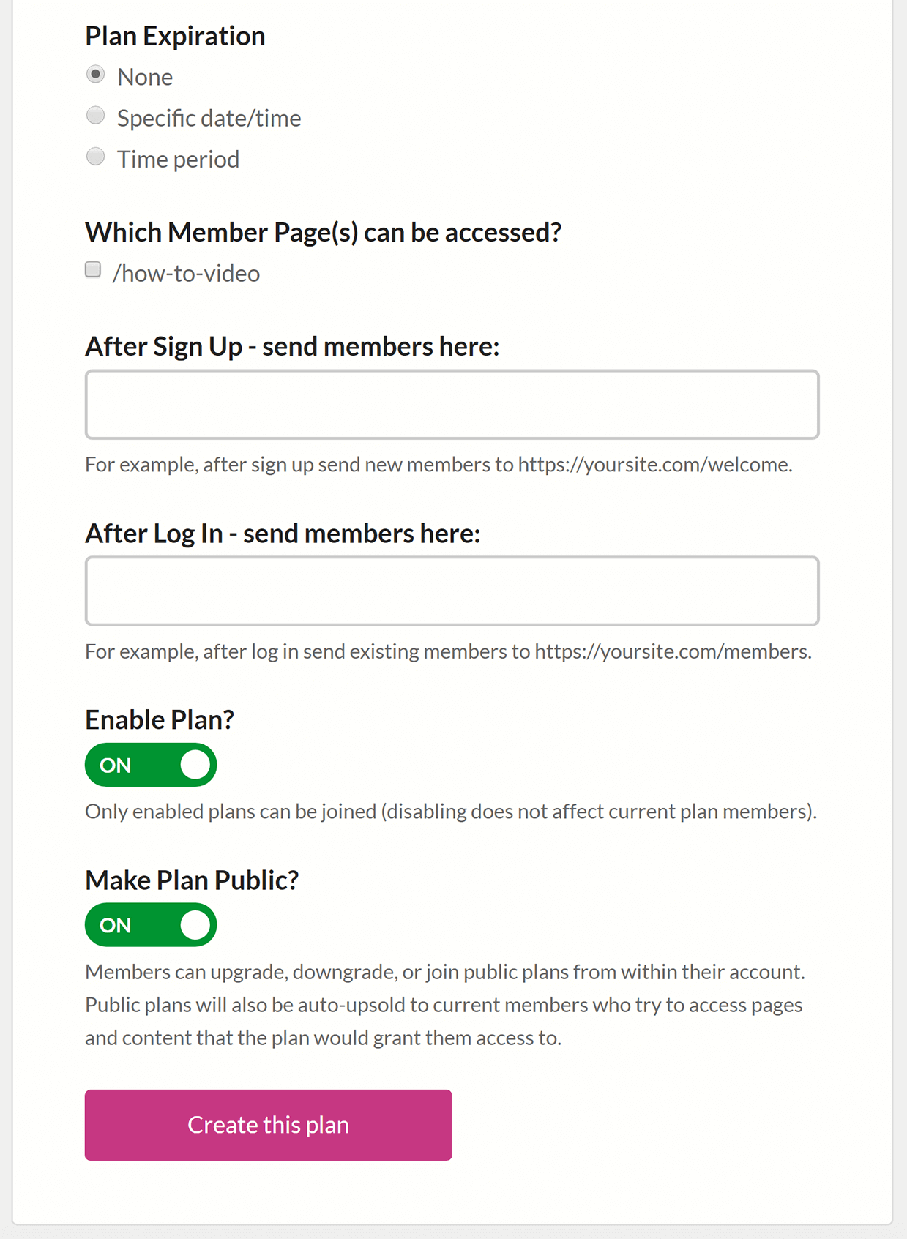
The last step for Member Plans is setting Plan Expiration, choosing which pages can be accessed, and what page will load after after signing up. Enable and make the plan public and you’ll be ready to go.
- Next is Customize Options. One setting to note is in the General Section. Make sure to enable the Create Account Button, this will allow users to sign up right from the popup.

The rest of the customizations are optional. You can see the most popular customizations in this help article from MemberSpace. -
The last step is installing your MemberSpace code on your Squarespace Site. Reference this guide to install.
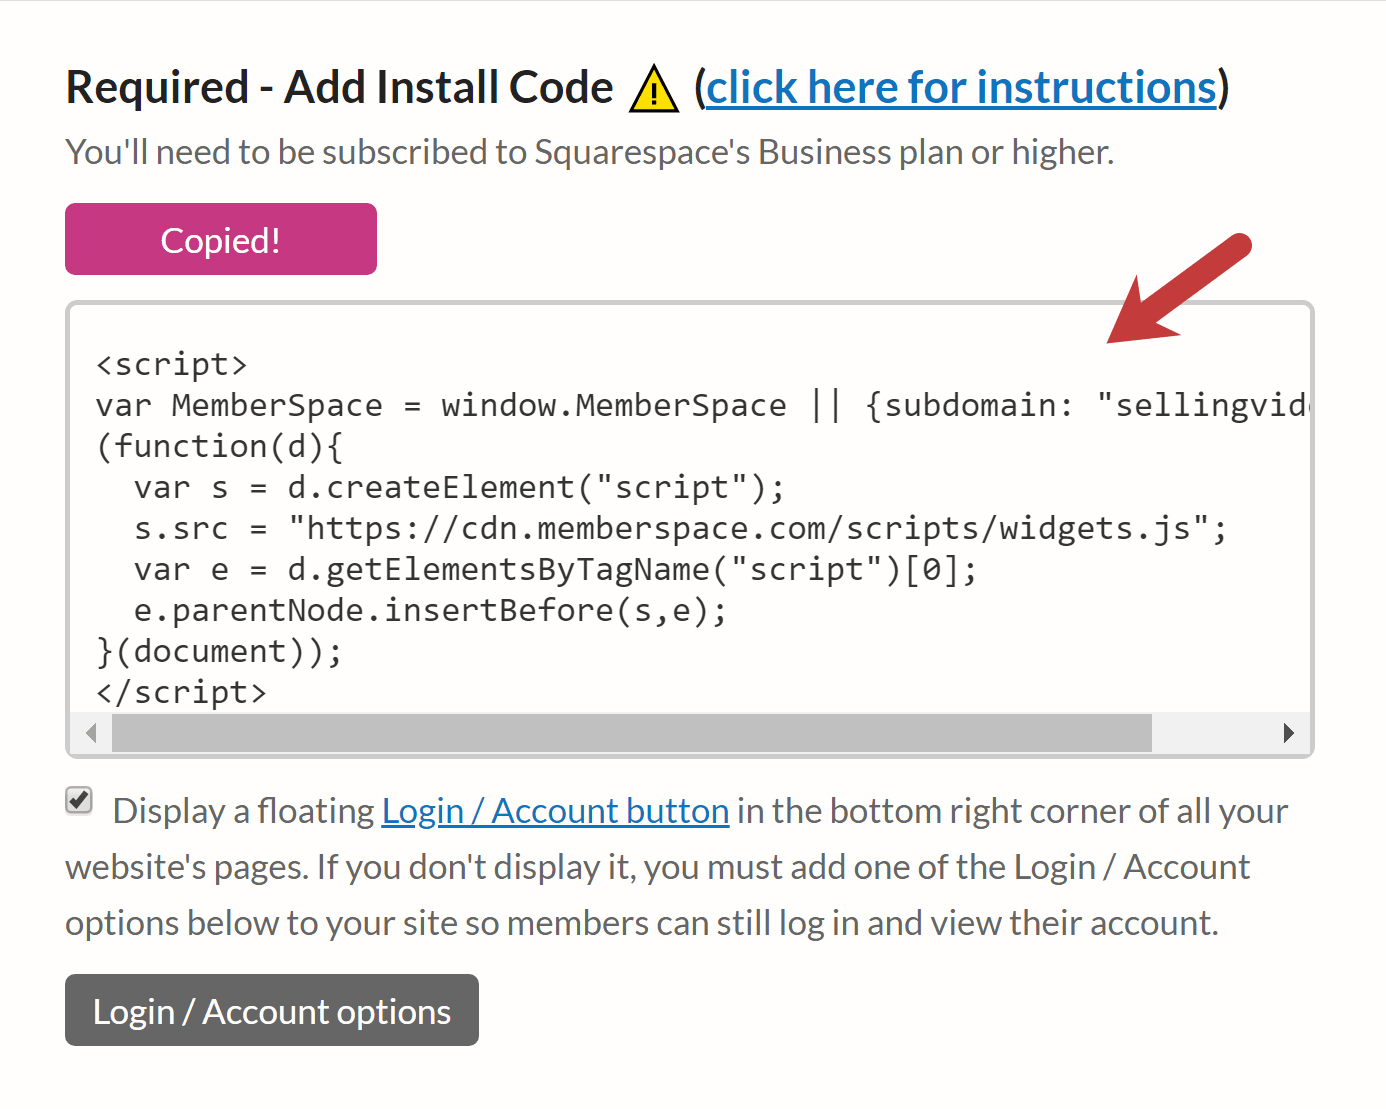
There are also options for adding a Login/ Account Popup and embedding a Login button.
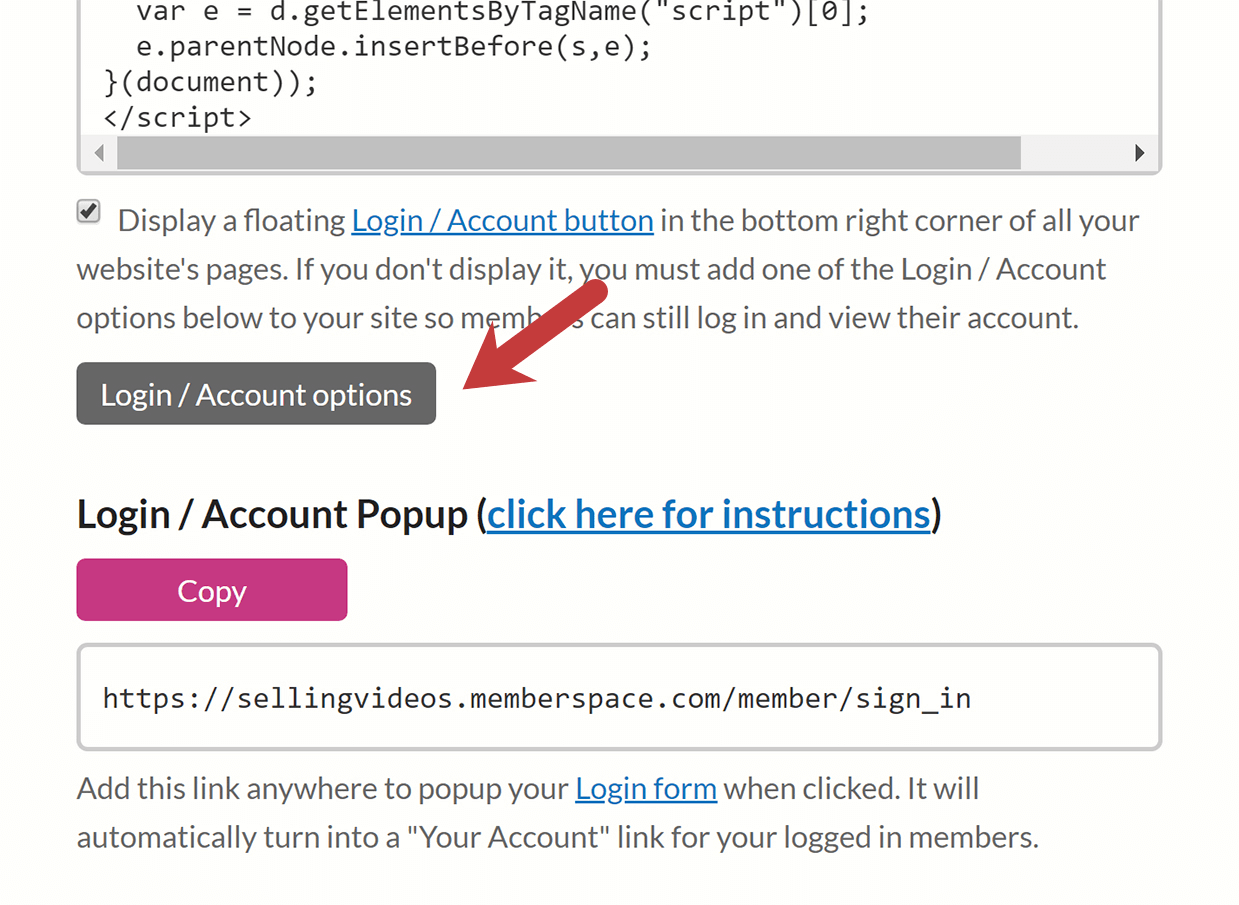
NOTE: Code Injection is only available on Business and Commerce Squarespace plans.
Final Testing and Launch
Once all these steps are complete, follow the steps here to test your store. If everything checks out, your videos will be ready for sale!
Other articles in the Selling Videos section:


