
At SproutVideo, we make it easy to set up and start a live stream. Many of the steps to create and share a live stream are similar to normal video uploads. Below is a brief overview to get you started.
How to Set Up a Live Stream
First, you’ll want a SproutVideo account and you’ll need to have encoding software downloaded and installed on your computer. We have an article explaining different choices for encoding software, including popular, free options.
To create a Live Stream:
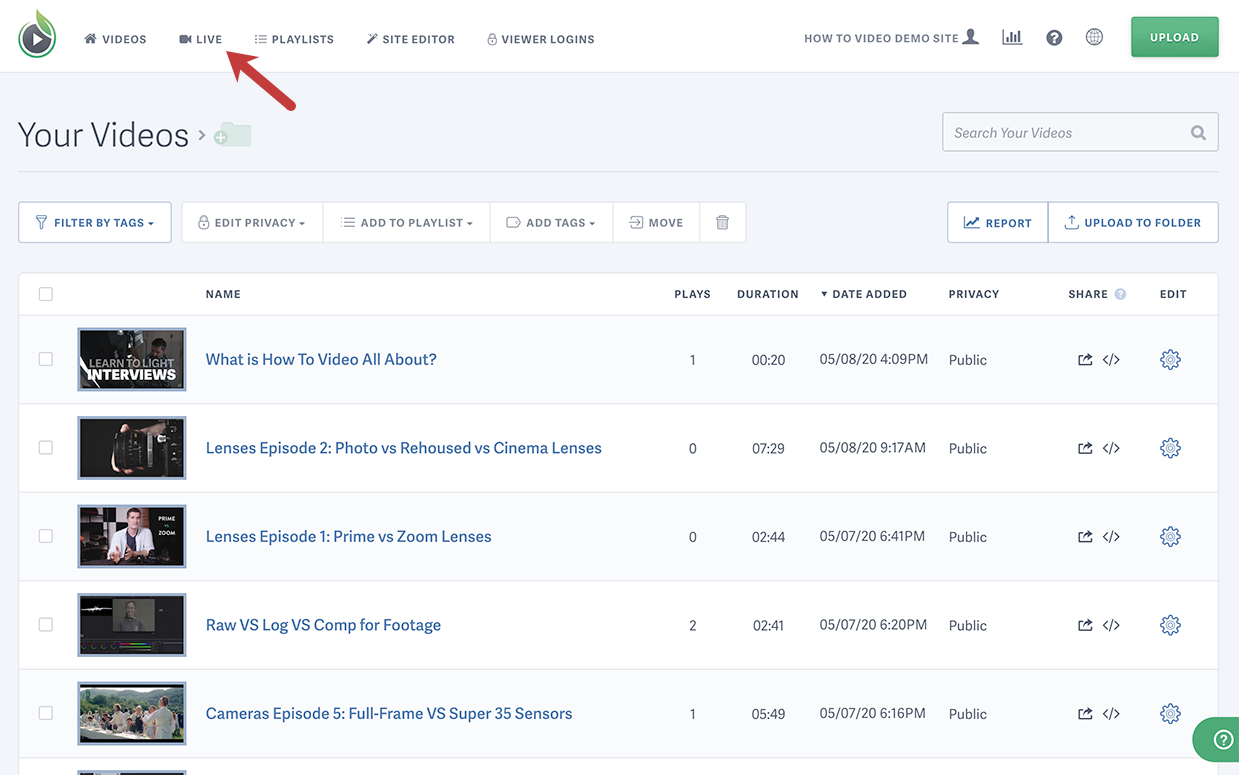
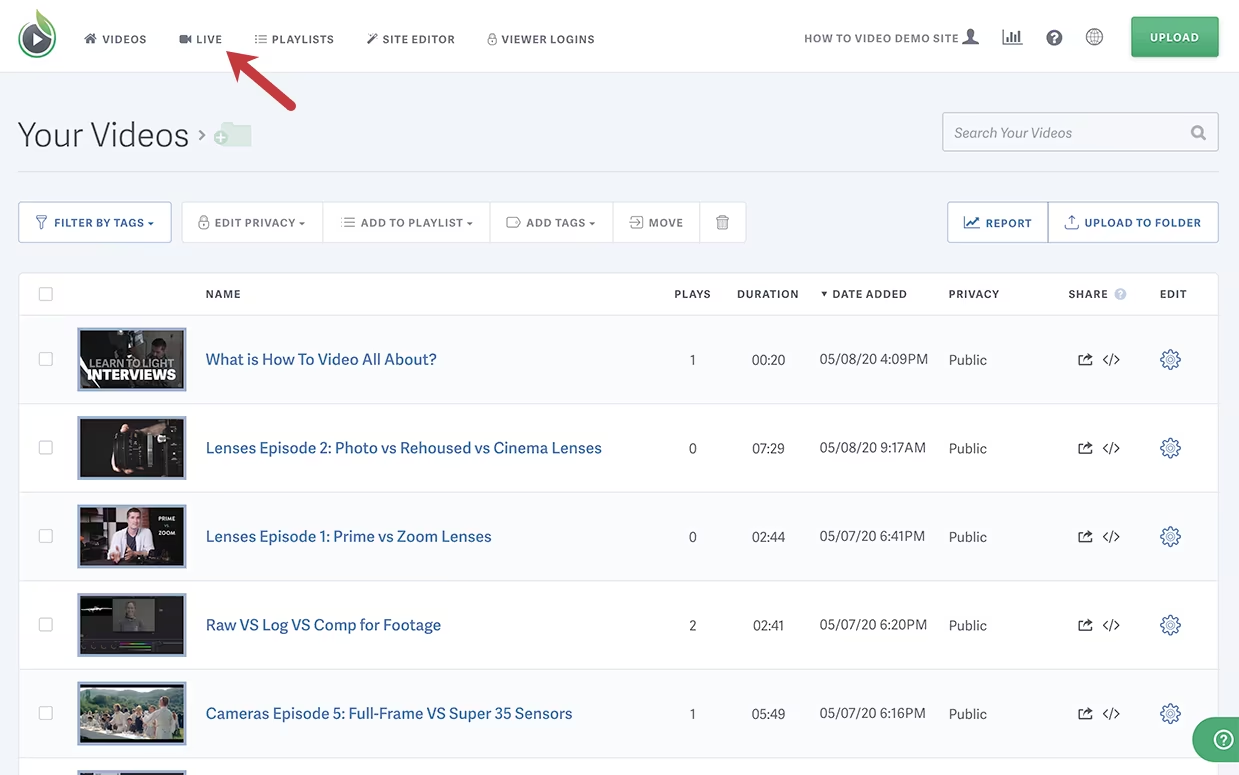
- Click the ‘Live’ tab in the top navigation menu of your SproutVideo Account.
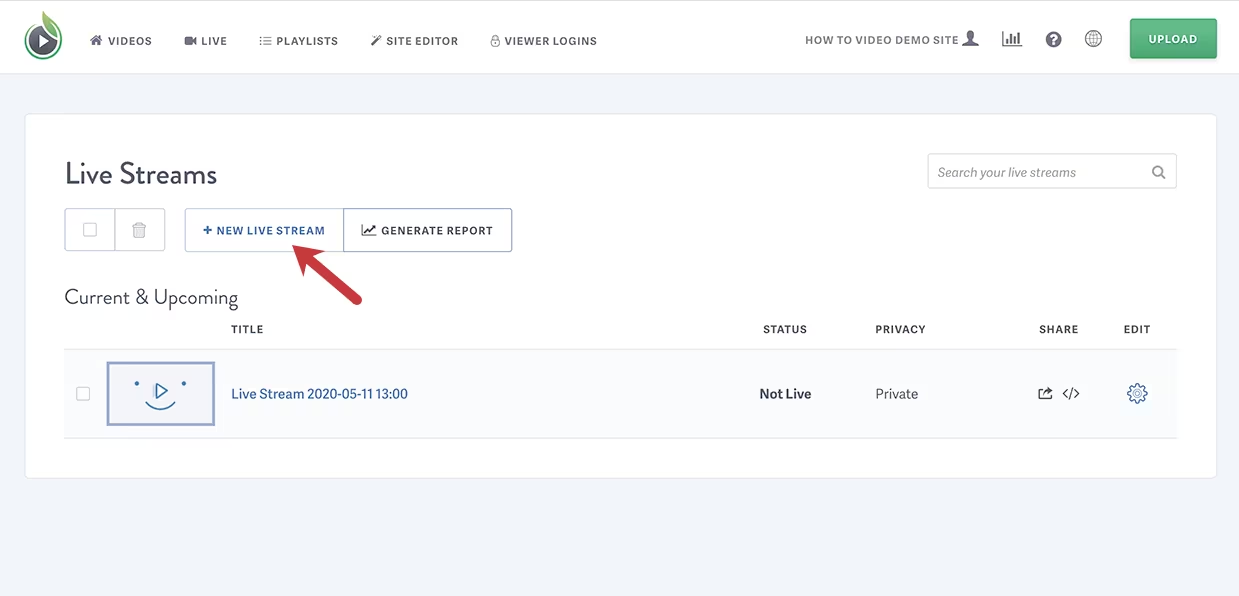
- Click the ‘New Live Stream’ button.

- On the pop up that appears, you can enter a title for the live stream, choose a latency option, and under ‘Advanced Settings’ you can enter a custom reconnect window if you happen to lose internet connection (from 0-30 minutes), and enable automated subtitles for this live stream.
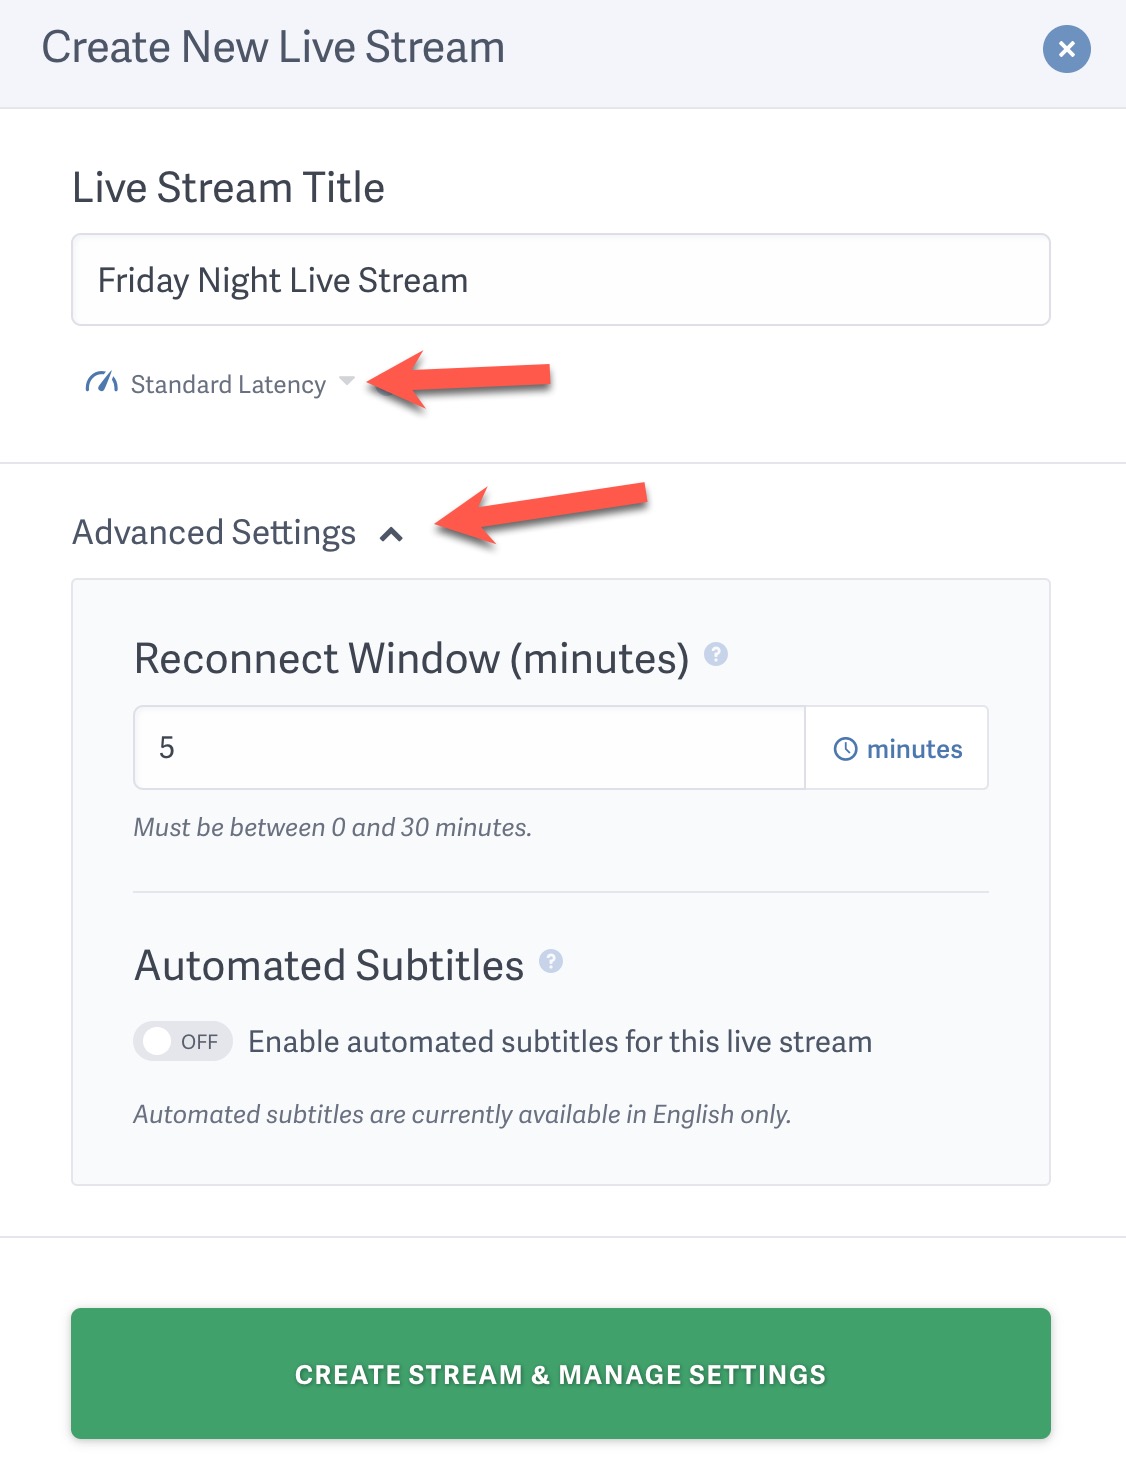
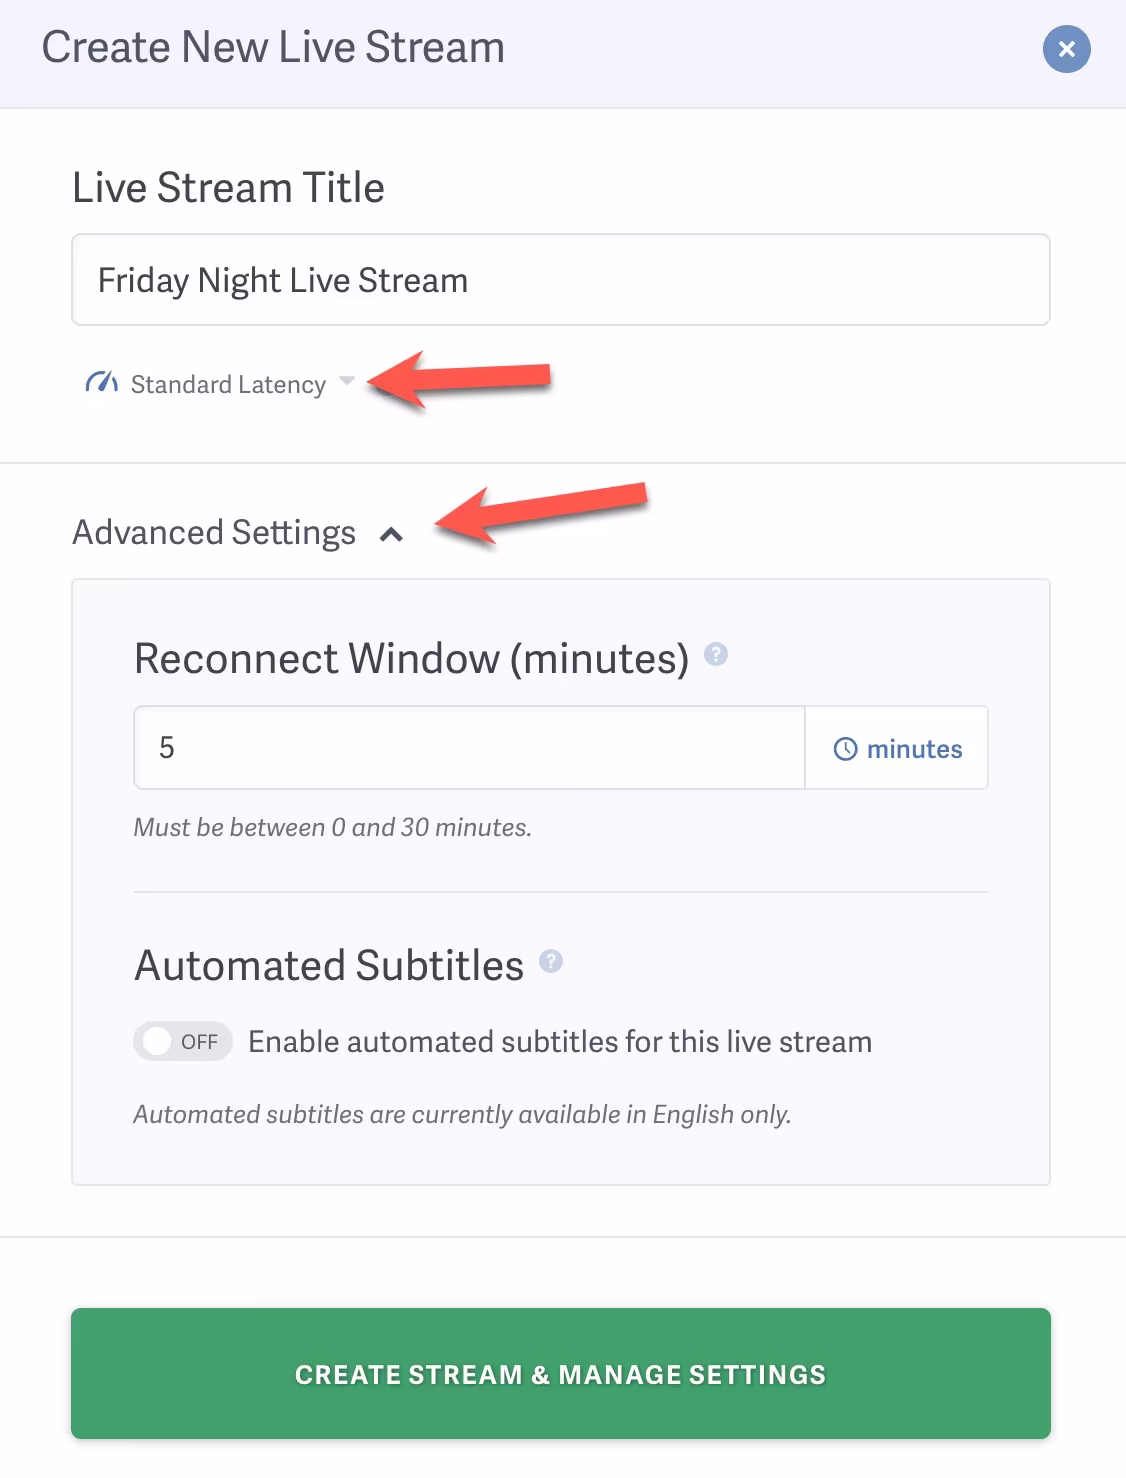
Notes: Currently, Automated Subtitles for Live Streams are only available in English and have a lower accuracy than generated subtitles for pre-recorded videos.
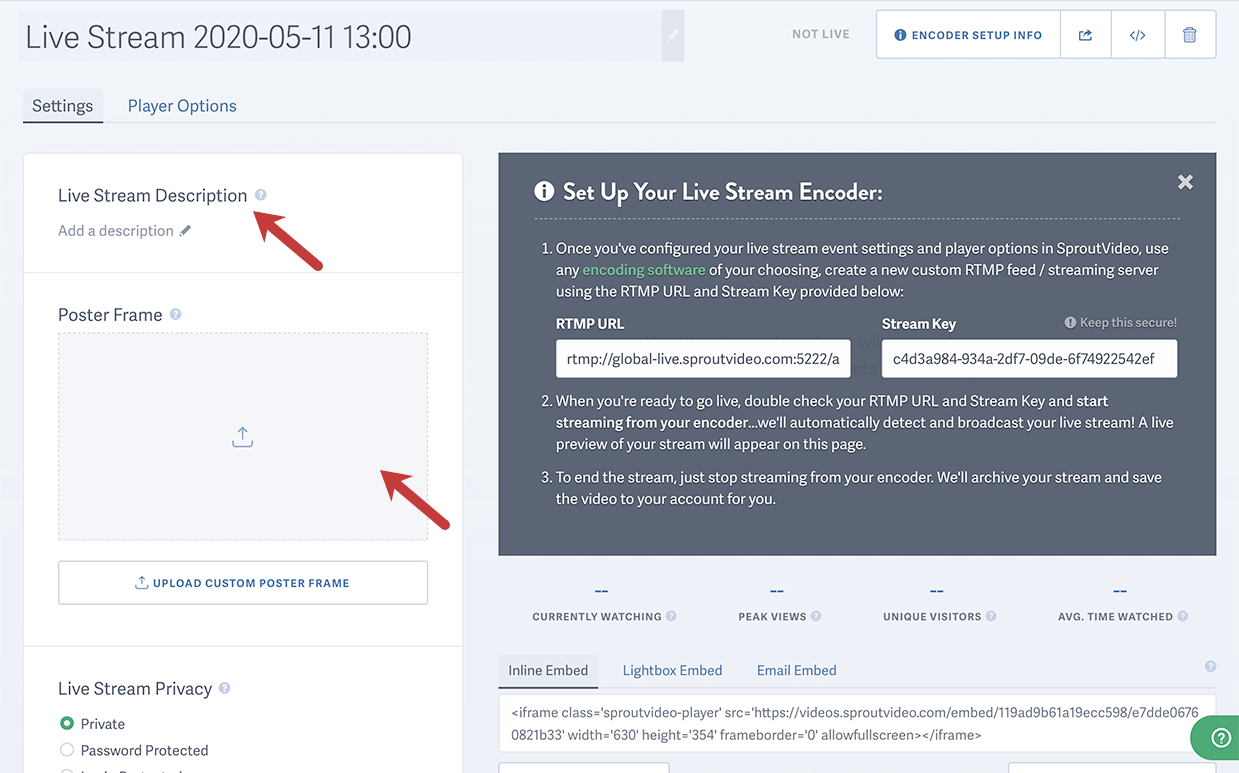
- On the ‘Settings’ tab, you’ll see all the options needed to customize your live stream. This includes adding a title and a description, adding a posterframe, changing privacy settings, accessing embed codes, enabling lead capture or calls-to-action, SEO, sharing options, and your live stream encoder, which will be covered below.
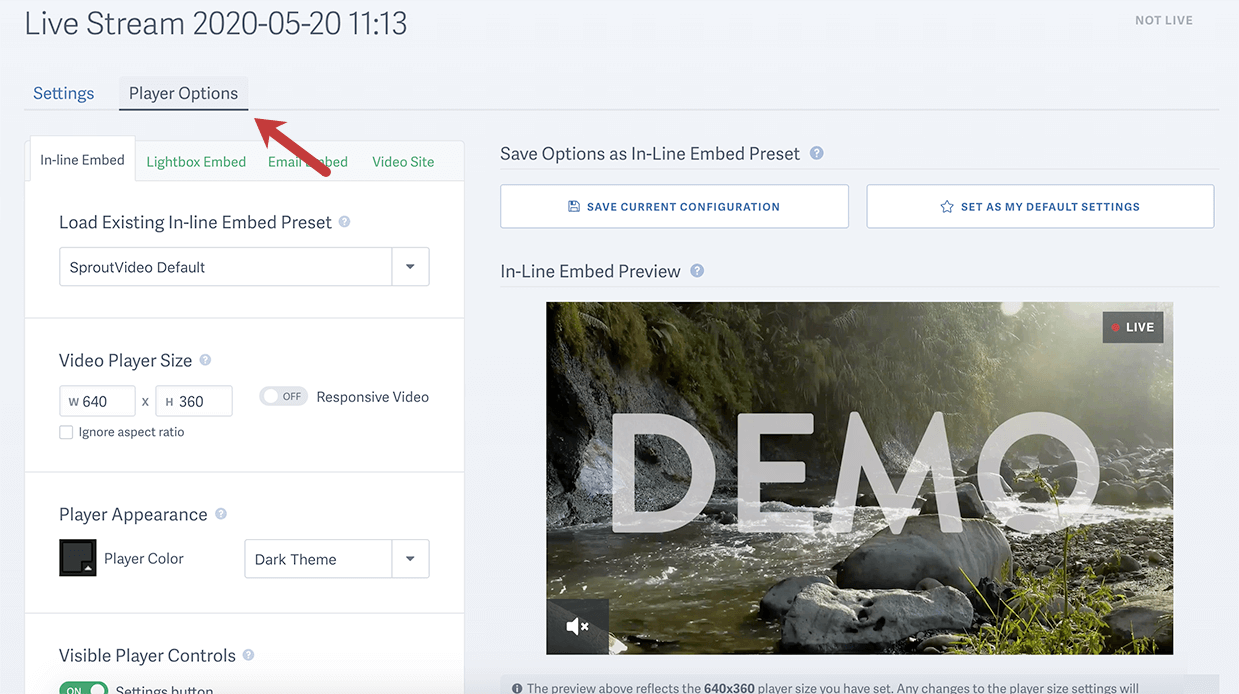
- On the ‘Player Options’ tab, you’ll be able to customize the look and feel of the player. This includes player size, appearance, visible controls, and post-play options. Note that since live streams autoplay by default, pre-play options for the player only apply to the on-demand recording of your live stream, which is generated automatically after your live stream ends.

Setting Up Your Live Stream Encoder
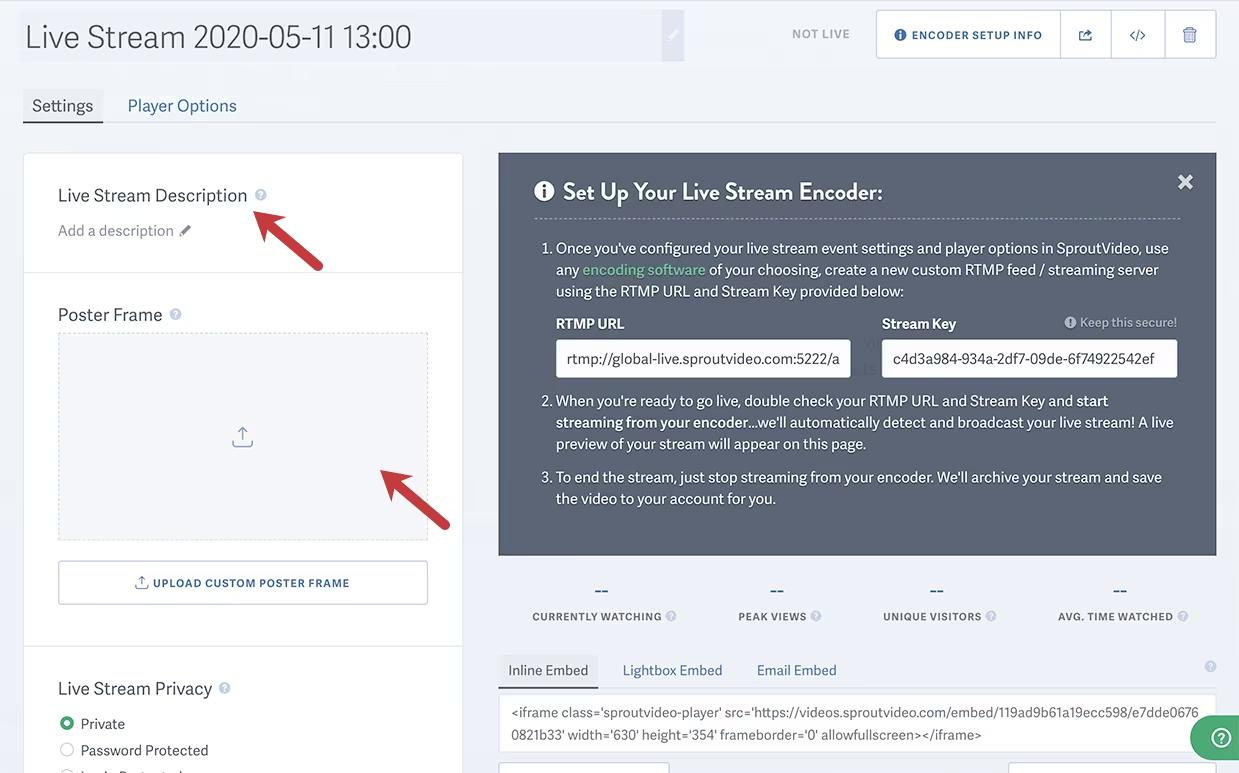
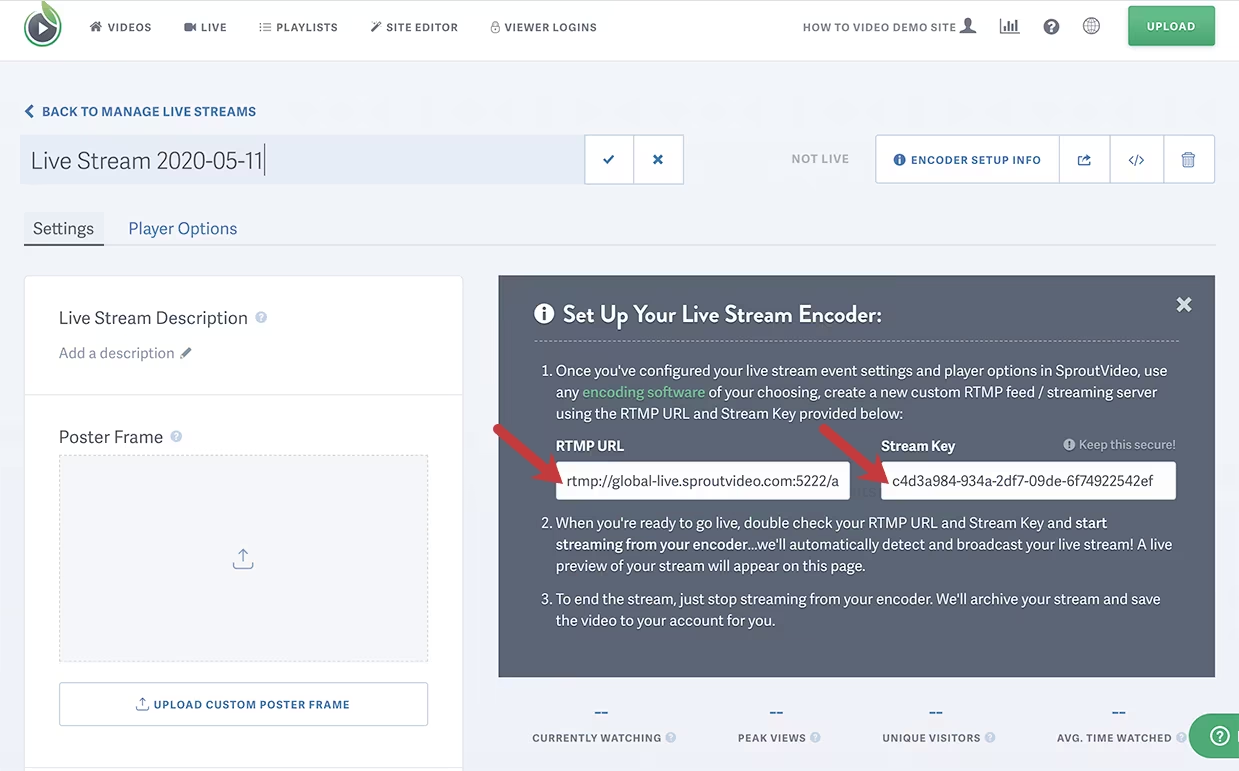
To actually start your live stream, you’ll need to configure the Live Stream Encoder. Back on the settings page, you’ll see the Set Up Your Live Stream Encoder box. There, you’ll find the steps you need to set it up.
- You can choose from any encoding software you please.
- Create a new RTMP feed/streaming server using the RTMP URL and Stream Key provided in this box.
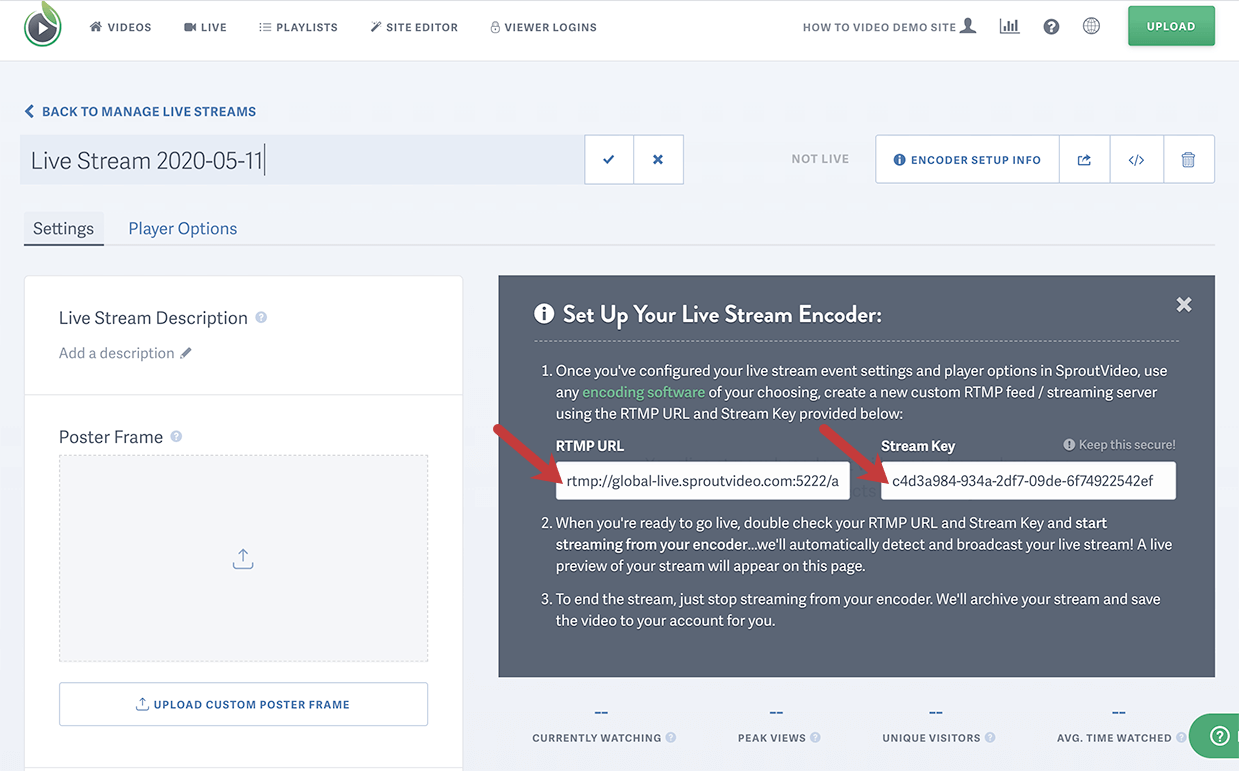
- Once you are all set up in your encoder, you can start the stream from there and your live stream will be detected.
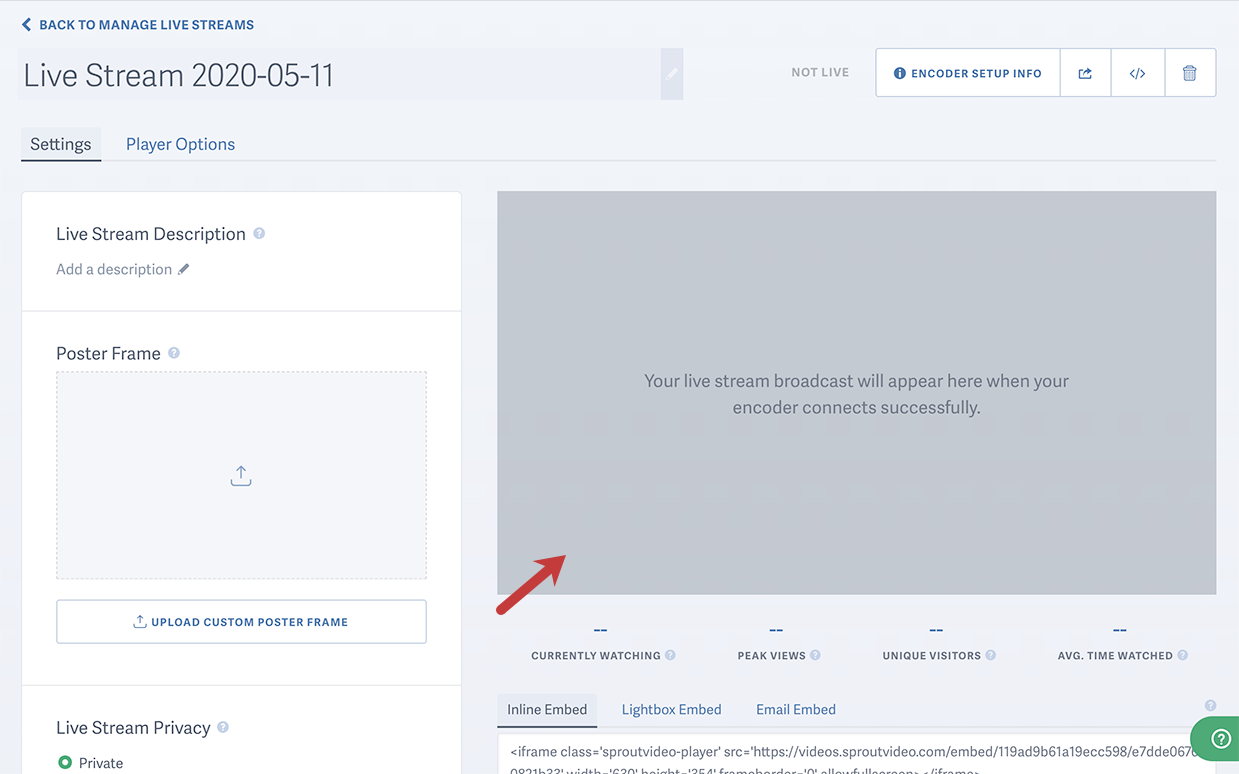
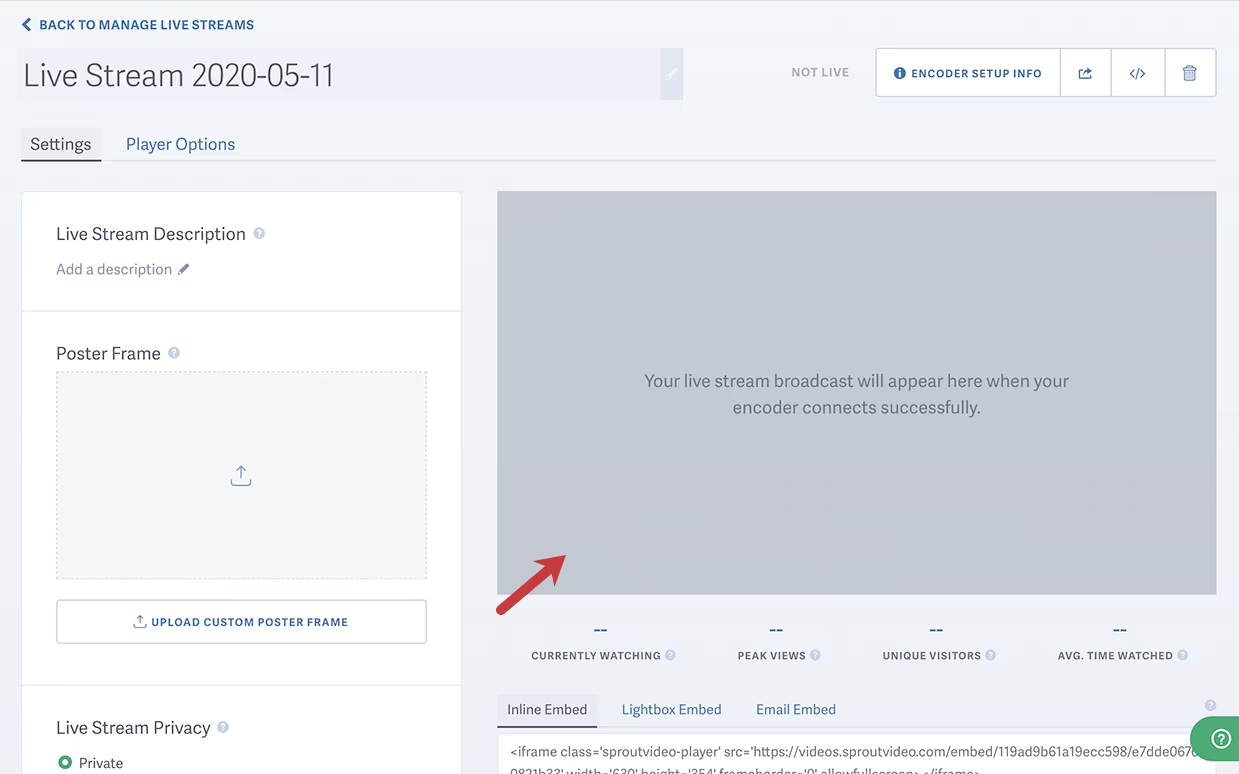
- You can monitor your live stream right from the settings page.
- To end your live stream, simply end it in your encoder software, which will alert the SproutVideo player to stop streaming as well.
- Once its complete, you’ll see a summary of your analytics and engagement data for that stream.
Notes: A Stream Key can only be used one time. You must create a new Live Stream for each event you want to broadcast.
Many times, broadcast software will just ask for a location or the RTMP URL. In this case, they want a combination of the RTMP URL and the Stream Key like:
rtmp://global-live.sproutvideo.com:5222/app/{stream_key}
Privacy Options
Our privacy settings for your live stream work similarly to how they would for any on-demand video. See our article and video on privacy settings to learn more.
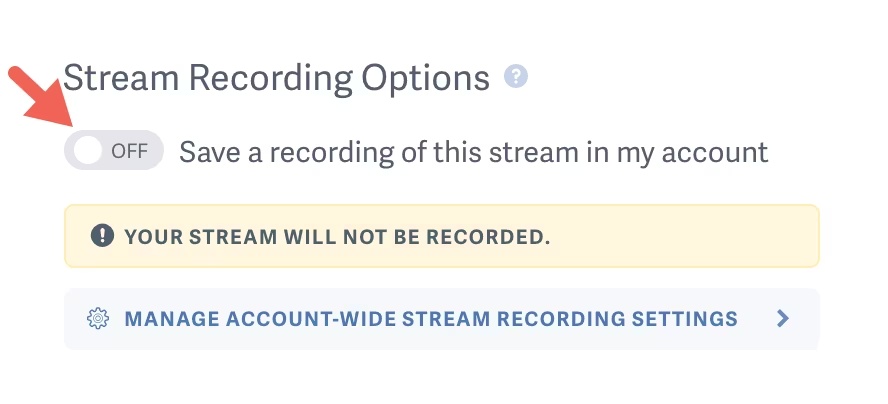
Stream Recording Options
By default, SproutVideo will record an archived version of your live stream. This will save a copy of your live stream in your SproutVideo account to use as an on-demand video. You can disable this option if you would like by setting the toggle switch for “Save a recording of this stream in my account” to Off.
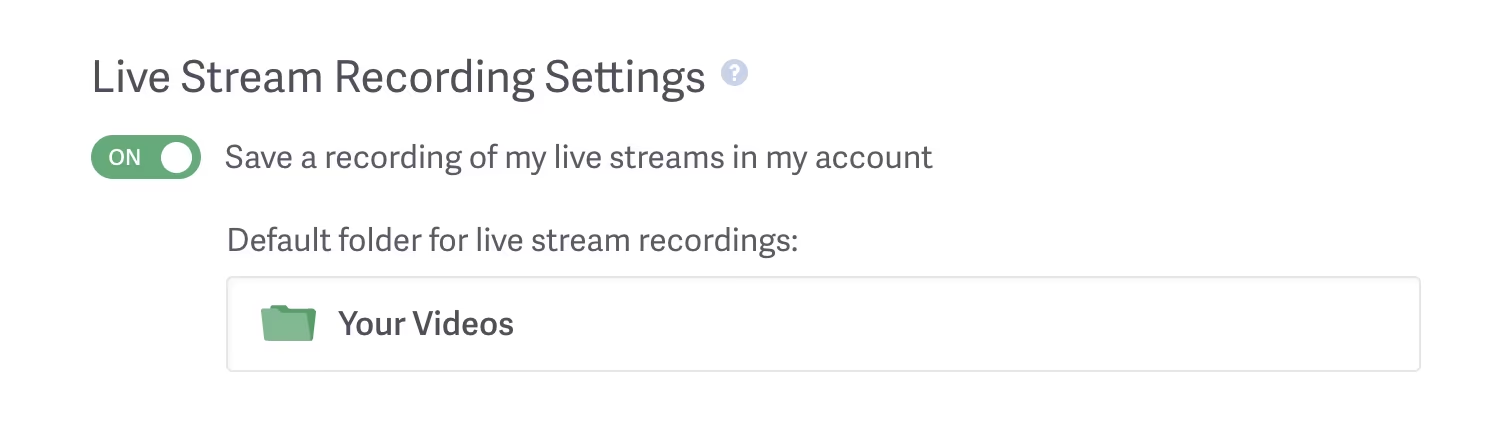
Account-Wide Live Stream Recording Settings
You can control whether you would like for SproutVideo to automatically save a recording in your account when your live broadcasts have concluded. This setting also allows you to choose a default folder for those recordings. If you choose to disable these default account-wide settings, you may still enable them on a per-stream basis as the individual stream settings will take precedence over this.
How to Share a Live Stream
To share your live stream, you have the same options as you do for video on-demand.
You can:
Other articles in the Live Streaming section:
