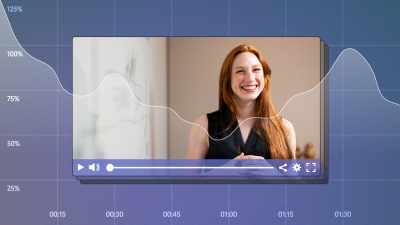
In a world where producing great video is essential, and capturing HD footage is effortless, editing has become the special sauce that can set you apart.
Tommy Tranfaglia and his team created DreamItReel to give the masses access to professional video editing. As video editing experts, they know all too well that not all footage is created equal. Here are five quick tips from Tommy for making sure that what you’re filming will be easy to edit when the time comes.
1. Lighting and Audio
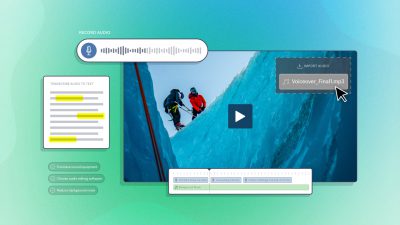
It’s very common to get wrapped up in the scripted content of your video, and to forget that the audience needs to actually see and hear what’s going on. Taking a few extra minutes to make sure you have nice, even light in your frame, and that the audio levels are coming through at a proper volume, can save you and your editor a ton of time later on. Don’t assume it can be fixed in post production!
Stop to review your footage on a frequent basis, and use high quality headphones to ensure you can hear the audio being captured by your microphone(s) or camera clearly.
For a more in-depth guide to lighting, check out this recent post on how to achieve great lighting with limited resources!
2. Shoot With the Right Settings
In the same vein, it’s important to educate yourself thoroughly on your camera’s settings and options before an important shoot. Filming at the wrong frame rate or in the wrong file type can make things hard on the editor, or even produce unusable footage.
Unless you know what you’re doing, make sure your frame rate is in the 24-30fps range. If someone else is editing, talk to them about which video format they prefer. Then, learn how to configure these settings on your camera so you’re not scrambling during the shoot.
3. Stay Organized
One of the most tedious steps of the editing process is sorting all the footage and understanding the sequence of events. However, you can make this step less painful with one simple tip – sort the footage immediately after shooting.
With everything fresh in your mind, it should be simple to organize your clips into clearly labeled folders, making the footage much easier to work with. It’s also a good idea to indicate any clips that should definitely be included, and to delete anything unusable or unwanted right away. Even some light organization can mean a world of difference for the editor.
This step is essential even if you are the one ultimately editing the footage. Don’t make the mistake of assuming you’ll remember which take was your favorite, especially if you did multiple takes of the same scenes. Organizing your source video is the best way to capture what you were thinking right after filming, when your ideas are still top of mind.
4. Shoot More, Not Less!
Cutting out bad shots is easy. Working with limited footage or going back for re-shoots is not. Always err on the side of shooting too much. If you think there was a mistake, an audio issue, or something just felt off – do it again.
A skilled editor can usually turn weak footage into a good video, but why take the chance? Get them as much footage as possible to maximize your video’s potential.
5. Sweat the Small Stuff
Is the angle not quite right? Would the scene look better zoomed further in or out? Any clutter in your frame of view, or unwanted background noises? How do your actors look under the lights and on camera?
Check, and double check all visual and audible aspects of your shoot before calling it a wrap.
Keeping these tips in mind for your next shoot will result in a happy editor and a great video! Did we leave out any of your favorite tactics for streamlining the editing process? Let us know in the comments or on Twitter!