Spielberg doesn’t do it alone. Neither do the Coen brothers. So how on earth can you make a decent, shareable video by yourself?
The good news is that with a few clever hacks, one-person marketing teams can produce great video. In this post, we’ll walk you through the exact steps you need to take to get set up for success even if you’re flying solo.
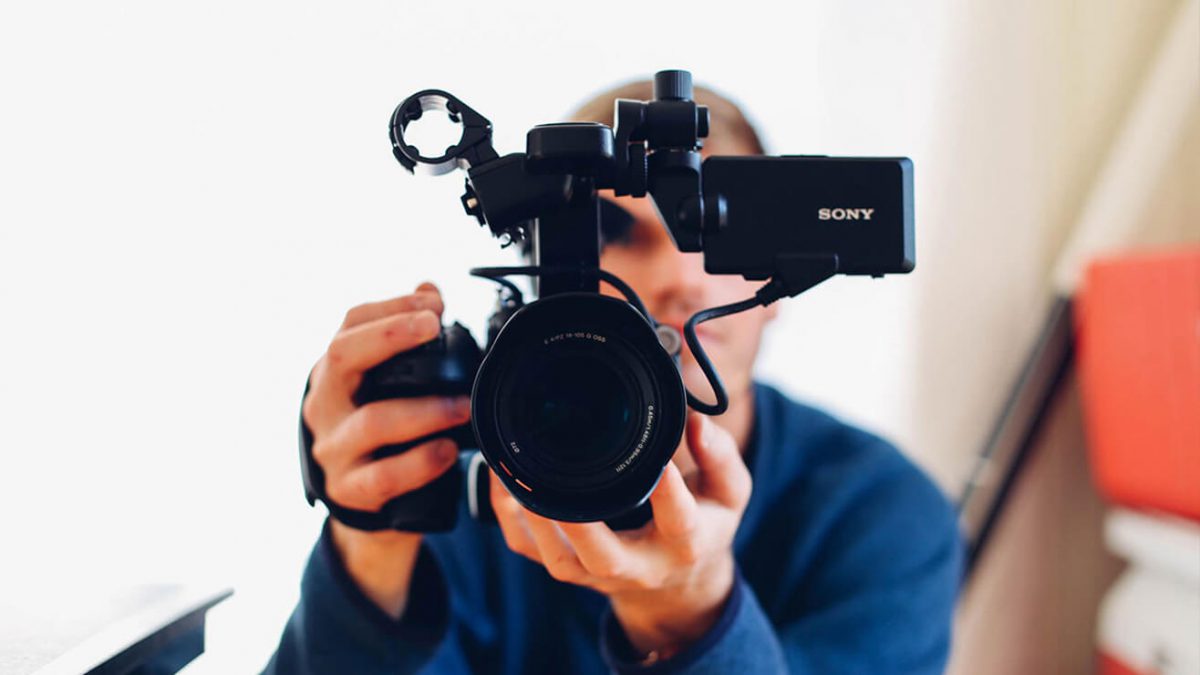
Get the Right Equipment
First, you need to invest in the right equipment. Of course, this depends on your budget, but there are some must-haves:
- Video camera
- Audio recorder
- Lighting kit with three lights
- Tripod
- Back drop
- Editing software
Be Inspired
The idea of making a video alone that accurately represents your organization is daunting. Get some inspiration from top YouTube vloggers – travel vlogger Devin Super Tramp, the most adventurous dad of them all ShayCarl, and lifecaster iJustine. Their content will provide you with some wonderful examples of relatable subjects, engaging personalities, and innovative filming techniques. These guys have made some astounding videos completely by themselves, so channel their creativity and drive, and get filming!
If you’re making a video about a new product, you’ve got your subject sorted. If you’re not making a product video and are stuck for video content ideas, then why not re-purpose content (such as pictures, written or audio testimonials, etc.) that has already proven popular? Turn the material you already have into a script and edit until you’re happy to get in front of the camera. Even if you’re a one-person marketing team, you can still share the script with your colleagues and ask for their feedback.
Get Comfortable on Camera
It takes practice to get comfortable on camera, but with time you’ll feel more confident. Familiarize yourself with these easy tips and your audience will never know about the butterflies in your stomach!
- Know what you want to say and rehearse it before filming
- Name your camera – this will help you pretend you’re talking to a friend. Really!
- Begin when you’re ready
- Cut out the ‘umms’ and ‘likes’
- Know your audience
- Have a real conversation with your viewers
- Don’t speak too quickly – remember to breathe!
- Use your nerves to enhance your performance
No one really likes to see or hear themselves in a video. We get it. The good news is that the more videos you produce and edit, the more editing techniques you’ll learn, which will help to take the focus off your presence on-screen and onto the video project as a whole. You’ll also become more comfortable in front of the camera, meaning it’ll be less cringe-inducing to edit your own videos. In the meantime, don’t worry – just keep making video!
Clever Lighting Tips For Solo Video Productions
If your budget for video marketing isn’t huge and you don’t have a team of assistants, the good news is you can easily get the lighting right. In order to find the best location, set up your camera and tripod, then ask a colleague to stand in so you can see what the shot looks like.
If it is just you, no worries! It may take a few tries, but film for a few seconds then check the camera to ensure you’re in the right spot, or adjust the viewfinder so you can see how you look on camera. Adjust as necessary then use tape to mark where you and your camera need to be for future videos.
Three point lighting is the standard lighting set-up for nearly all shoots, and will help you deliver the most professional results. If you check out one of our most popular posts, 7 Quick Steps for Simple Affordable Lighting, you’ll have access to diagrams that show you exactly where you should position the lights.
Here are ways to setup effective lighting in a variety of scenarios you might encounter. As you’ll see – whatever your budget, level of expertise, or equipment – it can be relatively easy:
- No light kit: Use external light sources such as skylights, windows and lamps, and softly reflective surfaces like white foam board. Position yourself carefully so the ceiling lights can act as backlights, and bounce light onto your face to create depth.
- One light: Place the light slightly behind the camera, slightly off to one side. This is your key light, and will illuminate you on screen.
- Two lights: One light should be behind the camera, and off to one side as the key light. The other light should be placed opposite this light behind the subject, to act as the back light. The back light should be pointing towards the camera, but not visible at all to the lens, and should be dimmer than the other light.
- Three lights: The same set-up as above, with the third camera placed the other side of the camera, pointing towards the subject – this is your fill light, and it helps to soften shadows on the subject created by the key light. Experiment with different positions to see what works best for your video.
Lighting is a subjective element of video production, but we believe that flat lighting is best for business videos as it ensures there will be no shadows on the subject’s face. Dramatic lighting with harsh shadows is far from ideal when your aim is to make your organization look open and trustworthy.
If you have access to soft boxes, we recommend using 60W bulbs. This makes the light soft and natural.
Make Your Video Sound Great
Your video camera will record audio, but you’ll notice in our equipment list above, we recommend using a separate audio recorder. This will not only give you higher quality sound, but will also give you more control when it comes to the editing process.
Likewise, when it comes to sound quality, it’s always better to use a microphone. Wireless microphones are the best option if you’re producing videos on your own, as they allow the freedom and mobility you will need.
Before you start shooting, take a minute to listen to your surroundings through headphones that will let you hear everything your microphones are picking up. Is the air conditioner loud? Consider turning it off for the duration of filming. If you’re filming outdoors and the wind or rain are likely to be a problem, purchase a foam windscreen and a raincover for the mic.
If you find yourself struggling with the audio component of your video, consider using a voice-over for part or all of your video since it can be easier to make a high quality voice-over than to get a perfect take of yourself speaking on camera.
When it comes to editing, your video editing software will include basic audio tools. However, you might need additional assistance, particularly if you realize during post-production that you’ve made a mistake and there are issues with background noise. Sometimes, specialized audio-editing software is necessary since video editing programs, especially free or cheap ones, often lack the type of powerful audio tools you’ll need.
Don’t Forget to…
Turn everything on… or off! It’s easy to forget to hit the button on one of your pieces of equipment, especially if you’re nervous. It may seem obvious now, but check and double-check that everything is switched on and you have hit record. However, be sure to turn off anything in the room where you’re filming that makes noise and might be picked up by your mics. This includes air conditioners and and heaters, anything that vibrates, and phones.
Learn How to Edit
We know that you’ve got a million other things on your plate, but if you learn how to edit properly, you’ll save time in the long run. Once you have decided which software is best for you, stick with it. The good news is that there are lots of tutorials out there that are concise and easy to follow. Start with the basics and schedule in a couple of tutorial sessions each week.
As you might expect, there are many programs available. Whichever you chose depends on budget, how important video is to your organization’s marketing strategy, and how long you are realistically prepared to spend learning its intricacies. Here are a few options:
- iMovie (Mac) or Movie Maker (PC) if you’re looking for good free software
- Adobe Premier Elements for those who have around $100 to spend
- Final Cut Pro (Apple) or Avid Media Composer (PC and Apple) if you are willing to spend around $300 or more
When it comes to editing tips, the best advice we can share is to know your software. It’s what will take your video from amateur project to professional film. Aside from that, remember that you are a storyteller. Don’t be afraid to be creative in order to get your message across. The wide shot is especially useful if you want to guide the audience through a scene, or to make them feel like an onlooker rather than a participant.
Bear in mind that less is more when it comes to editing. You definitely don’t need to use all your footage. In fact, viewers will engage more if you select a handful of shots. Don’t be afraid to stay on a shot for more than a couple of seconds. If you’ve captured a great moment that will resonate with your audience, enjoy it!
You’ll soon find that when it comes to editing, there’s always more you could do. Setting yourself hard deadlines is essential – it will focus your mind on the process and you’ll have time for the other aspects of your work (or to get started on the next video!).
If you’re looking for more tips on video production, check out more posts here on our blog. Or, if you’re ready to dive in and want to publish and track your videos online, sign up now for your free SproutVideo trial.