Note: This post is part of our Real Estate Series on selling your house with video. View earlier posts here and here.
To achieve a polished and professional-looking video tour of your home, lighting is one of the most important elements to get right. The quality of lighting will also have a major visual impact on how attractive—and large or small—your house looks on camera. As a general rule, dark spaces appear smaller, and bright spaces appear larger. But you also don’t want the lighting to be too bright or too harsh. Here are some simple tips for getting the lighting right.
1. Avoid blue-tinted lights at all cost
Fluorescent lights and many LED lights have a blue tint due to their color temperature, which tends to make things look hard and cold versus soft and inviting. If you have fluorescent or LED lights in your home (many energy-saving varieties will fall into this category), turn these off while filming, and rely as much as possible on warm-white and natural lighting. It can be as simple as swapping out some bulbs for the duration of the shoot. You can also use lens filters, or cover “cold” lights with diffusers to warm them up depending on the gear you are using.
2. Natural light is best
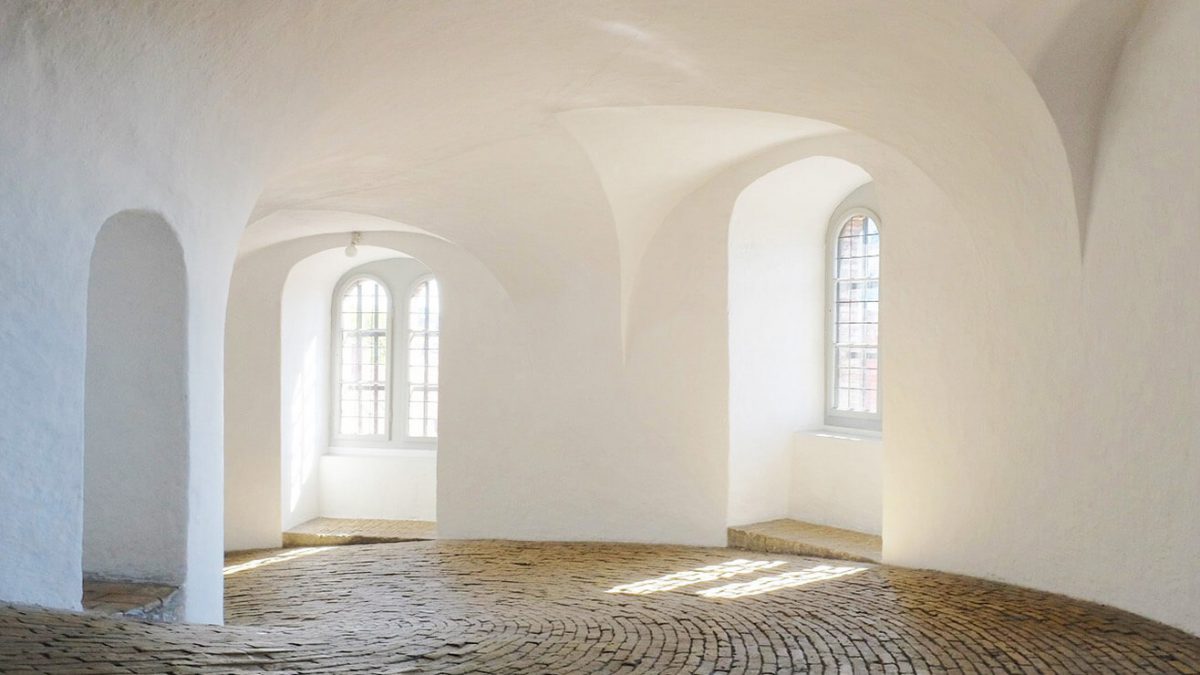
Natural light tends to give the best effect for showcasing a home. Open the curtains, or let rich natural light filter through light-colored thin curtains to get a soft glow. Most prospective homebuyers want to see bright and sunny rooms, so this can be a great way to capture that. Try filming at different times of the day to capture different levels of sunlight to see what looks best in different rooms.
3. Diffuse
If the natural light in a room is overpowering, you can use white paper or thin curtains to diffuse bright light from a window. If you are unable to capture the best features of a room due to an overwhelming light source, such as substantial glare or backlighting, try blocking certain sources of it entirely, and lighting the space with lamps and other types of artificial lights.
4. Film with the light source at your back
Facing a direct light is going to give anything in the room a silhouetted look, and details won’t be clear. Instead, film with the light at your back. There might be instances where you can get an artistic effect by facing more directly into a light source, as long as the light isn’t glaring directly into the lens. Play around with different angles to see what works for your home’s style and layout.
5. Take it outside
Natural light can be an amazing resource, so film the outside of your house using the sun as a backlight. If it’s too bright, use lens filters to eliminate reflections and glare. If your camera doesn’t support lens filter attachments, wait until the “golden hour” (see below) to film the outside of the house.
6. Use lamps
You can create dimension in a large space by lighting it with multiple lamps. For example, angling different lamps to illuminate back walls, doorways, stairways, different seating areas, or artwork can make a space seem more expansive. Using lights at varying distances from the camera at different levels of brightness can also make a room seem bigger. Soft lights typically work best – try to avoid creating harsh shadows.
7. Test it out
Once you have a strategy for each room in mind, carry out a test shoot at the time of day that you plan to do the real thing, and make sure the footage comes out well. Note any issues so you can obtain additional supplies as needed, like diffusers, curtains, bulbs, or filters, and be sure to check the weather for the day of the shoot.
8. Use the light you have
If you are facing a situation with insufficient light sources, you can use professional reflectors or even a white foam board to bounce light into shadowed corners of a room. Try placing them on the floor, angled against furniture, or clipped to a stand. This will help amplify the light in the room and make it brighter, while softening shadows.
9. Golden hour
For outdoor shots, or to get beautiful shots of a conservatory or sunroom, you can potentially use the “golden hours” of daylight, just before the sun goes down. For a more general overview of the basics of lighting for video, you can also have a look at this post.
10. Look out for flickering
Some types of lights on dimmer switches or with fluorescent bulbs flicker ever so subtly. Sometimes, the human eye can’t even detect it, but because cameras capture fewer frames per second, a subtle flicker can become problematic on camera. Avoid using dimmer switches, and use diffusers instead, and swap out any fluorescent bulbs for regular bulbs when filming.
Have a comment or question, or just want to drop us a line? We’d love to hear from you. Tweet to us or leave your thoughts in the comment section below.