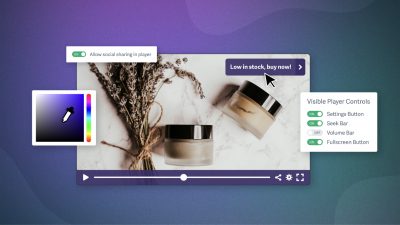
Good lighting is an important part of making your video look and feel professional. Having light sources chosen and placed correctly will make a big difference, ensuring that colors pop and that your image is clear and bright.
To help you set off on the right foot, we put together a primer on the basics of proper lighting for video.
What’s Wrong With the Lights I Have?
When you look around the room, everything probably looks nicely illuminated and normal. Sunny windows are pleasing, especially in an office environment. Even overhead fluorescent lights seem tolerable, though no one really loves them.
On film, normal lighting scenarios often don’t work the way you’d expect. For instance, overhead lights can create harsh shadows on subjects’ faces. Fluorescent lights sometimes flicker, or cast everything in greenish hue. Sunlight can work in your favor, or, it can create silhouettes that darken your subjects’ faces.
To reproduce attractive lighting on film, you have to take a few extra steps beyond flipping the lights on in a room. There are three main factors in achieving your desired lighting outcomes.
- What is the mood of this scene?
- Are you indoors or outside?
- What light sources are available to you?
The mood of the scene will, to a large extent, dictate the color temperature and intensity of your lighting design. For example, a romantic scene would likely be glowing with warm lights – think candlelit dinners in dim restaurants. A tense scene might be colder, with bluish tones and stark whites, not unlike an office.
Whether you are indoors or outdoors will impact how you tackle your lighting setup. The fundamental differences between the two are important to consider when planning your shoot.
Outdoors
Outdoors, you’ll benefit from the sun’s rays as an excellent light source. However, you don’t have control over its exact positioning, or its intensity, or variability.
Consequently, you have to work around it by changing the angle of your shoot in relation to the sun, the timing of your shoot, using lens filters, or all of the above. Carefully planning the shots you need to get with a specific kind of light will help organize your shoot, and keep the lighting consistent.
Another complicating factor can be the power sources available to you outside. Unless you have tons of long extension cords, you’ll likely be constrained to battery powered lights.
Another option to keep in mind are reflective surfaces. Requiring no power source to work, they are very popular on outdoor shoots. Even plain white foam board can provide the highlights you need in pinch. Be sure to have a stand and some tape, or an assistant, to hold one in place if you plan to use it.
The time of day will largely dictate the color temperature of the sun’s rays. During the middle of the day, when the sun is overhead, you’ll be dealing with the strongest rays and whitest light. Since this can create harsh shadows, or wash people out on camera, consider shady locations for filming instead of working under the direct sun.
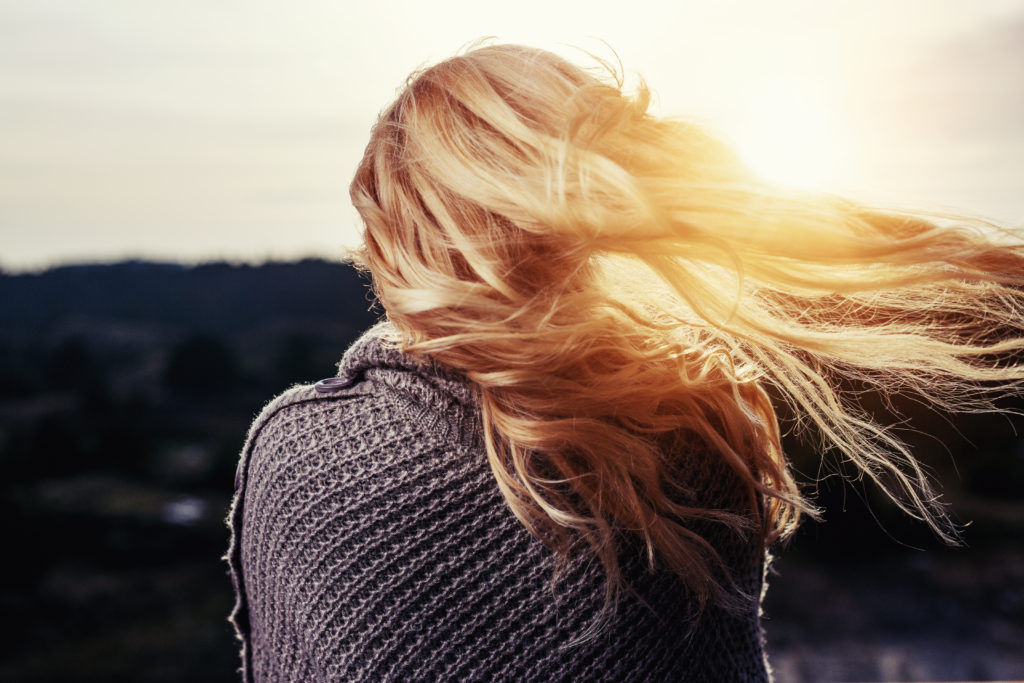
Early in the morning, or about an hour before sunset, the light will be warm and golden in tone. Beautiful on camera, this “golden hour” is a favorite time to work for film makers. Nearly universally flattering, it gives everyone and everything a lovely glow.
When working outside, plan to be flexible, time your shoots according to the angle of the sun, and be prepared to adapt quickly to changing conditions.
Inside
If you’re filming inside, you have much more control over the positioning and intensity of your lights. For many reasons, this can be ideal.
The drawbacks really depend on your particular location. Are there enough outlets? Are there curtains or blinds to reduce glare from windows? Can you position the lights you need in a way that seems natural on camera?
There are many tricks you can try to optimize on camera lighting. For starters, work with the lights you’ve got. Reposition table lamps and floor lamps, or tilt lamp shades to eliminate shadows and highlight your subject. That might be enough to get started, depending on your project.
Sometimes, the lights you turn off or dim are key to the best lighting setup. To minimize harsh shadows, turn off or dim overhead lights, or unscrew bulbs if you only want some of them on. Clip heat-proof parchment paper over bright lights to act as a diffuser if you don’t have a lampshade on hand. Swap out bulbs for different color temperatures to evoke different moods.
When filming indoors, make sure you have plenty of accessories handy, and try to work with what you’ve got.
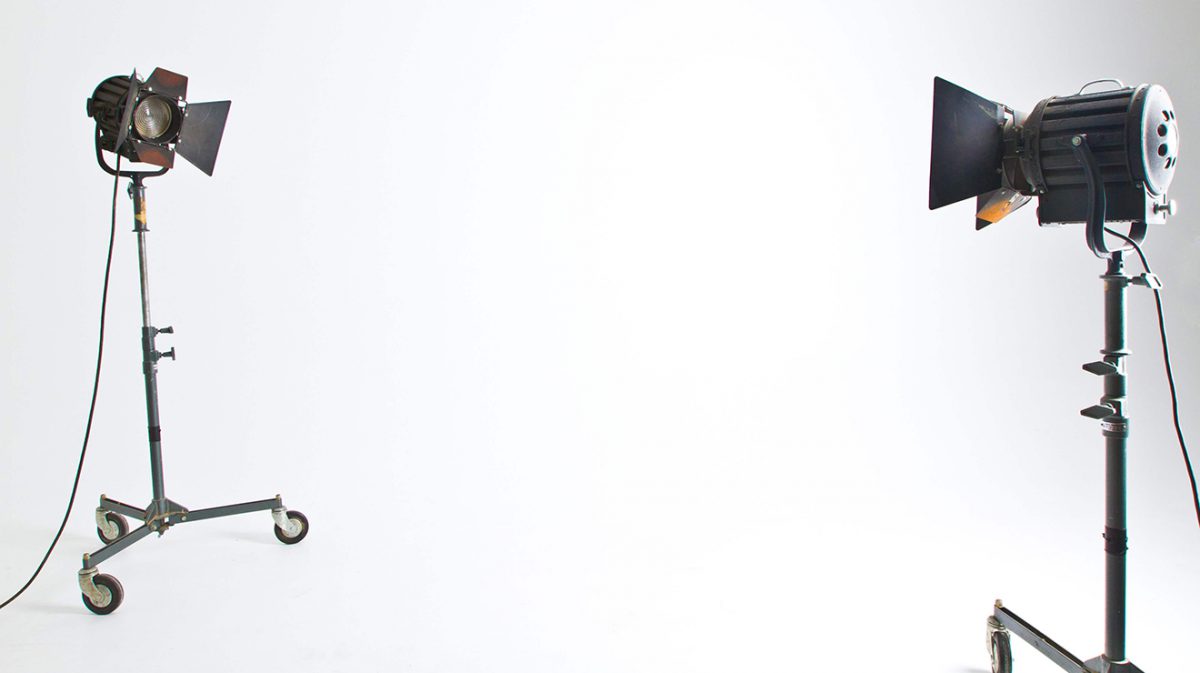
Standard Light Sources for Filming
Nearly all professionals use three-point lighting as the foundational principle for their lighting design. You can adjust it to suit nearly any circumstance by tweaking the intensity of each light.
Here is the basic layout for three-point lighting, courtesy of Penn State University’s Media Commons:
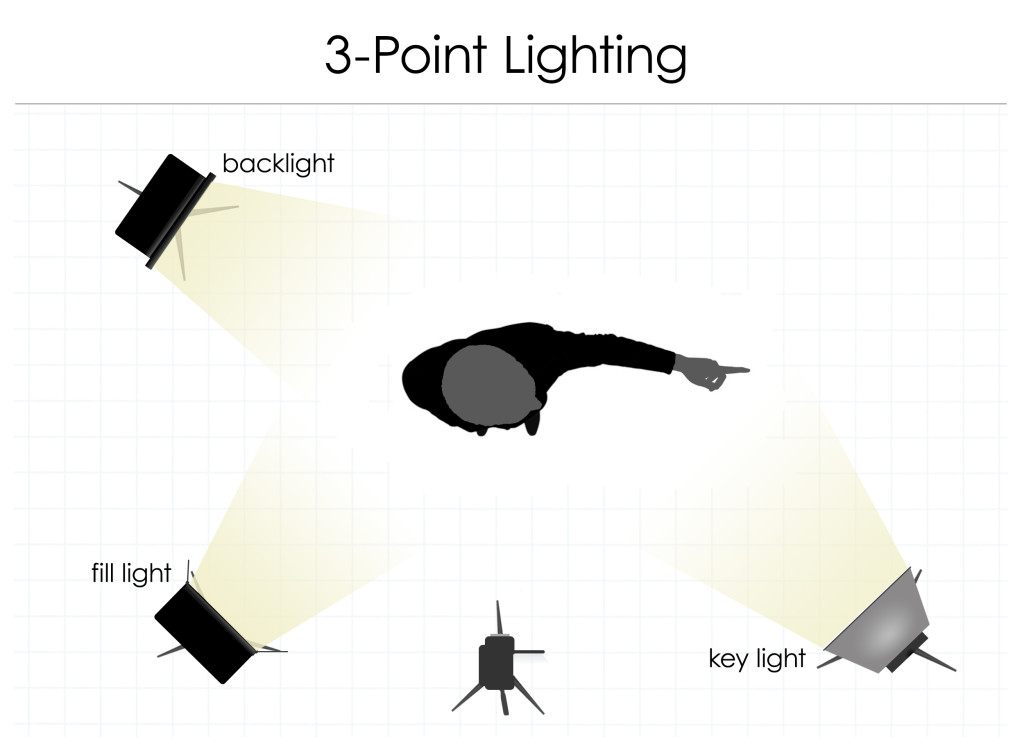
Key light
This is the main light that will be pointed at your subject. A common placement for the key light is about 45 degrees to either side of the camera, and about 45 degrees up from the subject.
Fill light
This light fills in the shadows created by the key light. You will know the fill light is placed correctly when the shadows behind the subject disappear. If instead you see two sets of shadows, you need to dim the fill light.
Note: As a corner-cutting measure, you can use a reflective surface to bounce light from the key light back into the shadows. You can do this with a white foam core board, which is easy to find, and costs only a few dollars.
Back Light
This is optional, and is often used to create a warm, “halo” effect around subjects being filmed. Place the back light behind the subject, about 45 degrees up. The same effect can be created by filming outside, when the sun is about 45 degrees up from your subject’s head and shoulders.
Cost of Video Lighting Equipment
The type of lighting kit you use will vary based on your budget and preference. A set of studio lights can cost anywhere from around $100 to thousands. If you plan to integrate video into your company’s marketing on a regular basis, it will be worthwhile in the long run to invest in a solid video lighting kit.
If that doesn’t seem reasonable, we have an extensive guide to setting up great lighting on a budget.
Anything to ask or add? Leave a comment below!