Curious about getting into video editing but not exactly sure where to start? Many video editing programs have so much going on it can be intimidating at first, but once you learn the fundamentals, it’s not as bad as it seems.
Throughout this post, we’ll be going over the basics of video editing with Adobe Premiere Pro. By the end of this post, you’ll have a better understanding of four key areas: quick keys, importing and organizing footage, editing and exporting, and workspace layouts.
In the video below, SproutVideo Creative Director, Nick LaClair, will walk you through these different areas, using examples along the way to drive the point home.
Quick Keys & Shortcuts
Like many creative editing programs, Premiere Pro comes stocked with a whole host of keyboard shortcuts to improve your workflow. While it may seem a bit counterintuitive to look at shortcuts for a program you don’t know how to use yet, you’ll find that once you get going, these shortcuts are going to save you an immense amount of time.
Be sure to download or print this PDF to reference while reading through the rest of this post, and for when you start editing on your own.
Download File: Adobe Premiere Pro Quick Key Reference SheetGetting Your Project Ready
While everyone will have their own project workflow, it’s crucial to stay as organized as possible. Before you import your footage into your Premiere Pro project, it’s a good practice to have it labeled and as organized as possible wherever you are storing your assets.
For project management of your files, check out Post Haste. This program allows you to create a template for folders you need on a recurring basis when organizing your footage before importing it into your project. Keeping your audio, main shots, b-roll, graphic assets, etc. labeled and arranged will make it that much easier when you’re organizing your assets within Premiere Pro.
Workspace Layout
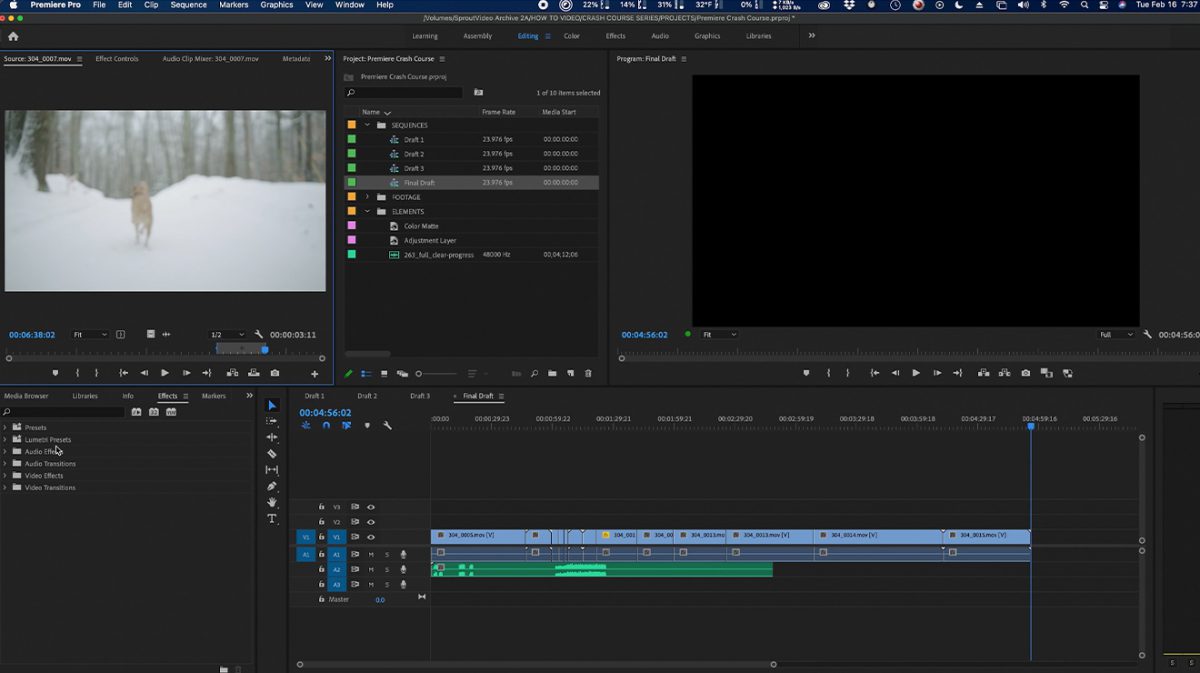
When you first open the program it’ll be essential to prepare your workspace to your liking. Premiere Pro comes preformatted with several workspaces. At the top, you’ll see Learning, Assembly, Editing, Color, Effects, Audio, Graphics, and Libraries. Each of these layouts puts an emphasis on the type of editing you’ll be doing, and are designed to make it a bit easier as you progress through your edit.
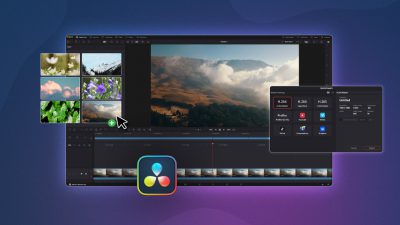
If you prefer to create your own layout, feel free to drag any window around to arrange it in whatever way you see fit. Once you’re happy with your custom layout, you can create your own preset of that layout. Head to the Windows tab at the top of the screen and save it to your workspaces. The image below is an example of how one might switch up the workspace to better fit their editing flow.
Importing Your Footage
Now that your workspace is set up, you’ll be able to create folders to organize your footage in preparation for editing. In Premiere, these folders are called bins. These bins could match how you have files organized outside of Premiere, or be named in a way that will help optimize your editing process. We prefer to organize in three buckets: Footage, Elements, and Sequences.
Once the bins are created, simply drag and drop all of your footage and assets into them, and you’re officially ready to start editing your film.
Creating a Sequence
A sequence is a visual assembly of your video and audio clips, or in other words, where you’ll cut your footage together to create your film. The best way to start is by dragging a clip to the “new item icon” in the bottom right of the project window. This will let you create a sequence based on the settings of your footage.
If you shot your footage in the format that you want to edit it in, this will be the best route. If you have a variety of different resolutions, frame rates, or orientations, be sure to choose a clip that most closely matches what you want your final output to look like.
Alternatively, you can click that icon to start a new sequence from scratch, which will open up a whole host of options that may be overwhelming for a beginner, but might prove helpful as you progress.
Understanding Your Timeline
Your timeline is where all the magic happens, also known as editing. The timeline is located in the workspace towards the bottom of the image below. The light blue bars represent your video tracks, while the gray bars below represent the audio tracks. You can scrub through your edit with the vertical line called the play head. You’ll also see the timecode in the top left of the section and along the top of your timeline, both shown in minutes, seconds, and frames.
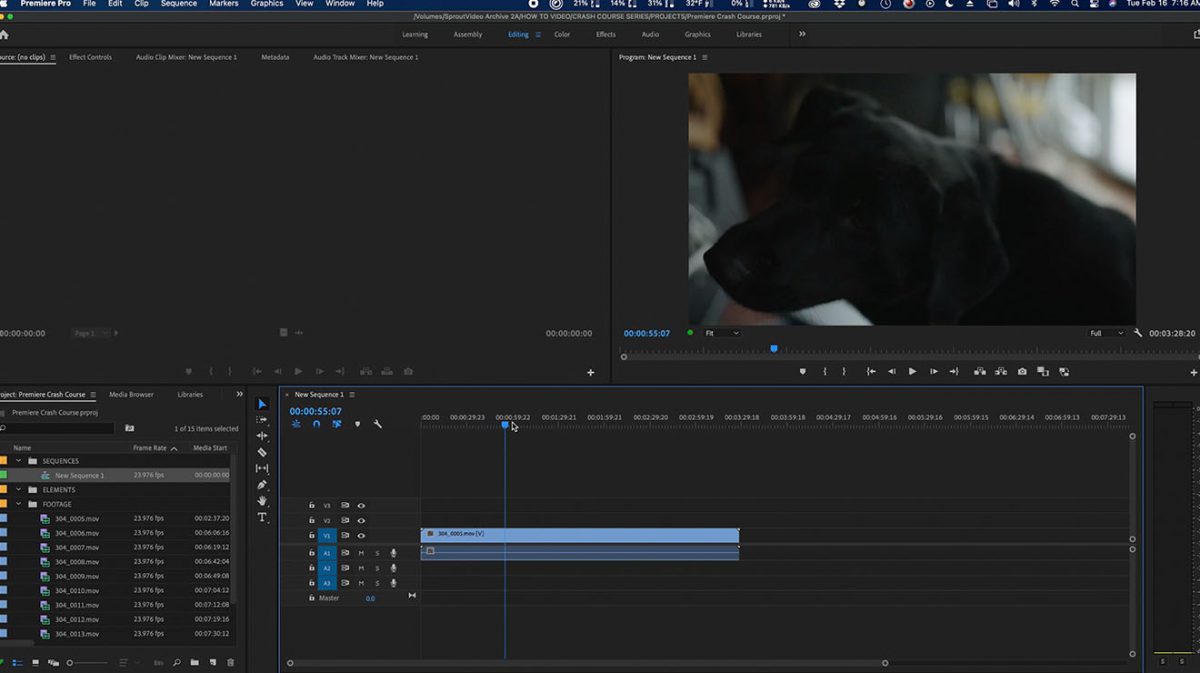
The program monitor, where you’ll be able to see the footage you’re editing, is up to the right. You can navigate around the timeline with your mouse or by using quick keys. The J, K, and L keys will help you navigate through your timeline with ease, moving backward, stopping, and moving forward respectively. The footage will move faster forward or backward each additional time you press the J or L key. Additionally, the spacebar plays and pauses your footage.
Editing Methods
Next, there are two ways you can cut your footage: what we’ll call the “Proper Method”, and the “Legos Method.”
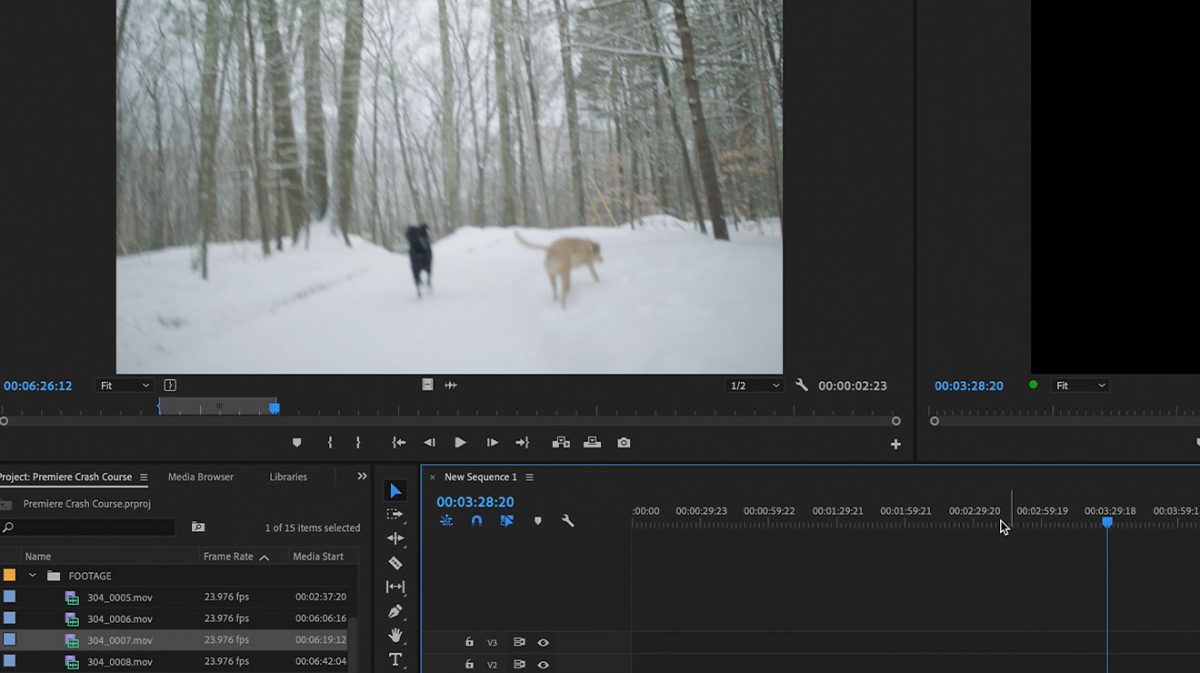
With the proper method, you’ll double-click on a clip in one of your bins, which will bring it up in the source monitor in the upper left of your screen. Here, you can begin selecting the portion of that clip you want to keep for your edit. Scrub through the clip with the J, K, and L keys, then, set your in and out points by using the quick keys, I and O respectively.
Once you have the section of the clip you want, you can select the insert button to add it to your timeline where the play head is located, or simply press “,” and that will do the same thing. If you have multiple sections of the clip you need for your edit, simply repeat these steps to create as many clips as you need.
Alternatively, you can use the Lego method. This starts with dumping all your clips into your timeline and trimming them there. Here is an overview of different techniques you can use to adjust your clips.
- Selection Tool (V): For each clip, use your mouse to drag the sides of the clip to the desired points you want to trim
- Ripple Edit (B): This trim tool allows you to trim a clip similar to the selection tool, but shifts all the prevailing clips the same amount as the edit.
- Razor Tool (C): Use this tool to cut clips into pieces, think C for “cut”
- Rolling Edit (N): This tool changes the point at which two clips meet.
- Track Select Forward/Backwards (A / Shift + A): Use this to select everything forward of a point in the timeline and move them all at the same time.
- Delete Key: Use this to delete clips or space in between clips
Arranging Your Clips
Once all your clips are cut down to size, you’ll need to arrange them in the order you want. If you shot your project in chronological order and imported them as such, you won’t have much to rearrange. However, that is not always the case. Simply click and drag your clips back and forth to arrange them in the fashion you’d like. You can place them on different tracks if needed as well.
One thing to keep in mind is the associated audio track that is attached to each video clip. If you want to edit each separately, first, unlock them by hitting Command + L on a Mac, CTRL + L on a PC. Now they’re independent. To lock them again, highlight them both and hit that same key combo.
Editing and Adjusting your Clips
Now that everything is in the right order, you can start adjusting your clips and adding effects. Click on a clip to view and edit properties. If your source monitor is still showing you the clip, click on the ‘Effects Control’ tab to access this area. Here you can change your scale, position opacity, volume for audio, and add effects.
Premiere Pro comes stocked with tons of effects. Audio and video effects, audio and video transitions, lumetri color presets, and more advanced preset effects. The best way to learn what these effects do is by trial and error, but to see them all in action check out this great video from Justin Odishio. This shows you every effect in Premiere Pro in just six minutes.
You can drag and drop effects onto the clips themselves, or place them in the Effect control panel. In this panel, you’ll be able to further fine-tune the effect if there are options to do so.
Adding Extra Elements
At this point, you may want to add some extra items to your edit to help complete your vision. This may be additional clips as b-roll, premade graphics, or any number of other items that weren’t initially brought into your timeline.
In addition to visual elements, you probably will need music for your project. Finding the right music is going to be crucial to striking the right tone. To learn more about music selection, watch our How To Video episode on finding music.
Exporting Your PreProject
Once your edit is complete, it is time to export your video and share it with the world. In your timeline, set in and out points with I and O, then use Command + M on a Mac or CTRL + M on a PC to open your export settings.
At the top of the window, you’ll be able to select the settings for your export. Premiere Pro conveniently gives you some standard options and resolutions you can choose from to fit your needs.
You can then export right from the program, or send it to a queue where Adobe Media Encoder will complete the export at a later time.
Video editing is a complex skill that requires a lot of practice. However, you’d be surprised how far you can get with just the basics. Be sure to explore and experiment as you continue to learn the tricks of the trade. And don’t forget to subscribe to the SproutVideo Newsletter for updates about future tutorials.
Header Image: Gorodenkoff / Shutterstock