One of the simplest, most common types of video out there is also one that so many companies manage to get really wrong. We’re talking about screencasts.
They’re everywhere, and they’re usually too long, boring, and suffer from easily correctable faults. Whether they’re out of focus, or hard to follow, there are easy solutions to these problems.
If you’ve ever wondered how to make a sharp screencast video that people will actually want to watch, this post is for you. Here are step-by-step instructions, and a video guide, to show you the ropes.
How to Make a Professional Screencast
In this video, our own Nick LaClair, head of video production at SproutVideo, walks you through the necessary steps to pull a professional result together.
The Process
As you are likely well aware, not all screencasts are created equal. From droning voiceovers on top of a PowerPoint-style presentation, to lengthy, blurry how-to videos, screencasts have a lot of room for improvement. Every now and then, you see a clear, succinct, and interesting screencast, but those are really the exception and not the norm.
Making a watchable screencast depends on a few key factors: the message, image quality, editing, and sound. Here’s how to get each factor right in your next screencast.
Message
First, narrowly define what you would like to cover in your screencast. Limit your screencast to a single topic.
What question are you trying to answer? What is the minimum you need to cover in order to do so?
For example, for SproutVideo’s help videos, we’ll record, “Sharing Your Videos” and “Privacy Settings Overview” as separate topics, even though they do overlap. This approach allows us to keep each video short and easy to follow for viewers.
Scripting
Once you’ve decided what to cover, write out a script for the voiceover. A script is key to ensure you cover all your key points, and are not stumbling for words when recording.
Remember, the script will be read aloud, so it should sound natural rather than overly formal. A conversational tone is usually appropriate.
Image Quality
For screencasts, it’s especially important to work with HD footage. Otherwise, any text or images will appear blurry and unpleasing to the eye.
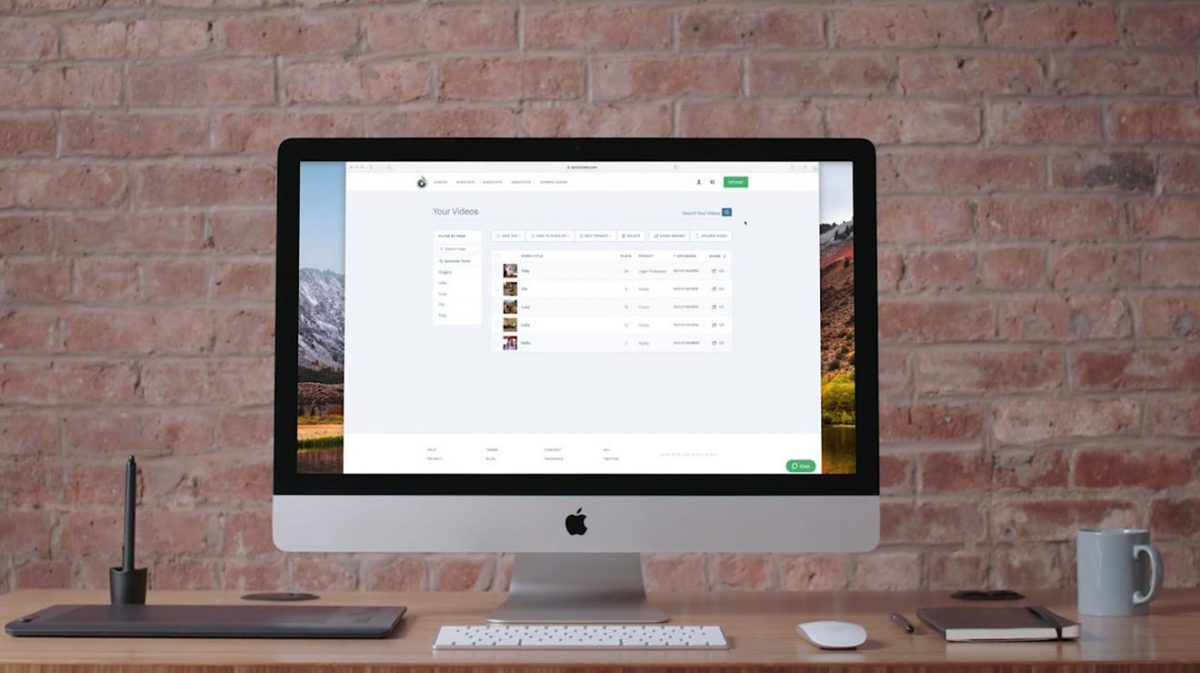
To get started, use the highest resolution screen you can get your hands on. For our videos, we use a 27 inch iMac with a 5K retina display.
This is key to obtaining sharp footage since the resolution of your screen will dictate the resolution of your screencast footage. If you don’t own one, see if you can borrow or rent one.
Recording
Next, you’ll need to select software for your screen capture. We use Quicktime, but there are many good options out there. For instance, Screenflow, Snagit, and others will all do the job very well.
You might be recording a screen, but you still need to stage your shot as though you were filming live action. Clear off your desktop, close your browser tabs, hide your bookmarks bar, and clean up anything else that might distract from what you’re trying to show in your screencast. Sometimes, switching to a browser you don’t primarily use is easier than tidying up your highly customized everyday go-to.
Rather than trying to select only small portions of the screen, capture the entire screen. Not only is it easier to frame during capture, but as long as you’re on a high-resolution screen, you’ll be able to zoom in as needed during the editing process.
Usually, we record a practice take to make sure the voiceover and actions on screen feel natural and logical. You’d be surprised at how many tweaks you’ll make after a single rehearsal!
Generally speaking, we recommend recording the narration separately from the screencast whenever possible. It’s hard to do two things at once. The results are almost always more polished when done separately.
Whether recording simultaneously or separately, give yourself plenty of “Rests” between “Actions” in your screencasts. Actions are one smooth motion from point A to B. And if it’s not smooth – if the mouse wanders around or pauses – just do it over and cut out the first take later.
Once you have a movement you like, rest. Give yourself some space in the edit. This will make the editing process significantly easier, and allow you to sync your footage properly with your voiceover.
Sound
Arguably the most important component to your video is sound. Without clear audio, your video will not come across as professional.
There are two key ways you can control the quality of the sound you are recording. The first is your environment, and the second is your equipment.
Environment
Record your audio in the quietest possible room. A studio is ideal, of course. If a studio is not available, even basic soundproofing will help.
- Close all doors and windows.
- Draw curtains, or hang thick tapestries.
- Use styrofoam, or similar pliable materials, to soundproof windows.
- Avoid echoey rooms.
- Turn off HVAC systems and any unnecessary machines (fridges, AC units, etc).
- Turn off cell phones and other potential sources of sudden noises.
- Tell people around you that you’re recording audio, and ask for their cooperation in keeping ambient noise to a minimum.
Equipment
For a simple screencast, you don’t really need expensive audio equipment. You can make do with a range of options.
- Built-in laptop microphone: depending on your laptop, it’s usually very hard to obtain a good result. The microphone tends to pickup a lot of background noise, and interference or white noise from the laptop itself. As a result, audio is rarely clear.
- iPhone or Android device: better clarity, but hard to work with. If you aren’t doing screencasts on a regular basis, this is a good budget option.
- Podcast or similar desktop microphone: great option at an affordable price point. If you’re making screencasts on a regular basis, but don’t have a lot to spend, one of these microphones can improve your results dramatically, without breaking the bank.
- Professional microphone: obviously, this is the best option if it’s in your budget. A lapel microphone or a shotgun microphone are the two most popular microphones for this type of recording.
For our screencasts specifically, we record them in our soundproofed studio. We used soundproofing materials on the walls, and had soundproofing curtains custom-made for the sole window in the room.
Nick recorded the audio for this video, and for most of our screencasts, using a supercardiod shotgun microphone and a Zoom H6N audio recorder.
These investments were worthwhile since we produce video frequently, and can use these flexible tools in a variety of ways. If you are looking to make more video in the New Year, getting the right tools for the job will help you reach your goals.
Editing
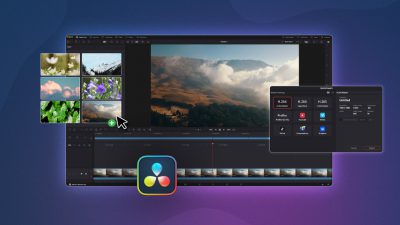
The best editing program to use is the one you are most familiar with. For us, that’s Adobe Premiere, but it could be Final Cut, iMovie, or even the screencast software you selected earlier.
For editing, you’ll want to get your voiceover on its own track. Separate the audio from your screen capture footage if you recorded them simultaneously. If you recorded them separately, you’ll just want to import the audio on its own track, and you’re good to go.
Edit the audio down until you have removed any awkward pauses, misspoken words, or other unwanted sounds. The length of the audio recording should dictate the length of the video to avoid dead air.
For the visuals, the first step is to scrub through your “Rests,” and remove any bad takes. Find your “Actions,” and make a cut at the beginning and end of each one.
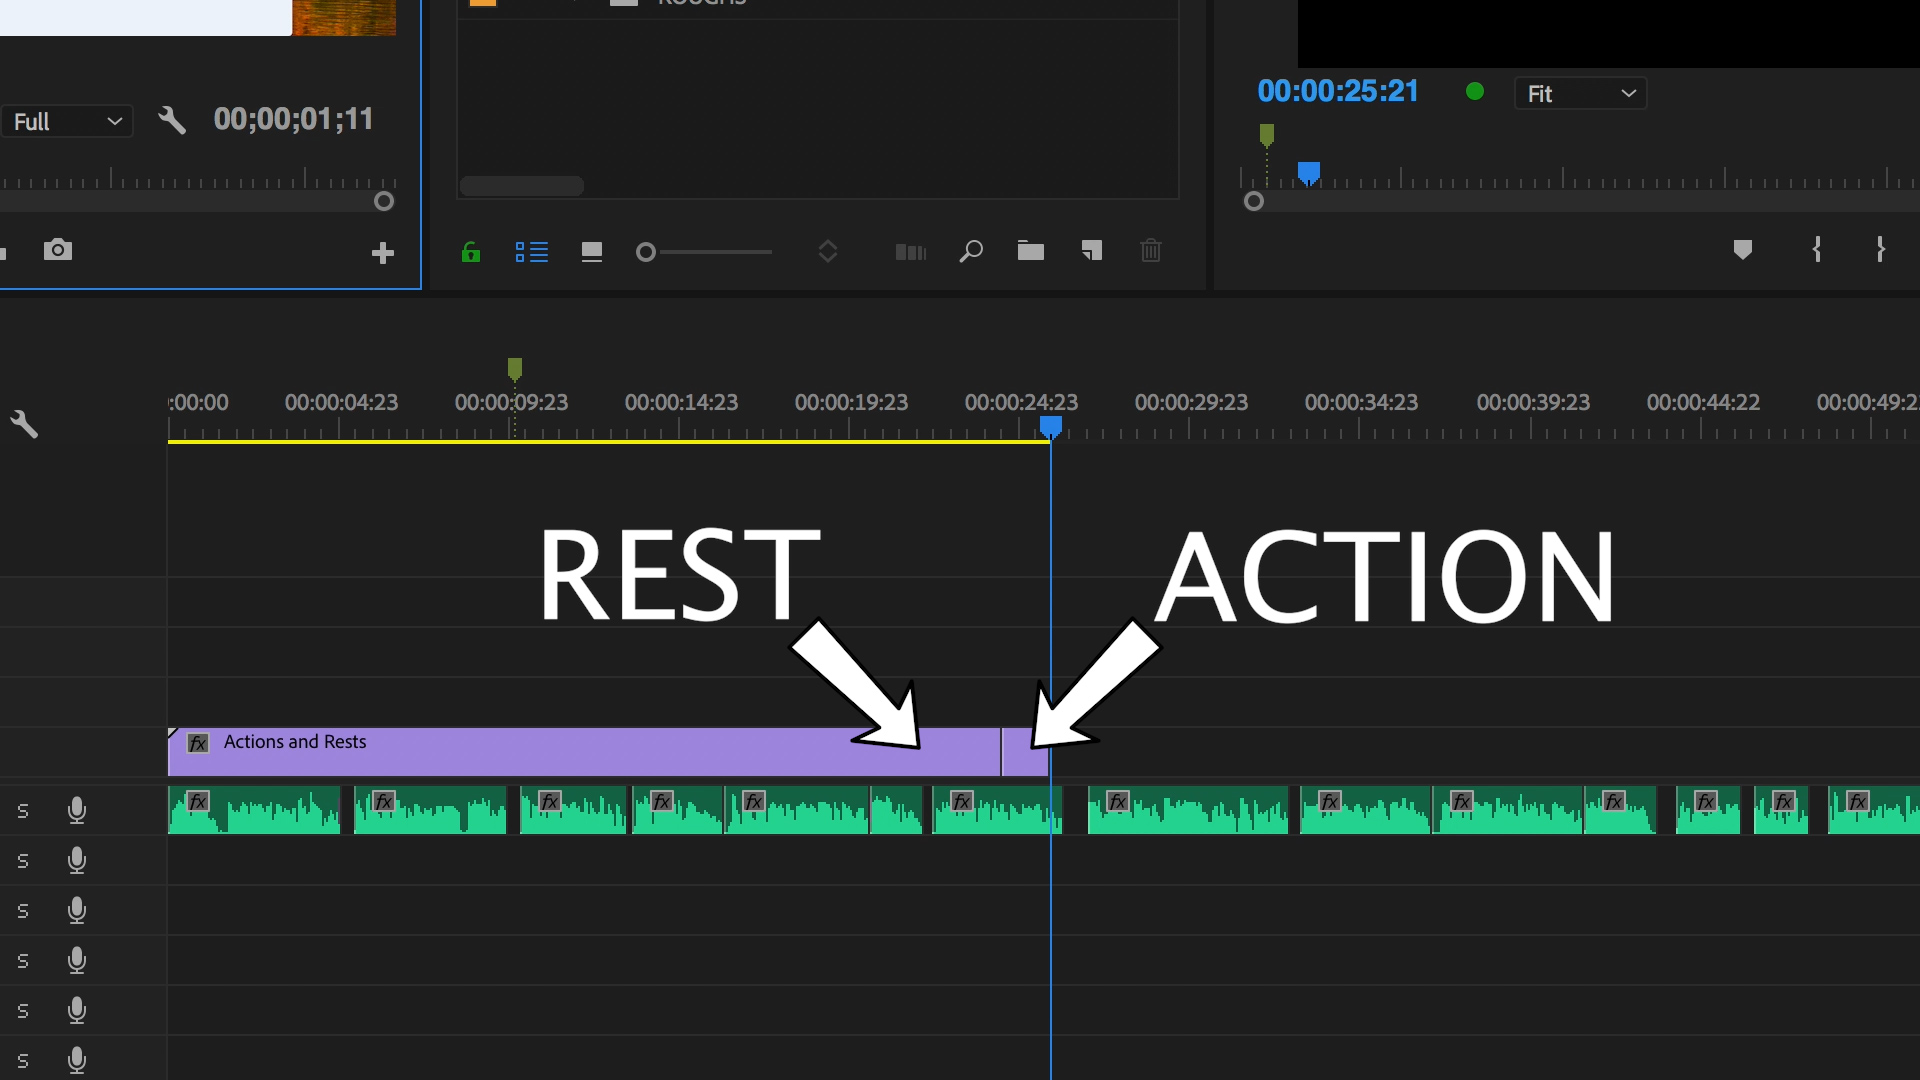
Next, match the actions to the narration, and adjust the length of the rests to sync it all up.
There might be some occasions where an action takes substantially longer than the voiceover to complete. Play around with the speed of that particular clip to match it to the narration as much as possible, without sacrificing clarity.
Bringing it All Together
There is no magic trick to making a clear, polished screencast. It’s really all about making sure you are properly prepared, and working with the highest quality inputs as possible.
Got a screencast you’re ready to share with the world? Open a free trial on SproutVideo and start sharing it today.