In this episode of our How To Video: Lighting series, learn how to recreate soft, natural, and flattering lighting for a classic interview setup, and banish dark shadows for good! We’ll cover the tools you need, as well as how to determine when the lighting is just right.
Keeping reading and watch the video below to gain new expertise in this fundamental lighting scenario.
Video Tutorial on Interview Lighting
You do not need a lot of fancy gear to get interview lighting right. In fact, basic lighting setups require very little other than, you guessed it, sources of light.
In this video, SproutVideo’s head of video production, Nick LaClair, will highlight different tools filmmakers use to shape light around a subject’s face. He’ll also illuminate the proper way to arrange your key light and fill light to mimic daylight, one of the most flattering light sources for interview subjects on camera.
Recreating Natural Light
Natural light is soft, flattering, and appealing to the eye. For a majority of interview setups, the goal is to replicate the effects of natural light as closely as possible.
The ideal scenario is when a subject is positioned the correct distance from a window. The window acts as a key light – in other words, the main light on your subject. The ambient lighting in the room acts as your fill light, and prevents the shadows on your subject’s face from becoming too harsh.
When properly balanced, the key light serves to highlight your subject’s features. Then, the fill light adds detail and dimension by offsetting the shadows created by the key light.
Getting The Right Balance
So, how do you know your subject is the optimal distance from the window?
If the person you’re filming is too close to the window, or the light source is too intense, the lighting contrast will be too harsh. The key light will be too pronounced, while the fill light will be inadequate, leaving dark shadows across their face.
Conversely, if you’re too far away from the window or light source, your subject will appear flat. Too much ambient light will remove the dimensionality from your subject’s face.
The takeaway here is that all lighting setups are simply attempting to strike the right balance between key light and fill light. Keep tweaking your setup until you get the look you want.
Your Tools
Generally speaking, there are two types of lights: soft lights and hard lights.
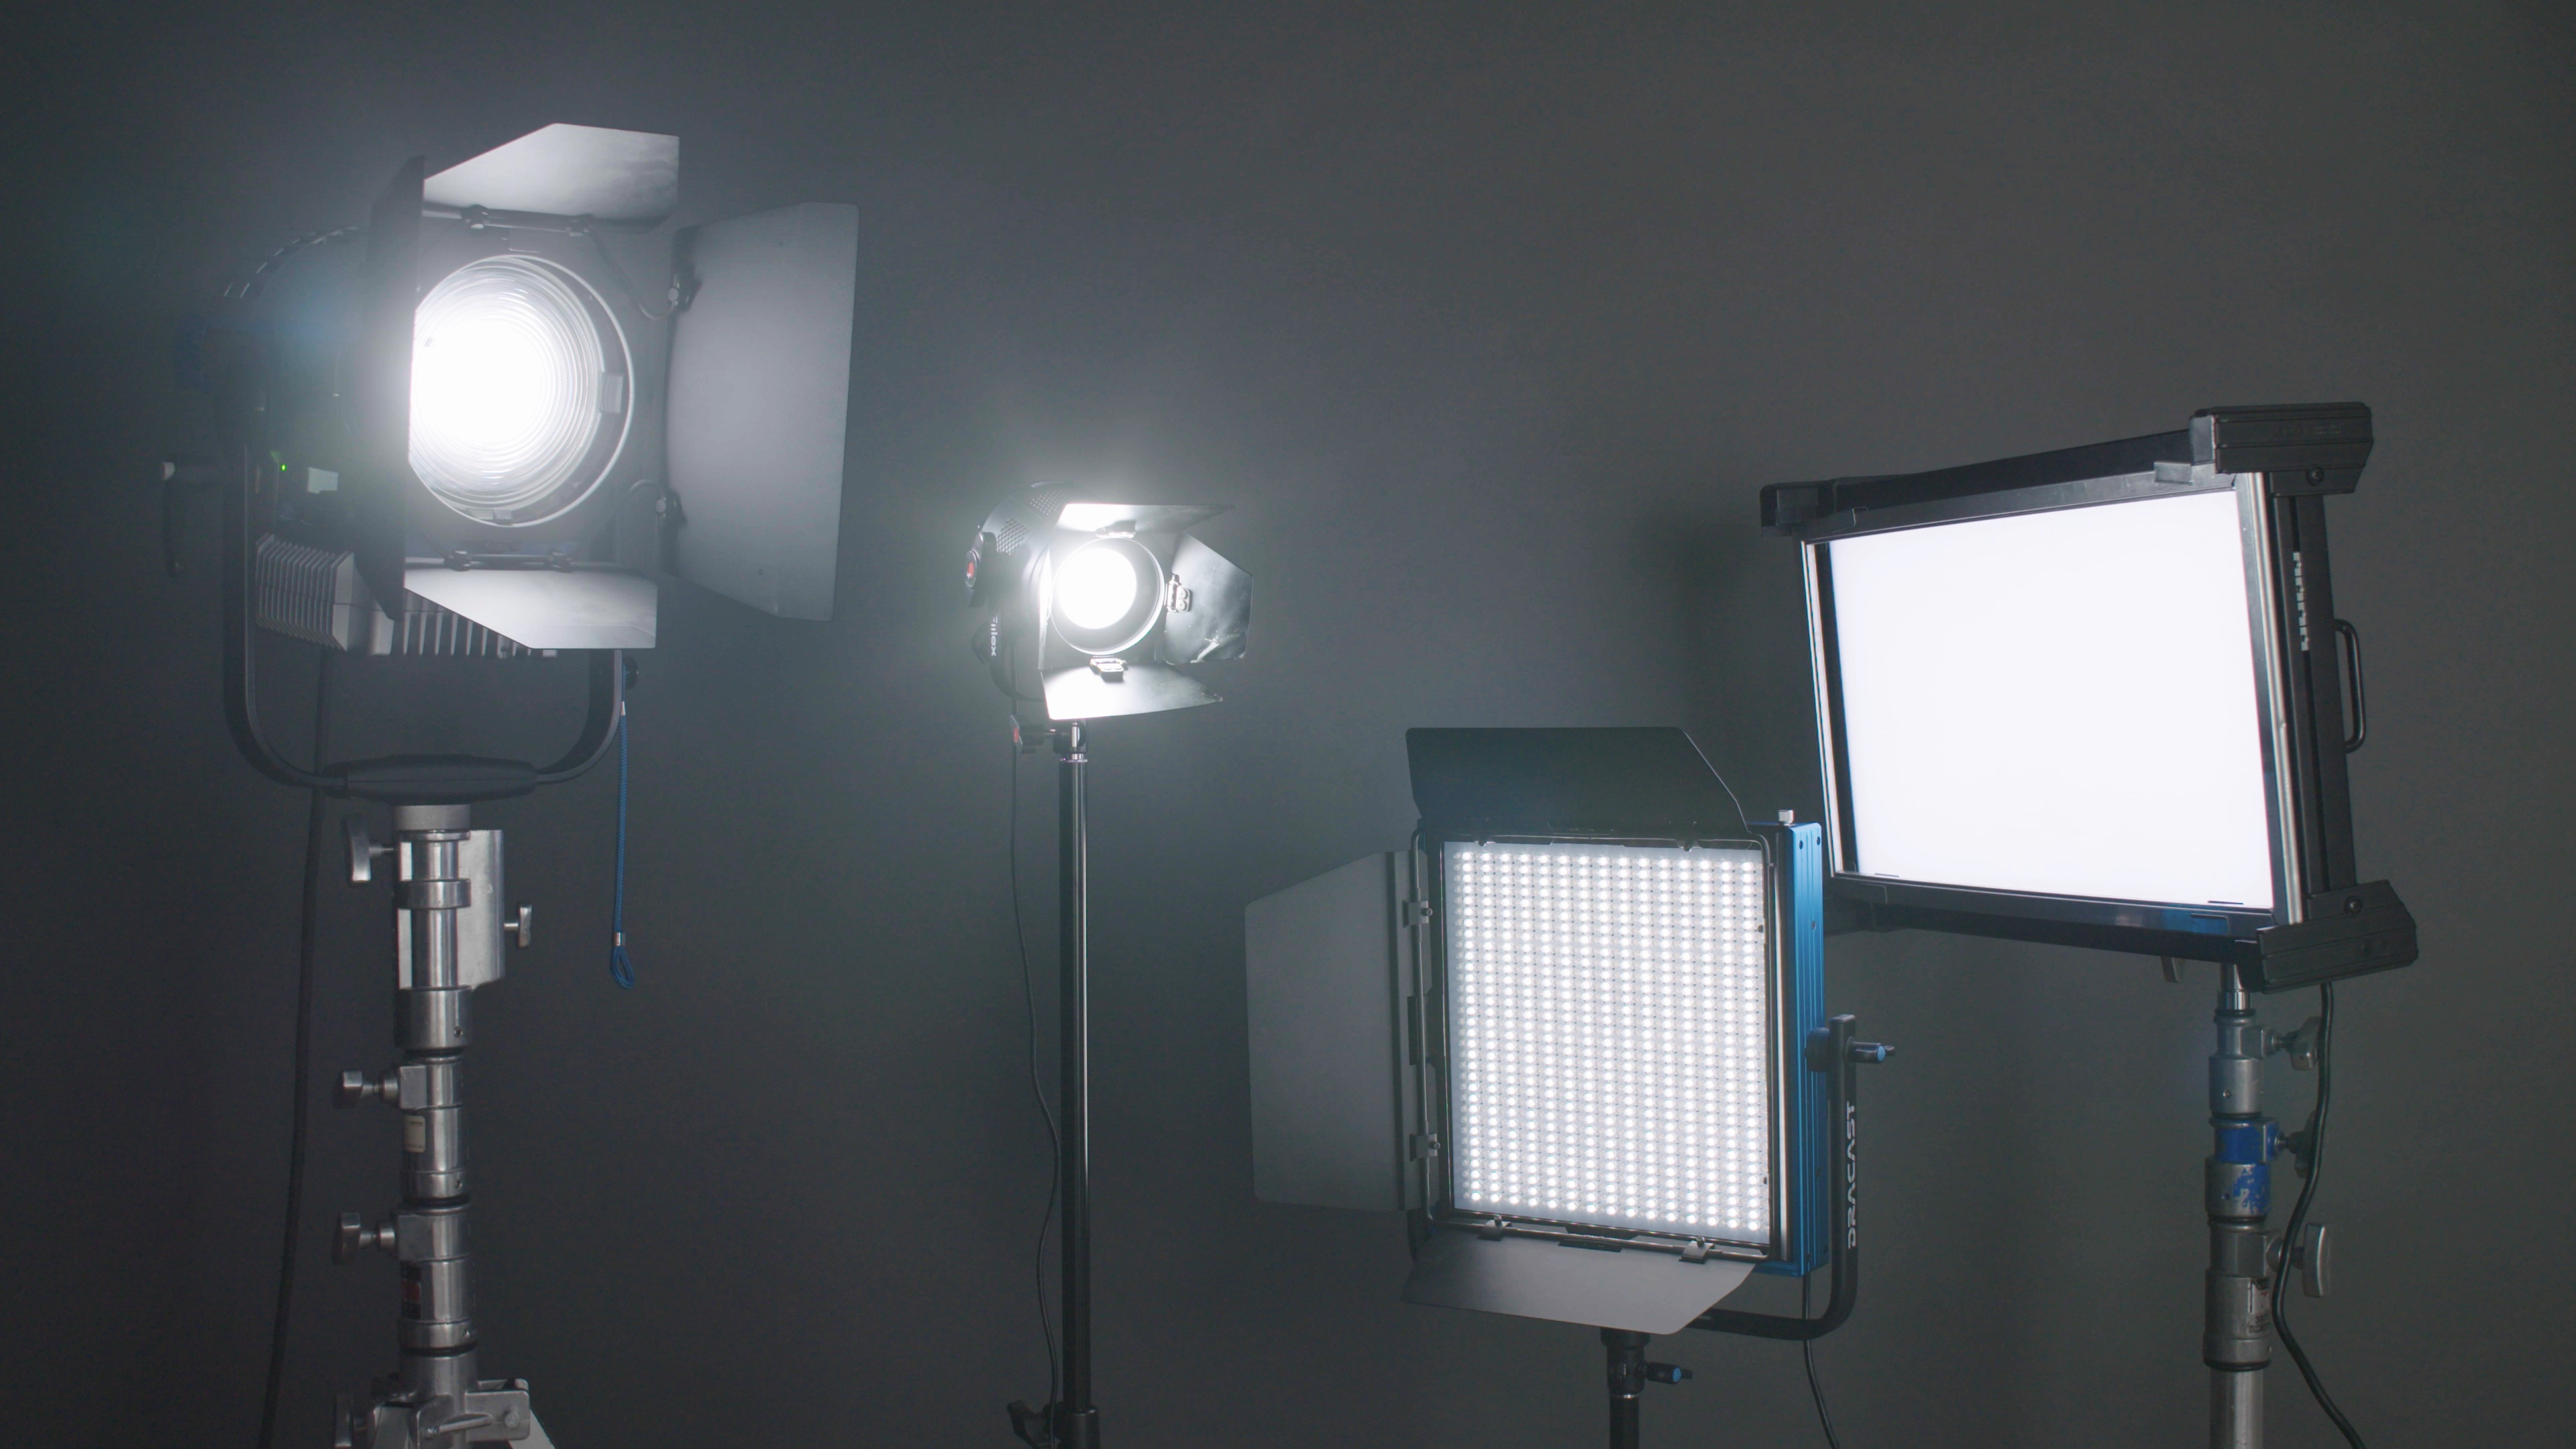
Soft lights, such as the two seen above on the right, are large sources of light. Typically panels, soft lights come in a range of sizes. The bigger the panel, the softer the light.
For soft lights, 1×1 panels are the smallest standard, and the sharpest light source of the soft lights. Larger ones, like the Kino Flo Celeb, are softer with a light beam that is not controllable, radiating out in all directions. One way to control a larger soft light like the Kino Flo Celeb is a grid overlay. This can focus the light into a smaller pattern while still retaining its softness.
Hard Lights
Hard lights emit a point source of light. They can be fresnel (second from the left), meaning they have a lens for focusing the light, or they can be par (first on the left), meaning they don’t have the ability to focus the angle of the beam.
Hard lights are the most versatile in a studio because they can be used on their own, or softened with a modifier. For instance, you can direct a hard light either through a soft-box, or through or against flags, silks, or a reflector. No matter which you choose, the result is similar. The light will be diffused, creating softer shadows on your subject.
Thanks to their flexibility, the movie industry typically uses these types of lights. What you might assume are soft light sources on a movie set are actually hard light sources, like fresnels, pointed toward a piece of equipment that will diffuse it.
In the example above, the nice soft light source is actually created by a high-powered fresnel light placed off to camera left shooting up above the subject’s head. The light is bouncing off a 12×6 white fabric called a silk that has been raised up in the air behind the subject.
Lighting Source Setup Options
When lighting a subject, you always want a soft light source to serve as your key light. If you start with a hard light source, the effect on your subject will be harsh and unflattering.
There are several options for softening up your light to your liking as shown in the video (2:23-2:58). The general idea is to defuse the light from your key light, and the best way depends on what you’re using as your light source. Then, adjust your fill light to offset the shadows created by your key light.
For example, if you are using a 1×1 light panel, shooting it through a 2×3 silk will dramatically improve the look of your subject. The diffusion helps wrap the light around the face in a way that is soft and flattering. This is a great option if space and weight are an issue.
Other options are a larger light panel, a fresnel, or a light with a chimera. These are ideal if space and weight are not an issue. In the end, it will all come down to your desired effect, resources, and preferences.
Now that you’ve learned how to choose the right light for your shoot, you’re ready to get started! Leave a comment below or tweet at @sproutvideo to let us know if you have other questions about lighting sources and tools. And, don’t forget to catch the next episode in the How To Video series where we cover studio lighting.