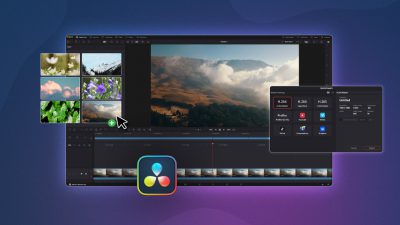
In the first episode of our color grading tutorial series, we covered basic fundamentals in Adobe Premiere. Now, we’re going to show you how to incorporate DaVinci Resolve, a professional color grading tool, into your Adobe Premiere editing workflow.
Here’s how to make the round trip from Adobe to DaVinci and back more seamless and less error-prone. These tips take the guesswork out of the color grading process.
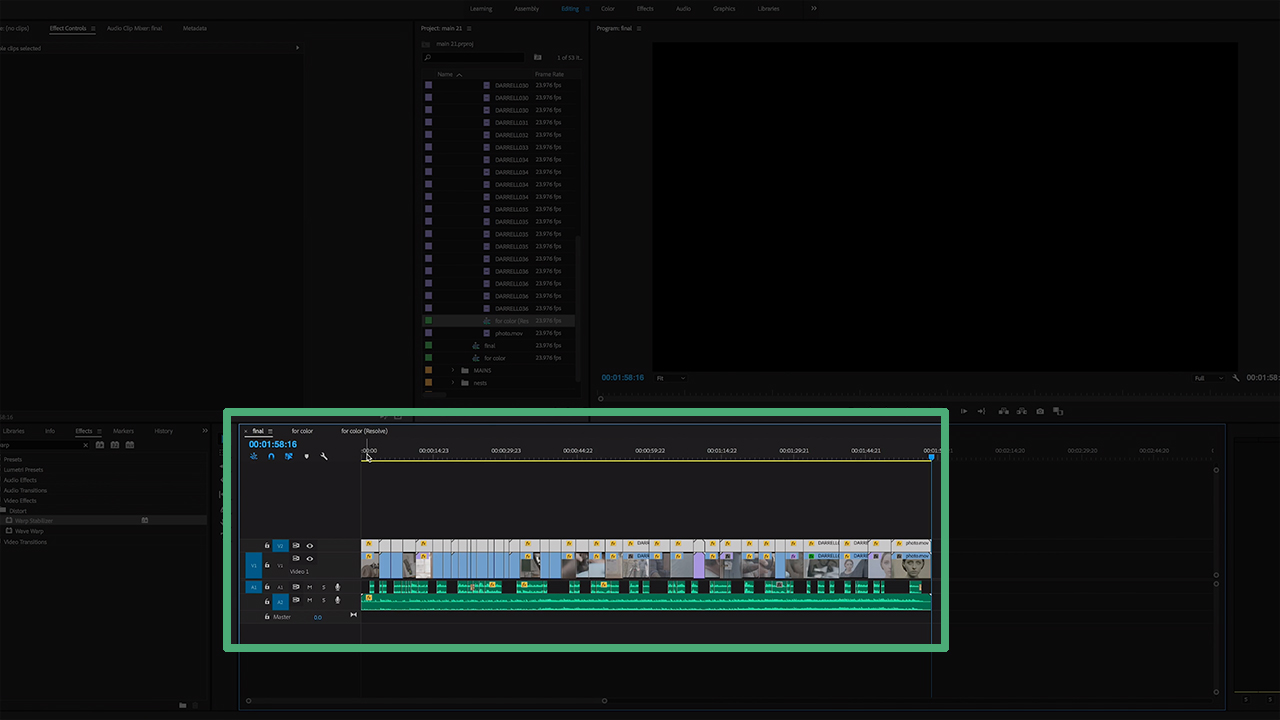
Video Tutorial
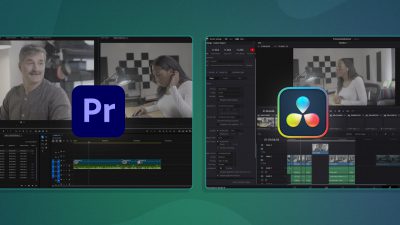
Join Nick LaClair, head of video production at SproutVideo, as he shows the entire end-to-end process for color grading with Adobe Premiere and DaVinci:
If you liked that episode, be sure to catch the rest of our How To Video: Post Production series! Subscribe to our newsletter to get each episode, plus other video-focused tips and trends.
When to Use DaVinci
DaVinci is most appropriate for advanced color grading needs. As a professional color grading tool, it allows you to make changes to your video’s visuals with a high level of accuracy and control. Since it’s a color managed application, you can be sure your final rendered output will look the same to your viewers on the web as it does on your computer.
When your video is edited down to a final cut, it’s time to color grade! This should be close to the very last step in your process, if not the last step. Color grading can be a lengthy, involved process, and it’s best to do it all in one go.
Here is an overview of the process to send your footage from Premiere to DaVinci, and reimport it to Premiere to finalize your video. Follow these exact steps to avoid common pitfalls along the way.
1. Preparing to Send Your Project to DaVinci
The process starts in Adobe Premiere. First, you’ll want to duplicate your video project to create a version you can import into DaVinci. This allows you to make changes without potentially losing any prior work from the editing process.
Then, remove the audio track, flatten your sequence, and remove any attributes, like effects. This will leave you with a clean sequence ready for editing in DaVinci.
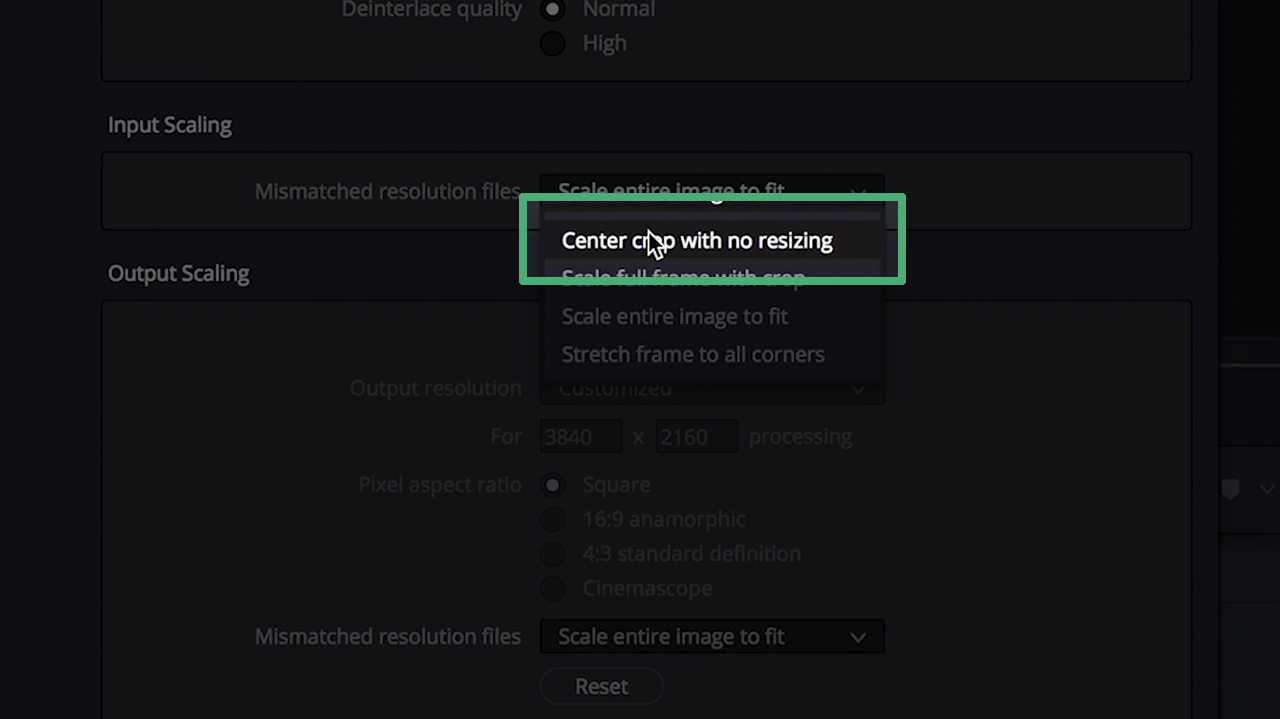
Prior to importing the XML from Adobe to DaVinci, make sure your video clips will be formatted correctly in DaVinci. Under File > Project Settings, select Image Scaling and make sure it’s set to “Center Crop with No Resizing”.
Finally, check your timeline’s color space to ensure your video will appear the exact same in DaVinci as it will to your viewers on the web. Under Color Management, change your color settings to sRGB.

Additionally, if you really want to see the real world version of your video colors, you’ll need a calibrated monitor that allows you to use RGB color space. If one isn’t available to you, you can still make accurate color changes in DaVinci as long as your color space settings are set to sRGB.
2. Editing in DaVinci
Now, you’re ready to import your timeline to DaVinci for color grading.
Navigate to File > Import Timeline > Import XML. Select the duplicated XML file we created earlier.
Leave the import options set to the defaults, and DaVinci will import your timeline just as it appears in Premiere.
You’re now ready to color grade in DaVinci! Navigate to the Color tab at the bottom, and make any needed adjustments to your video. We’ll cover exactly how to do that in our upcoming episode next week.
3. Exporting Back to Premiere
After completing your color adjustments in DaVinci, you’re ready to send your footage back to Premiere. Here’s how to optimize your settings during that process.
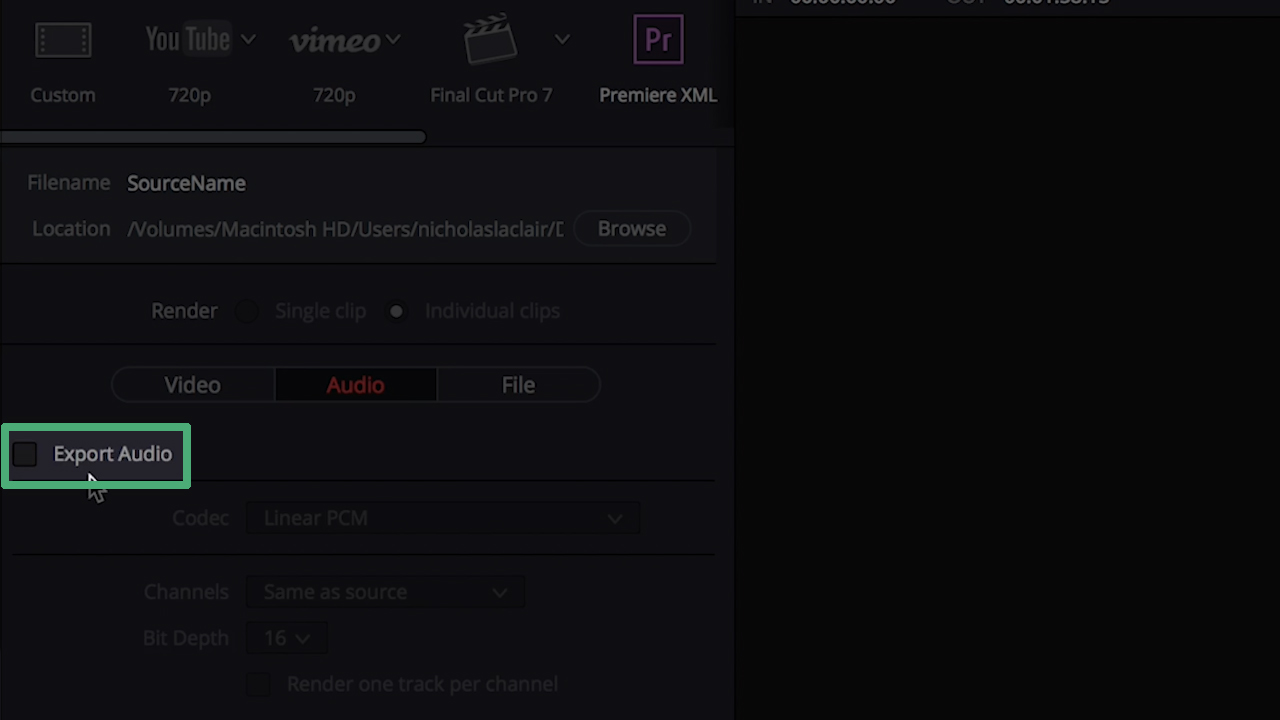
Go to the Delivery tab, and at the top, choose Premiere XML. Select an empty folder for your final output, and under Render Settings, uncheck audio since this file contains no audio.
The result will be all of your individual clips rendered as an XML file with the new color grade. Once rendered, you’ll be ready to rebuild your timeline in Premiere.
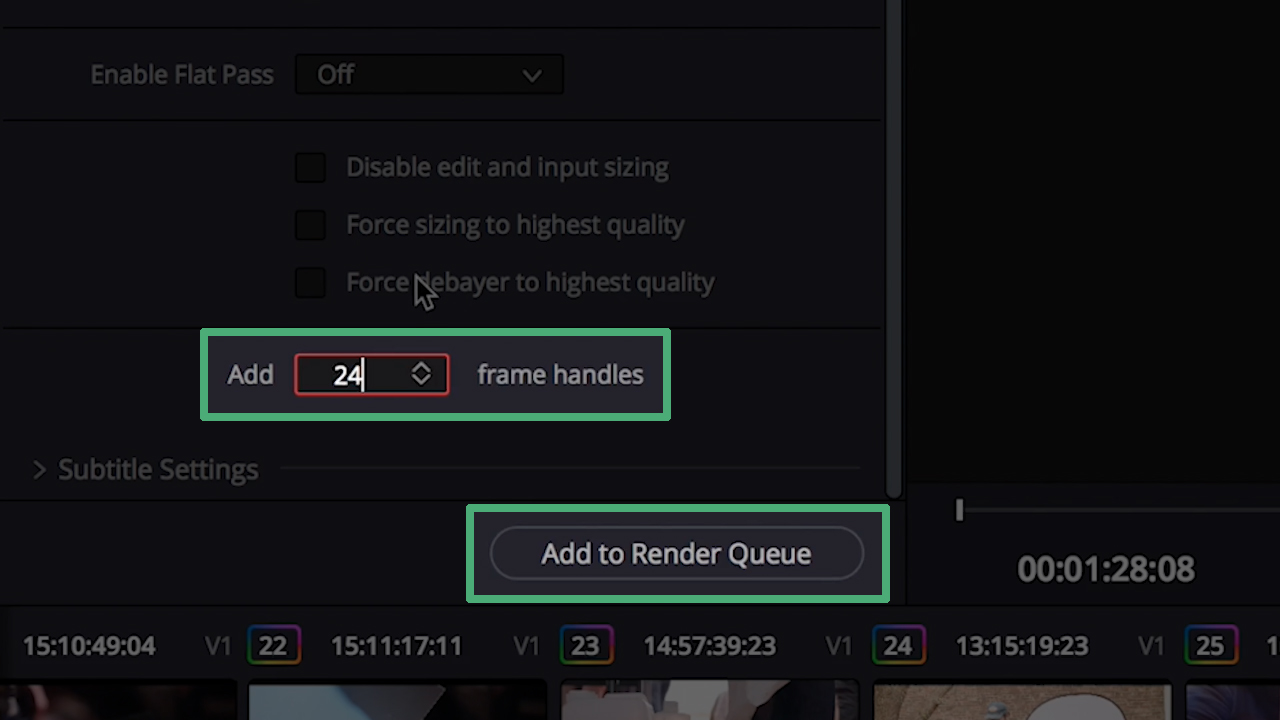
However, one extra step can save you a lot of headaches down the road. If you find you need to make some small edits in the future, such as adding a half second here or there, you’d need to redo the entire process. Or, you can simply tell DaVinci to include a little extra footage when it renders your clips.
To do that, go to Advanced Settings, and select the option to Add Frame Handles. Typically, Nick adds 24 frame handles, which adds an extra second of footage to both sides of your clip.
You’re now ready to render your footage. Click, “Add to Render Queue.”
Then, on the right hand side of the screen, click, “Start Render.”
Putting it all Together
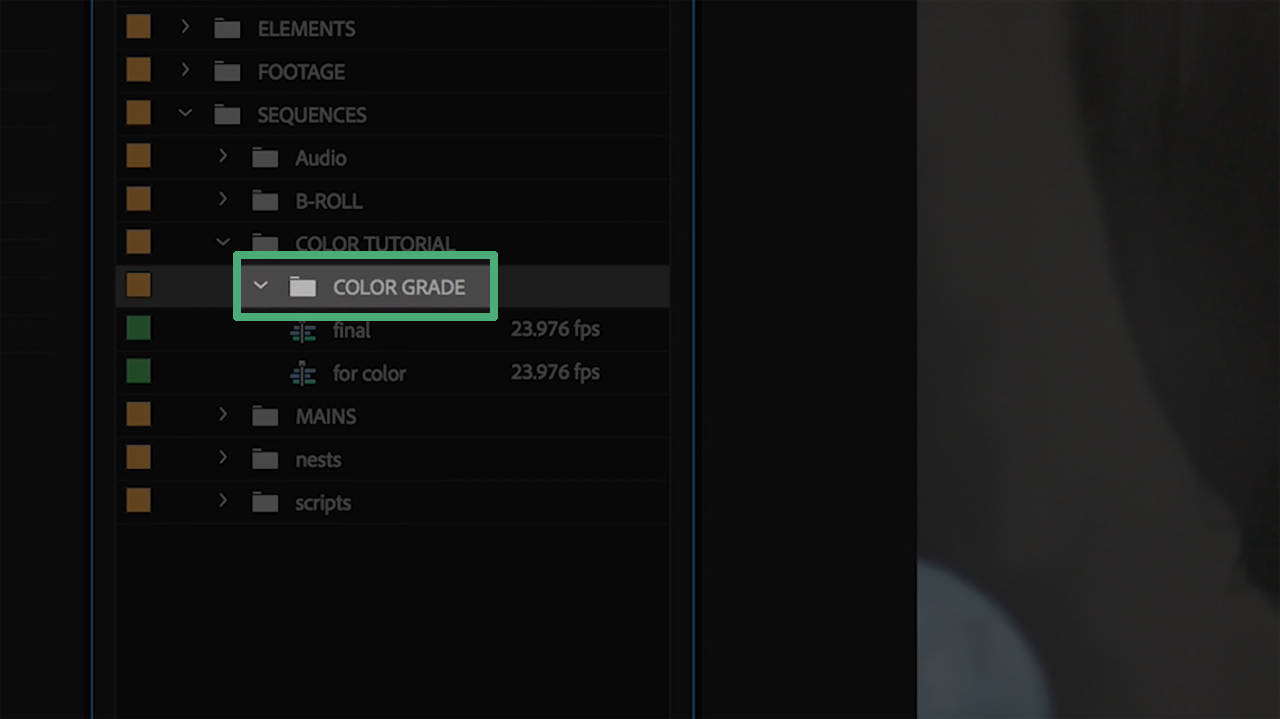
Back in Premiere, create a new folder called “Color Grade”.
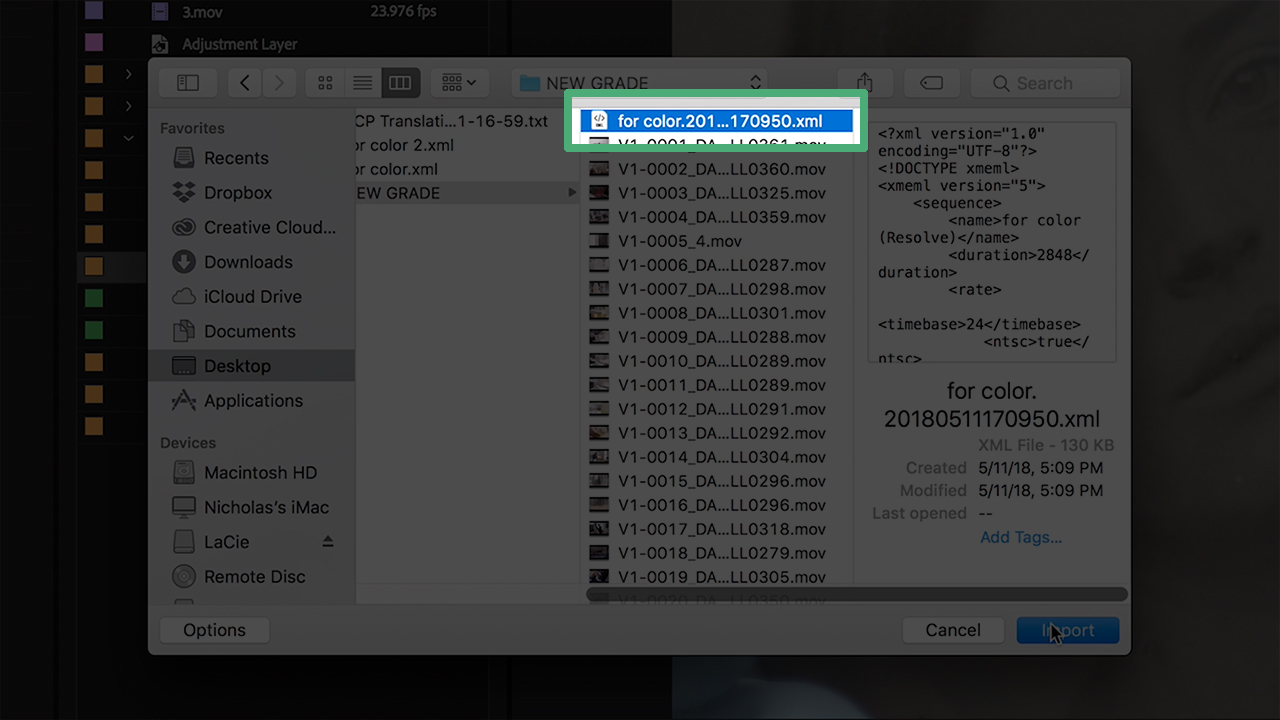
Select that folder, then go to File > Import, and locate the rendered files from DaVinci. You’ll see all the individual clips, as well as an XML file. Select the XML file, and click Import.
Once the XML is imported into Adobe Premiere, open the new color graded timeline, and copy the new sequence over to your original edited version.
Now that your color graded footage is back in Adobe, your project is ready to be exported and shared with the world! We hope these tips helped take the guesswork out of color grading with professional tools like DaVinci Resolve and Adobe Premiere.