Whether you’re filming in a studio, an office, or even outside, setting the stage for your video is incredibly important. Proper set design will help you avoid common pitfalls, and ensure your shoot goes as smoothly as possible. Read on for the six keys to setting the stage for success.
Choosing a Location
Depending on the type of video you’re making, you’ll want to be highly selective when choosing a location to film. The backdrop, ambiance, and resources available on location will dictate a lot about how your video will turn out.
Think outside the box. You’re not confined to your home or office! Call that friend with a beautiful living room, or borrow the architects’ offices for the day. Check public resources to see what might be available at your local public schools, libraries, or parks.
If you pick the perfect place, you’ll have a lot less work to do when it comes to setting the stage for your video.
Check out this post for more tips on scouting a location for your film.
Camera Location and Framing
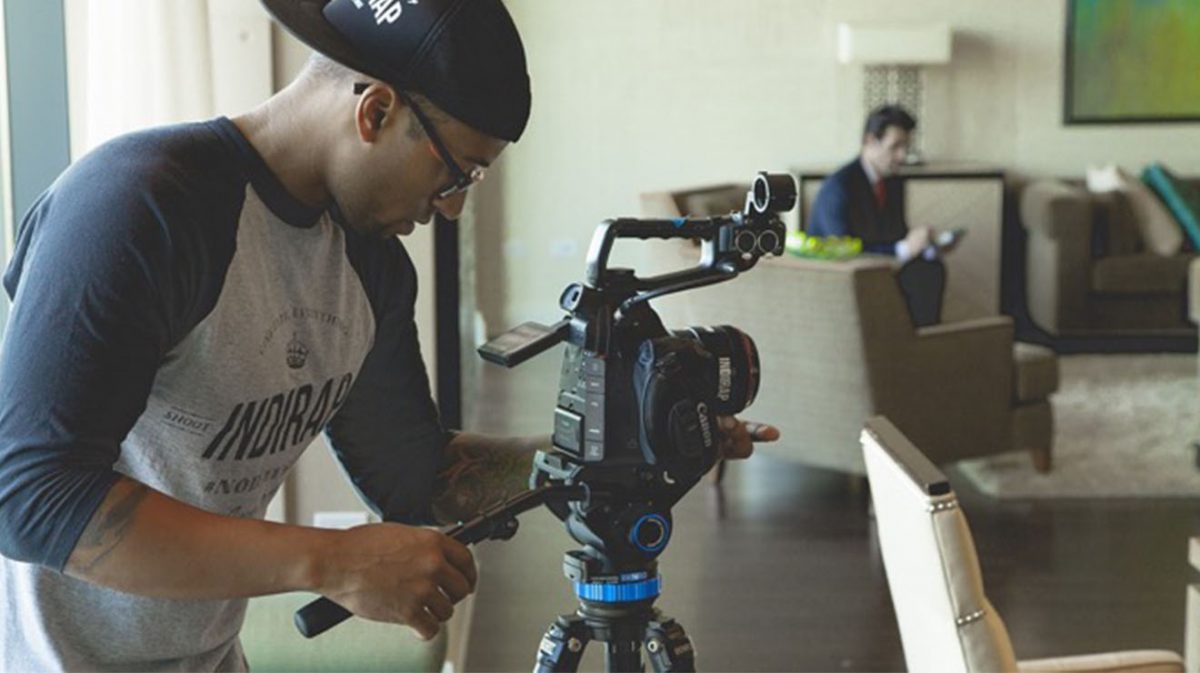
Once you’ve got your location squared away, you’ll need to determine how best to set it up. Consider the following before you put your tripod in place:
- Power sources
- Natural and artificial lighting
- The most optimal backdrop available
- Space required for on-camera action
- Space required for your gear and crew
- Safety, the weather, and other potential risks
Once you’ve determined the angle you want, and the best spot for the camera, you’ll want to start framing your shot. Scan the scene through the viewfinder to check for any issues. You’re looking for visual problems, like glare, reflective surfaces, clutter, dust or dirty surfaces, or potential distractions.
Position an object in the spot where your actors will be, or use a volunteer as a stand-in. The goal is to test out different camera settings so you can be sure you’ll get the lighting and angles right on the day of the shoot.
Check your field of focus, practice any panning shots you’ll need, and make sure all required visuals fit in the frame. On the flip-side, make sure no unwanted elements enter your field of view as the camera angle changes.
Lighting Design
When your camera is in place, you can design your lighting accordingly. Important factors to consider are:
- The mood of your scene
- Existing lighting resources – both natural and artificial
- The color temperature of the light sources available to you
- The placement of your subjects
- Whether motion is a key part of your scene
The goal is to illuminate your subject(s), avoid glares or harsh shadows, and to amplify the mood you’re going for. For instance, a romantic scene would likely have a soft glow, with a warm color temperature. A tense action scene would be nearly the opposite – brightly lit with bluish lights.
Here’s an example of a proper lighting setup:
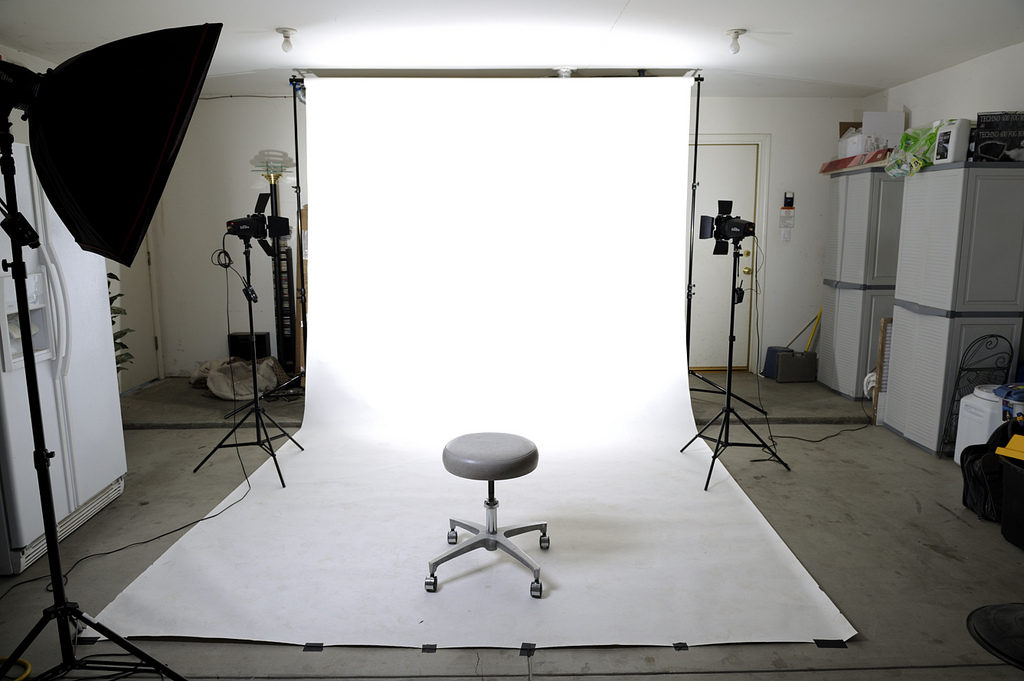
The background is nicely illuminated to avoid shadows, and the subject will be softly lit with flattering lighting.
If you can’t dim lights or swap out bulbs, you can still alter the lighting on set. Here are some free or cheap ideas:
- Unscrew overhead bulbs to avoid harsh shadows on faces.
- Use or remove lampshades or filters to change the color temperature of the lights.
- Open or close window shades and blinds.
- Use reflective surfaces to properly illuminate your subject(s) if additional lighting sources aren’t available.
This subject is so complex, we’ve written about lighting several times in the past. Here’s a post on the basics of lighting, and another detailing seven steps for simple, affordable lighting.
Props
Setting the stage isn’t just about picking the right location or getting the lighting right. You have to sweat the small stuff.
Props add context and authenticity to a scene. They provide necessary visual cues to help orient your viewers. They can even say as much, if not more, than your script when it comes to storytelling.
Think about what you need to convey in the scene. Are your characters at ease? Where are they from? What kind of artifacts would support their story? Is there anything that definitely doesn’t belong?
Changing up art on the walls, moving plants around, and adding hints of a character’s past can all contribute to the end result. Raid thrift stores, hardware stores, fabric stores, and plant shops to add any needed elements.
Actor Direction and Cues
Parts of your set can serve as key reminders and prompts for actors as they move through a scene. You can use props as visual markers, or brightly colored chalk or tape to mark key spots.
Even for simple motion, it can be helpful to provide clear guides for actors to follow when filming. Point them in the right direction by making arrows with tape or chalk on the ground, out of the field of view of the camera. Any points where they should stop can be designated with an X to mark the spot.
If tape or chalk aren’t doable, use visual cues to help actors orient themselves correctly. For instance, you can make sure they line up with a specific prop, or use lighting to guide them.
Common Issues
No matter where you’re filming, or the type of scene you’re shooting, some common elements could go wrong. Here’s how to spot them, and correct them, before you start rolling.
Clutter
Clutter is the evil villain of a put-together shot. Whether you’re filming at your desk, in the great outdoors, or in a studio, you’ll want to ensure each angle is free and clear of any visual distractions.
Dark Spots
Proper lighting design will illuminate the background with ambient lighting. Dark shadows are really only appropriate in very specific scenes, like a dramatic event. Change the angles of your light sources, reposition them, and dim or brighten bulbs as needed.
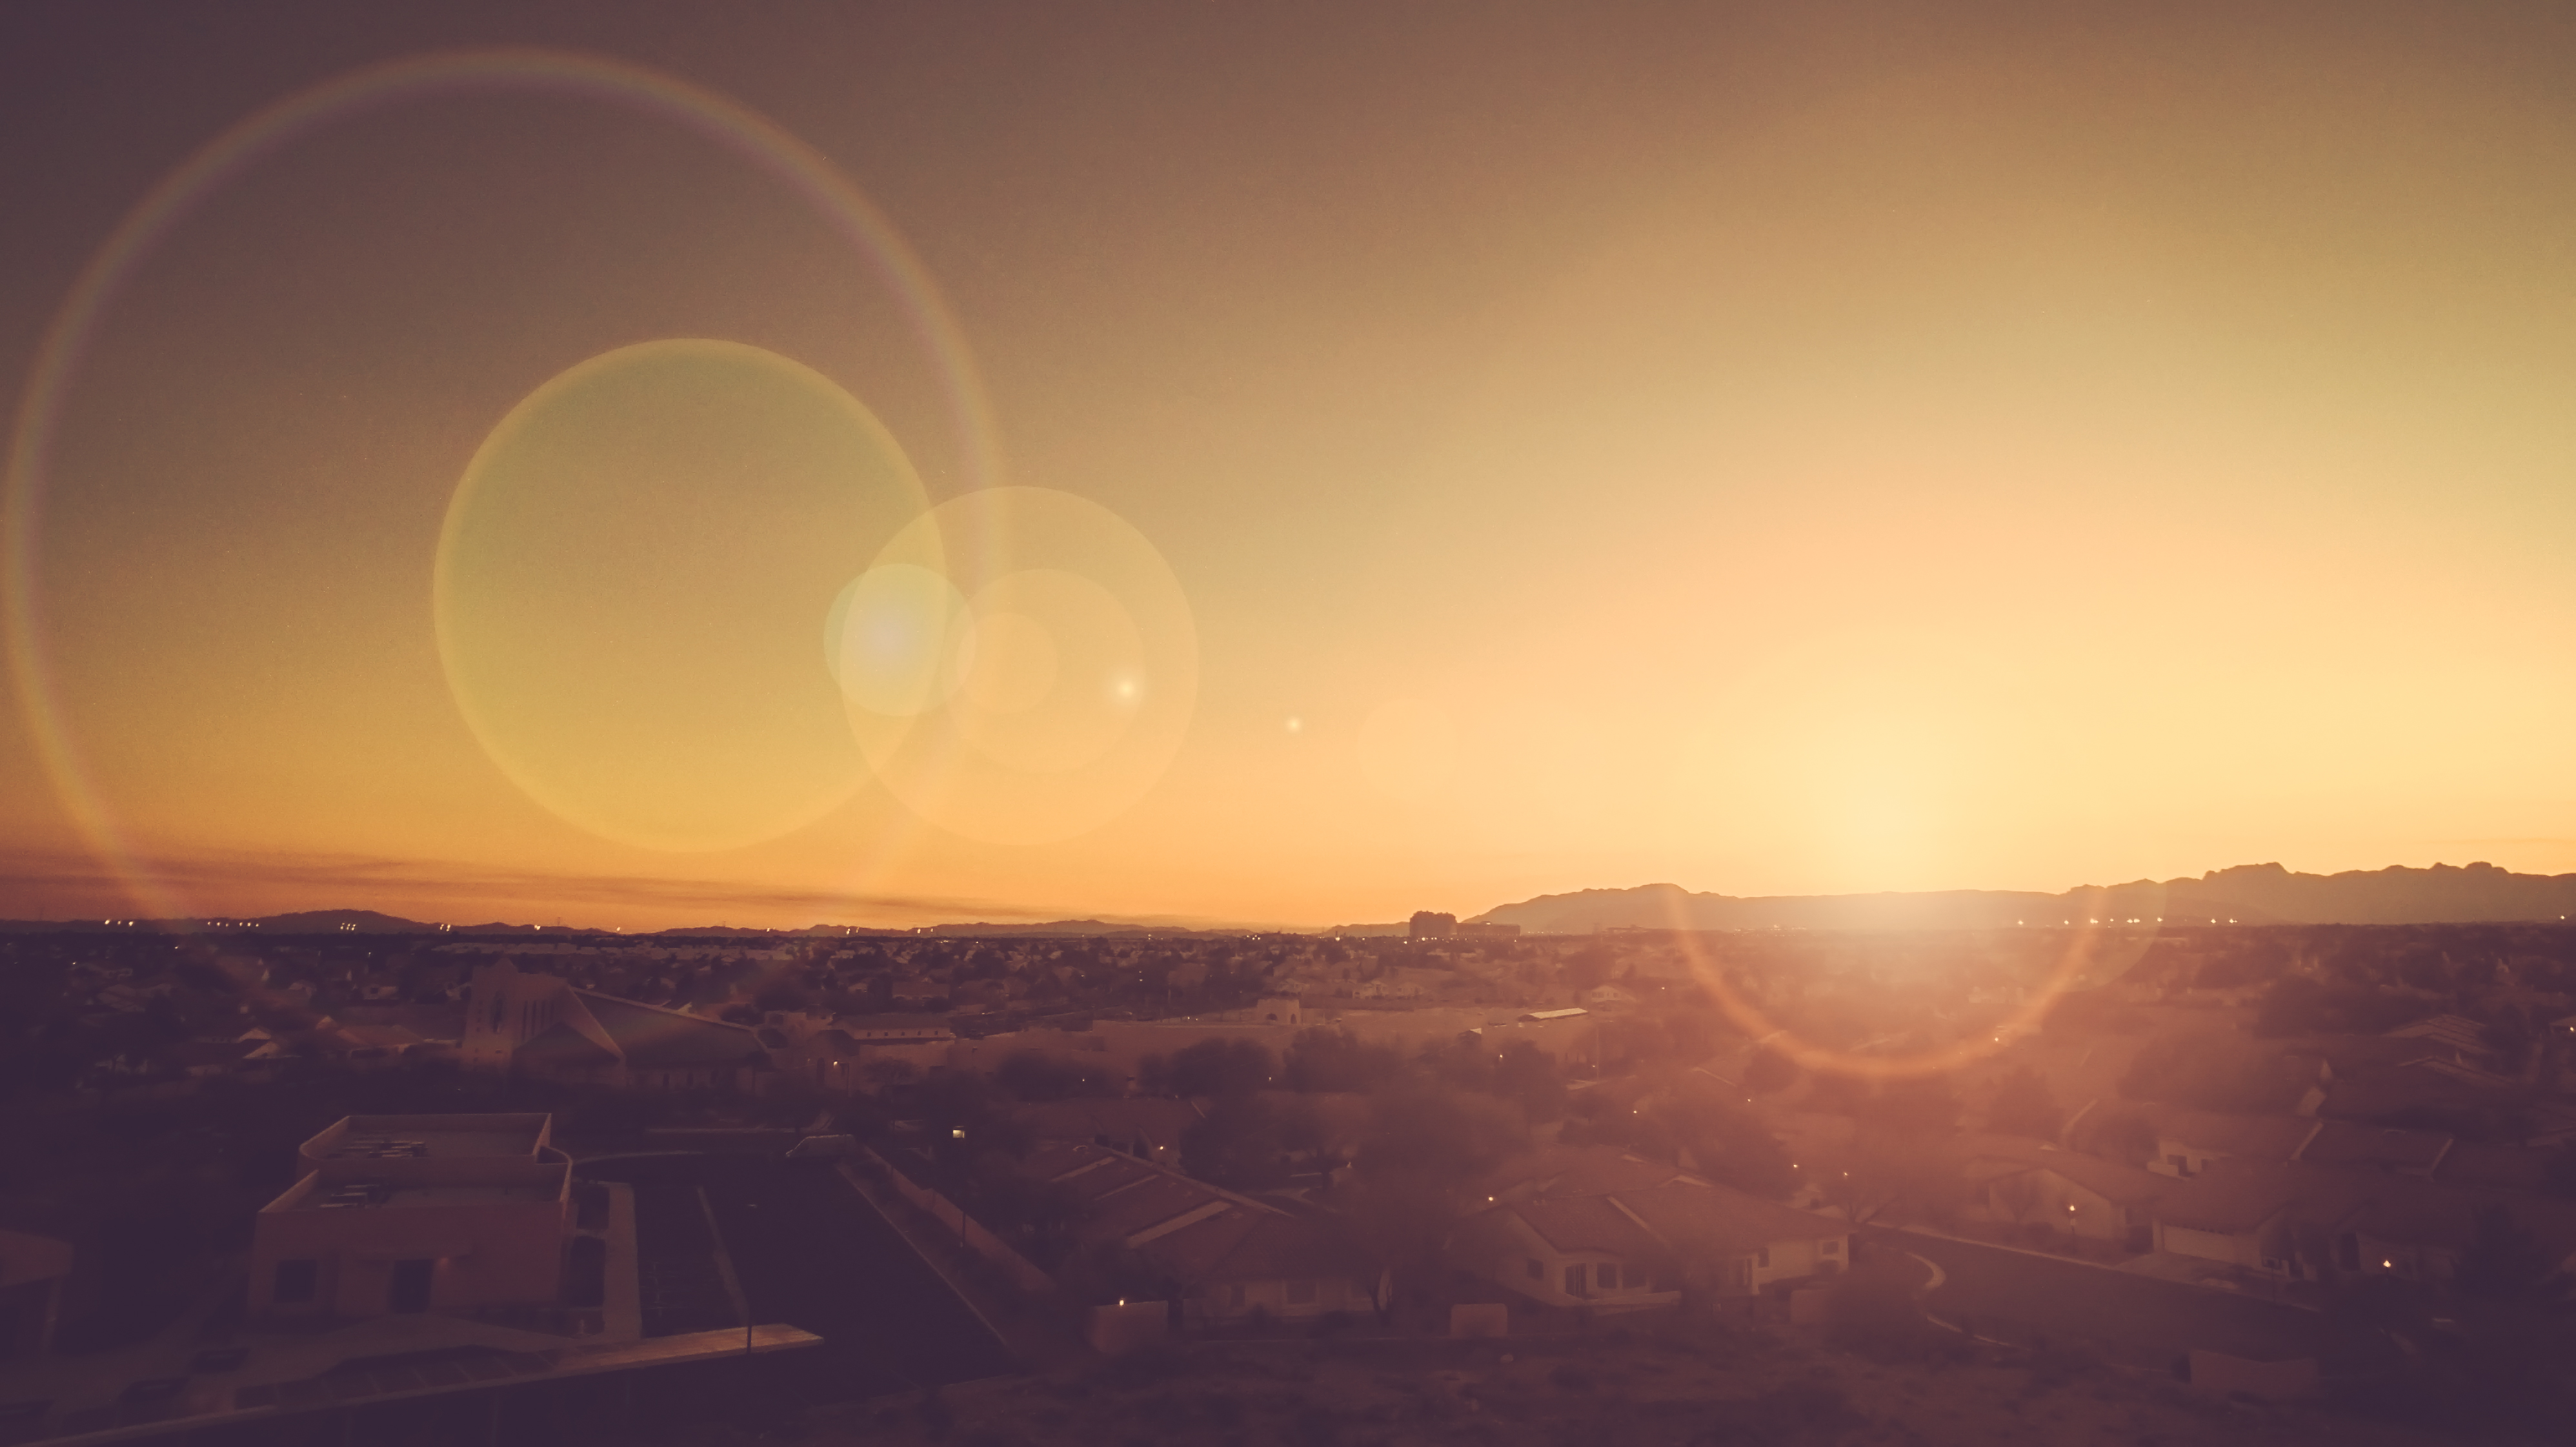
Glare
At the opposite end of the spectrum is glare. This can cause lens flares, which are unlikely to be a desirable effect on film. Check for reflective surfaces, bright, exposed lightbulbs, or shiny objects. Either remove them, or reposition the camera so the light doesn’t beam directly into the camera.
Distractions
Distractions can take a number of forms. It could be a bizarre painting, a passerby, or an unwanted noise picked up on camera. When scanning for issues, see if anything naturally draws your attention. If it’s detracting from the scene, remove it, quiet it, or reposition your shoot.
Hopefully these tips help set the stage for success with your next video shoot. Share your best tips for setting the scene on camera in the comments below!