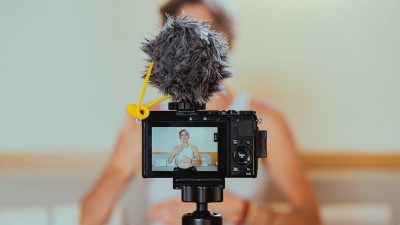
When it comes to professional cameras, there is no such thing as “one size fits all”. In this episode of our How To Video: Camera series, Nick LaClair, head of video production at SproutVideo, sits down with Michael Rubenstein, freelance photographer and director, to talk about the camera kits they use in the real world on a typical shoot.
They’re two video experts, with two really different cameras – a Sony FS7, and a mirrorless AS7ii. So, which is best? Turns out, it’s not that simple as there are pros and cons to each.
Watch the video below to get a hands-on comparison of footage quality, functionality, and other factors that can make a real difference when choosing which camera to work with.
Meet the Experts
Michael Rubenstein is a Sony Artisan and a veteran photographer (16 years) and videographer (8 years). He mainly creates video content for advertising, with a focus on “real people doing real things.”
Michael uses an AS7ii photo camera body with a lot of bells and whistles for his video work. In comparison, Nick works with a Sony FS7 – a professional camcorder, with far fewer accessories.
In this video, they compare the pros and cons – and cost – of their different camera configurations. Their insights are not to be missed!
Making the Most of What You’ve Got
As Nick and Michael discuss, when it comes to video, the difference in your results isn’t really about how much you spend on your equipment, or even how much gear you have. It all boils down to knowing your equipment, and how to get the best out of it.
Here’s how Nick and Michael manage to get similar, professional quality results out of very different cameras.
Footage Quality
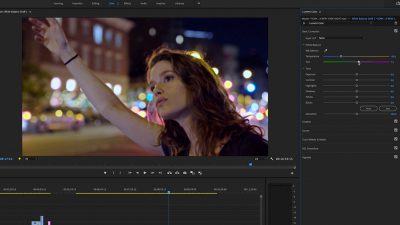
The two of them shot a collaborative video together, allowing for comparison of footage quality side-by-side.
Nick was shooting internal 10-bit 4:2:2, while Michael was recording external 8-bit 4:2:2 for the most part (here’s a primer on camera footage quality for an explanation of what that means). Any difference in footage quality was negligible at that level in the final product. Here’s an example from the FS7 performing very well in low light:
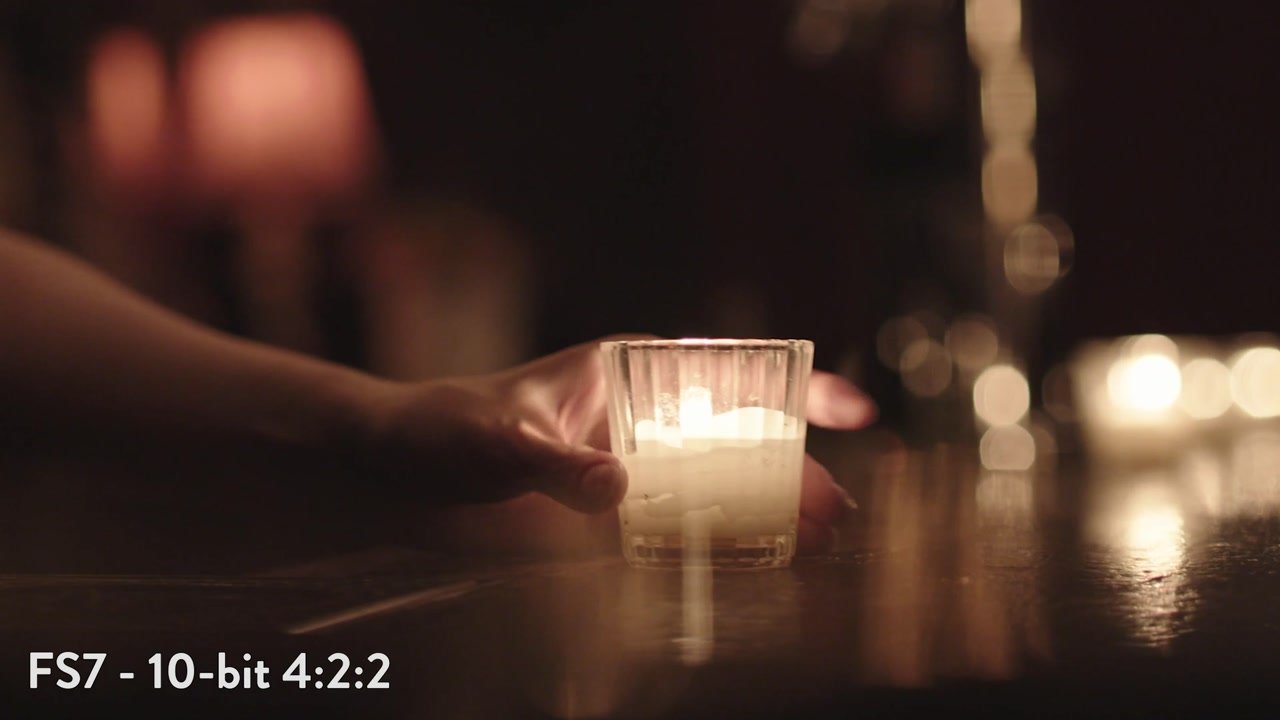
There’s a lot of detail despite the low ambient lighting contrasting with the bright candle in the center of the frame.
The only notable difference was when Michael had to switch to 8-bit 4:2:0 to record internally when using a gimbal. As Michael notes in the video, you’re going to see problems with 8-bit footage when you’re shooting scenes with lots of contrasting dark and light areas. You’re more likely to blow out bright whites, and lose dark blacks in your image. Compare this still to the FS7 image above:
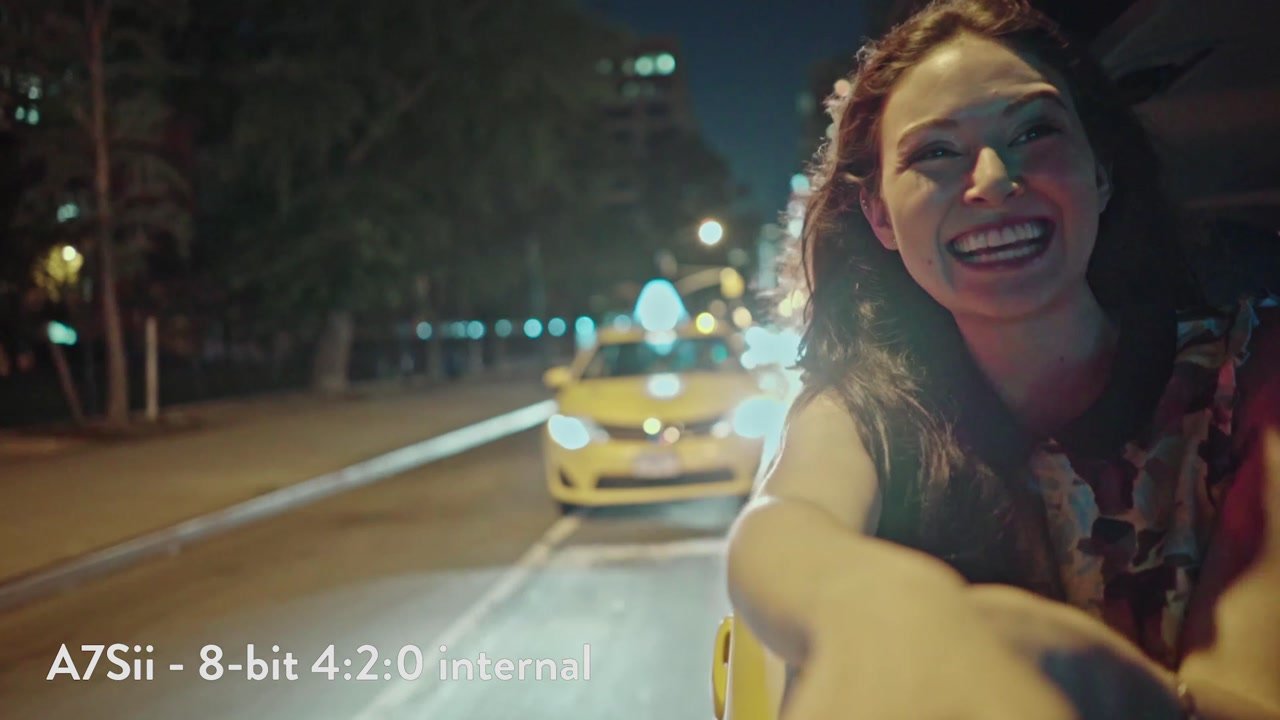
It’s a similar low light shot, with a few bright lights in the frame. Granted, this is a challenging lighting scenario. Still, there isn’t quite as much detail or dimension in the darker areas of the shot in comparison to the still from the FS7 footage above.
For more examples, see if you can distinguish the difference from 1:08 – 1:41 in the video above.
In contrast, 10-bit, 12-bit, or even 14-bit footage will appear more natural and cinematic in extreme lighting conditions. Cameras that can record 10-bit or higher internally are a wise choice for situations where contrasting lighting presents a challenge.
Functionality
Footage quality isn’t the only factor worth considering when selecting a camera. It also has to offer the features and functionality you need for your project.
In many cases, even high-end cameras don’t come with everything you need. In fact, most professional videographers have a camera kit that’s as individual as they are.
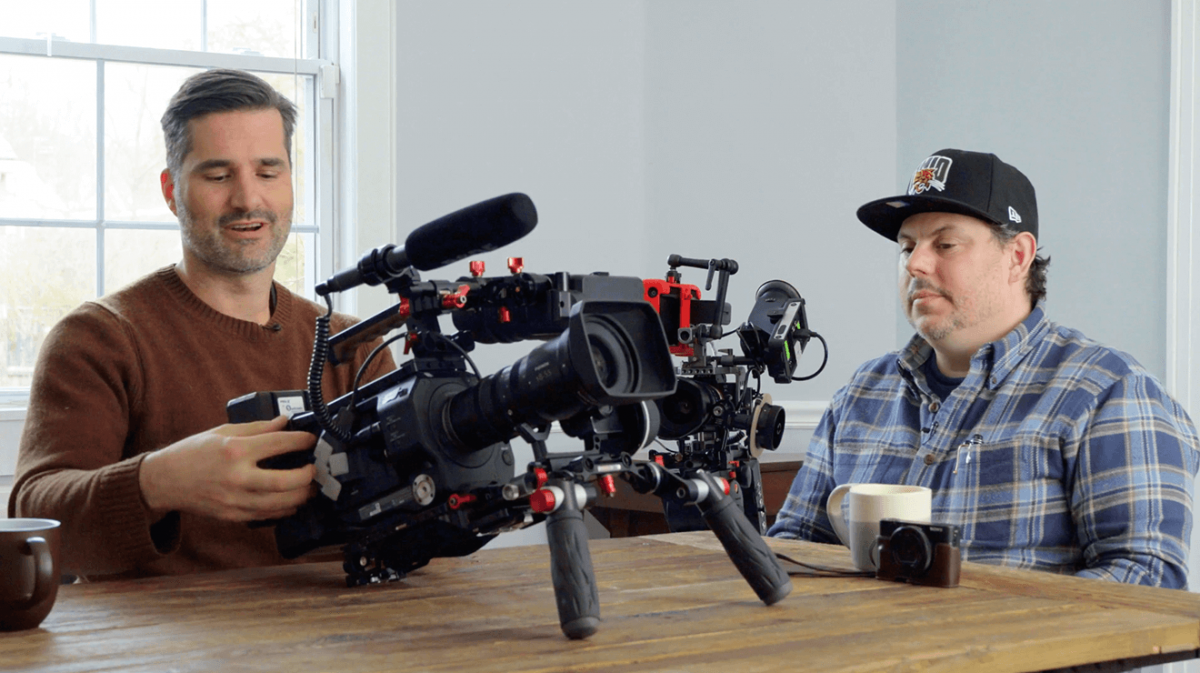
Michael’s AS7ii Camera
Michael works with a photo camera body, as previously mentioned. But, that’s certainly not all he’s working with.
He uses an Atomos display as a monitor and recorder. It enables Michael to easily see what the camera is recording from different angles. An external display is key for video work, especially compared to the smaller, less flexible viewfinder built into the camera body. It also allows him to record in prores 4:2:2 – a much better codec and quality than his camera can record internally.
He also added a Tilta Cage to protect the camera body, and to make it easier to add accessories to the camera, as well as an EVF viewfinder and an Arri follow focus. Then, Michael powers his camera with extra-large capacity V-Mount batteries for longer shooting times between battery swaps.
Shoulder mounts are not really an option given how light this setup is. Instead, an easy-rig is a better option for stabilization.
Nick’s Sony FS7
The FS7 camcorder can be used out-of-the-box to film. Still, like most professional cameras, it can certainly benefit from some accessories.
Nick has added a RAW adapter to enable it to record 12-bit RAW footage externally. Similar to Michael, he’s also added V-Mount batteries to extend his shoot times.
All these accessories make his camera resemble the weight and form factor of a cinema rig. This can be an advantage for shoulder mount filming, since the weight adds stability. However, the trade-off is having a large, heavy camera on your shoulder for potentially hours at a time.
Mirrorless VS Camcorder Pros and Cons
There are a few more details that are worth mentioning in this head-to-head comparison of these two camera kits.
Nick has internal ND filters, and a form factor that’s easier to use handheld out of the box, and external buttons for many of the cameras functions.
In contrast, mirrorless cameras do not offer the same professional options, such as internal ND filters. Most settings have to be accessed through the camera’s menu options, which can be slower and more cumbersome in certain filming situations.
Ultimately, Nick’s camcorder is a more professional rig, but Michael’s mirrorless is more versatile and can be more heavily customized.
And, we can’t gloss over the difference in cost. Michael’s camera starts under $3,000 but is about $7,000 as shown.
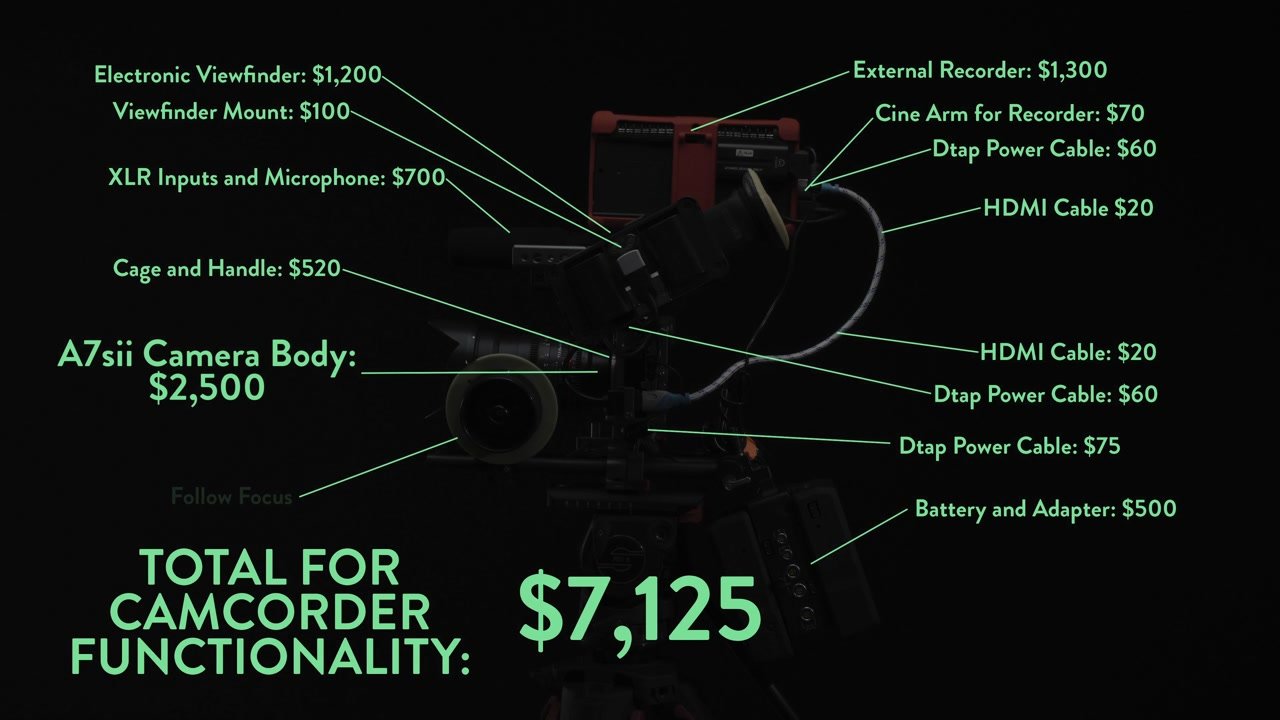
That’s around the same price as Nick’s camera stripped down out-of-the-box, while Nick’s full setup runs closer to $15,000 once you tally up all the add-ons.
Less Isn’t Less
Less isn’t necessarily less. It’s all about getting the most out of your budget.
Different camera kits serve different purposes. Michael relies on the flexibility and portability of his gear because he’s often thrown into situations for so-called “run-and-gun” style shoots. Nick also uses his for this type of shooting (and Nick’s rig is one of the standard options for the rigors of reality TV, among other types of shooting).
Still, as we explored in the footage quality comparison, there is not a giant difference in the outcome in certain situations. Michael is able to achieve a similar level of quality with his much smaller and less expensive setup when able to record to external media.
Feeling Flexible
Flexibility is so key. Being able to operate as a single person camera crew can give you many opportunities in the current environment for creative professionals.
If you can be more flexible about the gear you’re using, the type of work you’re doing, and… more or less everything else, it’s a great time to be working in video.
What accessories do you rely on in your camera kit? Are you using any we didn’t mention that you think are worth discussing? Please share your thoughts in the comments below!