Sure, having the newest, cutting-edge audio equipment is always ideal. However, there are other ways to approach audio that won’t break your budget while still making a significant difference to your finished videos. For example, simply having the right mic setups for capturing sound can help avoid many common audio problems.
In this post, SproutVideo’s Head of Video Production, Nick LaClair, will go over the basics of capturing high-quality audio by showcasing three different kinds of mic setups. Keep reading to learn the ins and outs of on-camera mics, lavaliers, and boom mics, and when to use them depending on what you’re shooting.
All About Audio
Audio is a huge subject, and getting it right is a challenge. To make sure we covered everything, Nick LaClair, head of video production for SproutVideo, pulled in two audio experts – Mike Infante and Evalena Marie to help. Mike is a seasoned production sound mixer with Lakhota Film, and Evalena is an actress and producer, giving her experience on both sides of the camera.
This video walks you through the different types of microphones, and when it’s best to use each one. If you can, grab a pair of high quality headphones so you can hear the distinction between the different mic setups clearly.
As you can see, the right choice of microphone can make a world of difference to the end result. Here are more details on the different configurations, and tips for getting each one right.
The Three Essential Mic Configurations
When we say mic configuration, we’re basically talking about how you place your microphone in relation to your subject. Although some audio technology has really advanced over the years, the ideal placement for a mic when filming a certain type of scene remains the same.
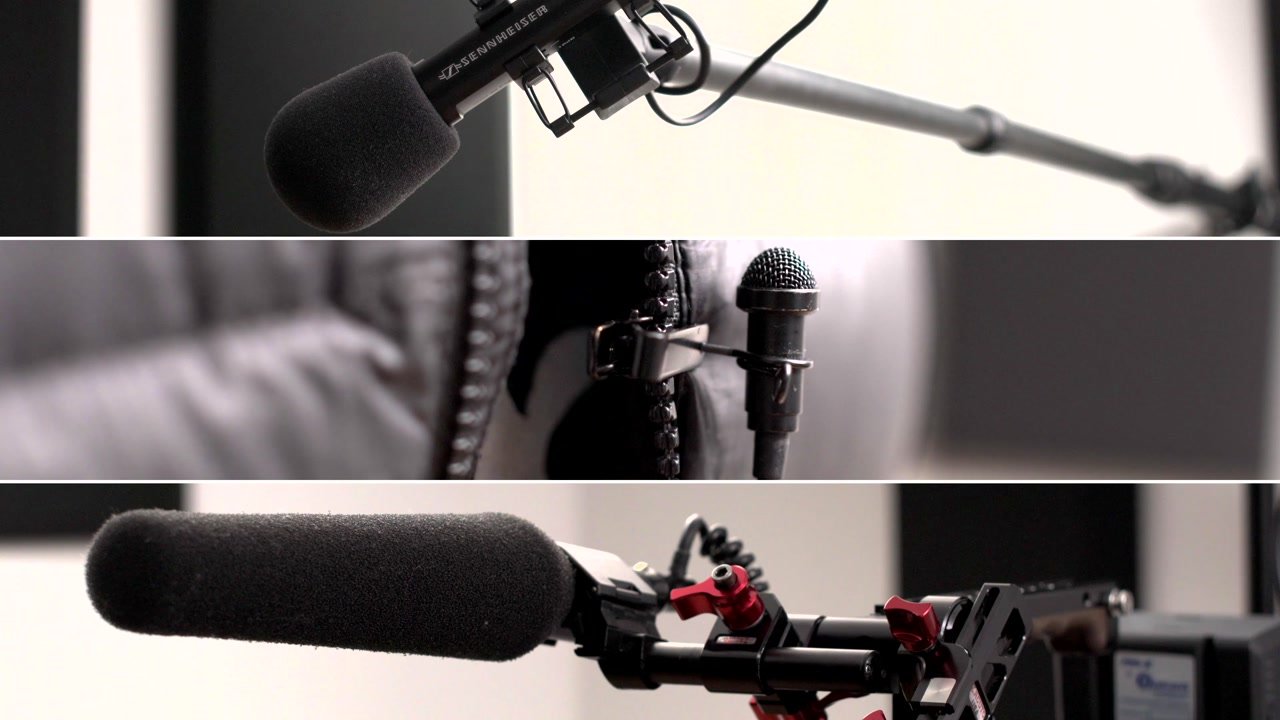
There are three main types of mic setups, seen from top to bottom in the image above: boom mics, lavalier, and on-camera mics. We’ll begin with the on-camera mic.
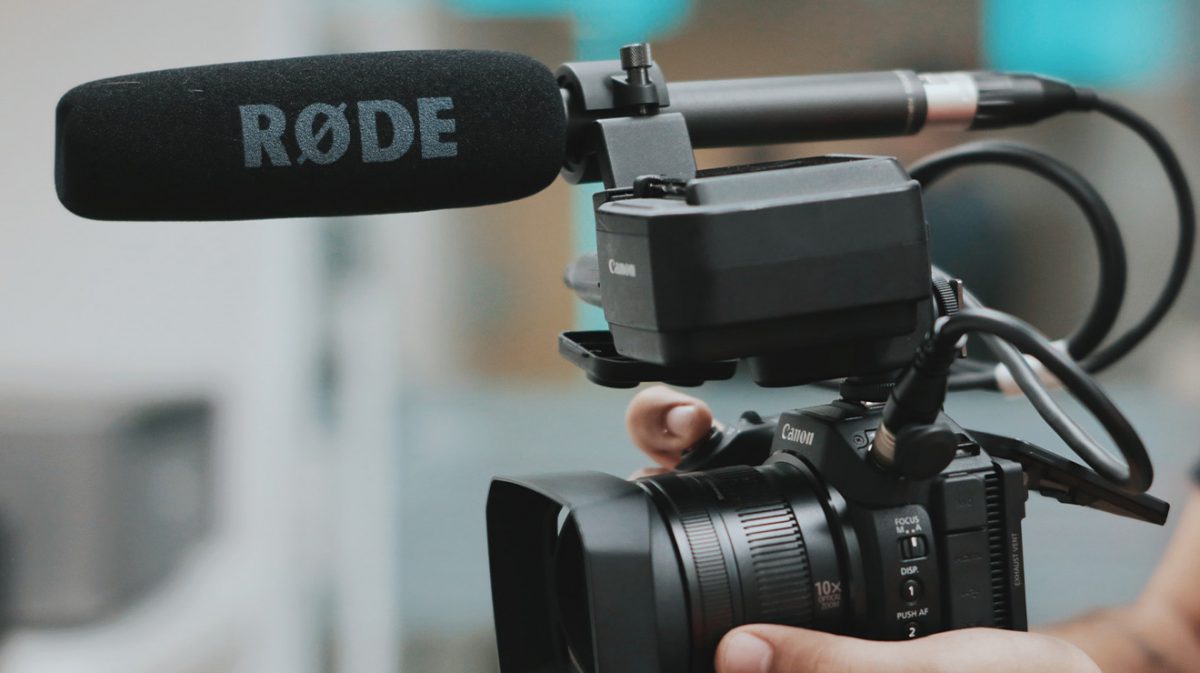
On-Camera Mic
Just as it sounds, this type of mic is attached to the camera you’re using to film. It gets the job done in that it picks up your speaker’s voice.
However, as Nick explains in our video, the issue with this mic configuration is that the microphone is usually far away from the subject. Also, it picks up everything in the room, not just the speaker’s voice. Even in the quietest of rooms, this can pose a problem.
Why? First, there’s room noise, which is called the “noise floor”. This is a low-level sound caused by things like fluorescent lighting, an air conditioner or vent, and even the sound of nearby traffic.
You likely don’t notice the noise floor until you actually stop to think about it, or maybe if you’re sitting in a quiet place like the library or a museum. The on-camera microphone, however, does notice it and is sure to pick it up. All of it.
The noise floor isn’t your only noise problem to contend with. The second type of noise issue is known as “reverb”. This is the echo of sound in a room that is not properly insulated or treated for sound. It’s the reason singers and voice actors record in vocal booths specifically designed for the purpose.
If you’re having trouble imagining what reverb is, harken back to your school days. Surely there’s a long-lost memory of sitting in class and hearing the echoing sound of a teacher in high-heels walking down the hall. That echo is an example of reverb.
Lavalier Mic
The solution for dealing with the noise floor and reverb is to get your microphone as close to your speaker as possible. This brings us to our second type of microphone position: a lavalier mic. You may also hear it called a lav or a lapel mic.
This is a small mic that attaches to the speaker’s clothing, and it can be wired or wireless. Like the on-camera mic, this omnidirectional mic also picks up surrounding sound. However, because it is as close as you can reasonably get to the speaker, it does a comparatively better job of capturing more of your speaker’s voice and less of the surrounding noise.
Boom Mic
In terms of overcoming the challenges of the noise floor and reverb, we saved the best for last: the boom mic. This is a directional mic that is mounted on a boom arm and positioned close to the speaker, just out of the camera frame.
The boom mic is ideal thanks to the fact that it is directional. That means it captures the sound coming from whatever it is facing (i.e. your speaker) and cancels out all other sound. Whenever possible, you want to use a boom mic for your interview setups in order to capture the clearest audio.
The Outdoors Are Beautiful… And Noisy
It’s a lot easier to control your environment and choose your mic position when you’re shooting in your office or studio. But, what about when you’re out in the field? This answer may surprise you… it depends!
When it comes to audio, shooting outside means accounting for noises like car traffic, passerby, wind, birds, dogs barking, etc. You can plan around some of these factors to a certain extent. However, understanding which mic configurations are going to work best will save you a lot of time and resources.
When to Use an On-Camera Mic
If you’ll be filming while on the move, an on-camera mic is probably going to be your best bet. It allows your on-screen talent and your camera operator to move quickly and simultaneously. Also, an on-camera mic will pick up audio directly in front of it, and (to a certain extent) minimize everything else.
Granted, your audio won’t be 100% clear from an on-camera mic in this situation. Try to account for this by shooting as far away from heavily-trafficked areas as possible. Ensure your subject’s are speaking loudly and clearly.
When to Use a Boom
If possible, when you’re shooting outside, have someone hold a boom mic over the speaker(s) to help cut down on noise. This is ideal for all the same reasons it’s ideal for your indoor shoots.
The directional boom mic picks up the audio coming from whatever is right in front of it, and minimizes all noise outside the frame. Of course, this is much easier to do when your speakers are working from a script and not moving around too much, as evidenced in our video.
When to Use a Lavalier Mic
What about when your subject is not working from a script? Or, is very likely to go off-script? What about when they’re moving? Or when you need a wide-shot frame, meaning the boom would be visible? It’s wireless lavs to the rescue!
Again, lavs aren’t perfect as they will still pick up surrounding sounds. However, they are at least very close to your speaker. Further, a lav will allow your speaker to move more freely without making your audio tech tango just to keep up!
They can also be a great option when you have more than one speaker’s voice to capture. If you are working with two or more speakers, remember to attach the lav to the side of their body that they’ll be facing when they speak.
With some forethought about your mic configurations, there’s no reason to let audio be the factor that drags your video down. Use these tips to get started with the right mic setup.
Be sure to check back for the next episode in our How To Video series. We’ll dive deeper into advanced audio techniques, including cleaning up audio tracks and specific types of microphones.