We created a 2D animated video for Earth Day in collaboration with a watercolor artist five years ago. Now we’re deconstructing the process to show you how to create your own 2D animations.
This is an ideal 2D animation tutorial for beginners because we used common video tools. Anyone with basic video editing skills can create similar 2D animations — even with zero animation experience. We’ll show you how!
Use this guide to uncap your creativity and discover the captivating world of 2D animation.
What Is 2D Animation?
2D animation is created using images and illustrations that are 2-dimensional. 2D animation is animated frame-by-frame or rigged.
Frame-by-frame animation can be analog (such as traditional animation) or digital. Our 2D animated video used a combination of analog and digital techniques: the images were hand-drawn, but it was animated digitally by editing the images together in layers.
Rigged animation is entirely digital, utilizing software to animate movement. However, animation software requires a significant learning curve. With this guide, anyone can create a 2D animation using common tools and basic knowledge of video editing software.
Other Types of Animation
There are many other types of animation (see examples in the video above), including
- 3D Animation
- Motion Capture
- Motion Graphics
- Stop-motion Animation
Stop-motion animation is a close cousin of 2D animation. The main difference is that stop-motion uses live-action shots to capture every frame instead of illustrations.
Past stop-motion animation videos we’ve created include this Valentine’s cupcakes video, Halloween video with stop-motion pumpkin carving, and product update.
How to Make a 2D Animation in 5 Easy Steps
1. Outline Video with a Storyboard
Brainstorm your concept and sketch a rough storyboard to outline your ideas. For our Earth Day video, we envisioned a sprout growing into a majestic tree, symbolizing the cycle of life.
At this stage, there are three crucial things you need to consider.
- Motion. Determine what actions the artist needs to draw frame-by-frame and what motions can be animated during the edit. Some motion, like when drawing characters, requires multiple sketches to illustrate the movement. Simple motions, like the falling water drops in our video, can be created by layering images with sound effects to contextualize the movement.
- The Number of Frames Needed for Action. 2D animations are usually 12 frames per second. When an artist draws the animation, they need the exact number of frames required. To effectively determine the number of frames, consider creating an animatic.
- Rest. Elements without motion still need to be brought to life. Create variations of elements that aren’t in motion so they don’t appear as still images. In our video, we created multiple frames of trees and edited them together to create a subtle wiggle.
This planning stage is essential for efficiently communicating with an artist and ensuring all the elements needed have been created before the animation process begins.
Learn More: 10 Essential Planning Documents for Video Production
2. Create a Graphics List
Compile a list of the necessary elements for your animation. Use this list to communicate with your artist; it also doubles as a game plan during the creation process.
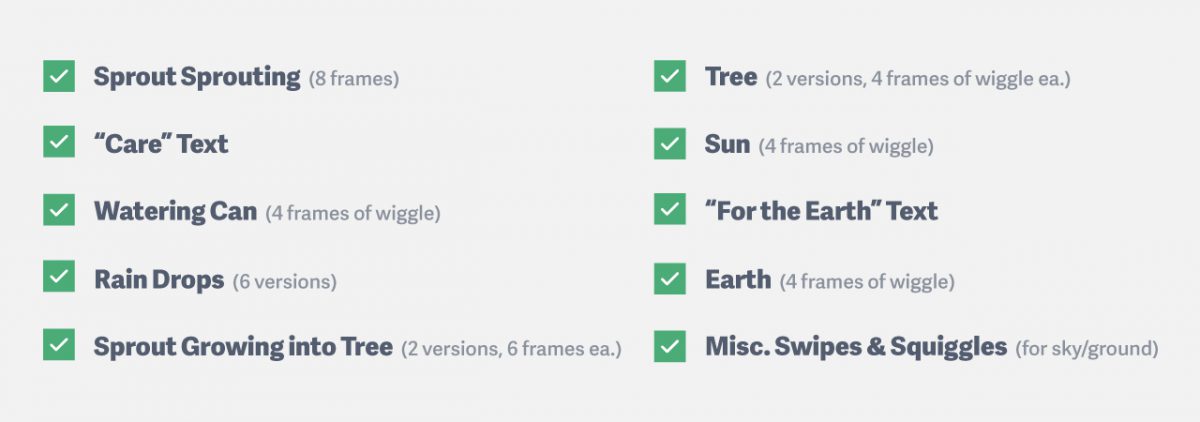
Considering the number of frames per second, we determined how many variations of each element we would need to create the desired animation. We needed a growing sprout, a watering can, raindrops, a tree, the sun, and the Earth for our video. Each element required multiple versions or frames to add dynamic movement and life to the animation.
3. Collaborate with an Artist
Find a talented artist whose style aligns with your vision. Provide a detailed list of elements and collaborate closely throughout the creation process. Common places to discover artists include Etsy, Fiver, UpWork, and social media platforms like Instagram.
We knew we wanted an organic-feeling art style. We discovered an amazing watercolor artist, Heather Ivins. We sent her our request and graphics list. Ivins did some testing and approval check-ins during the process. When she was done, Ivins shipped us the notebooks.
4. Digitize & Prepare the Images
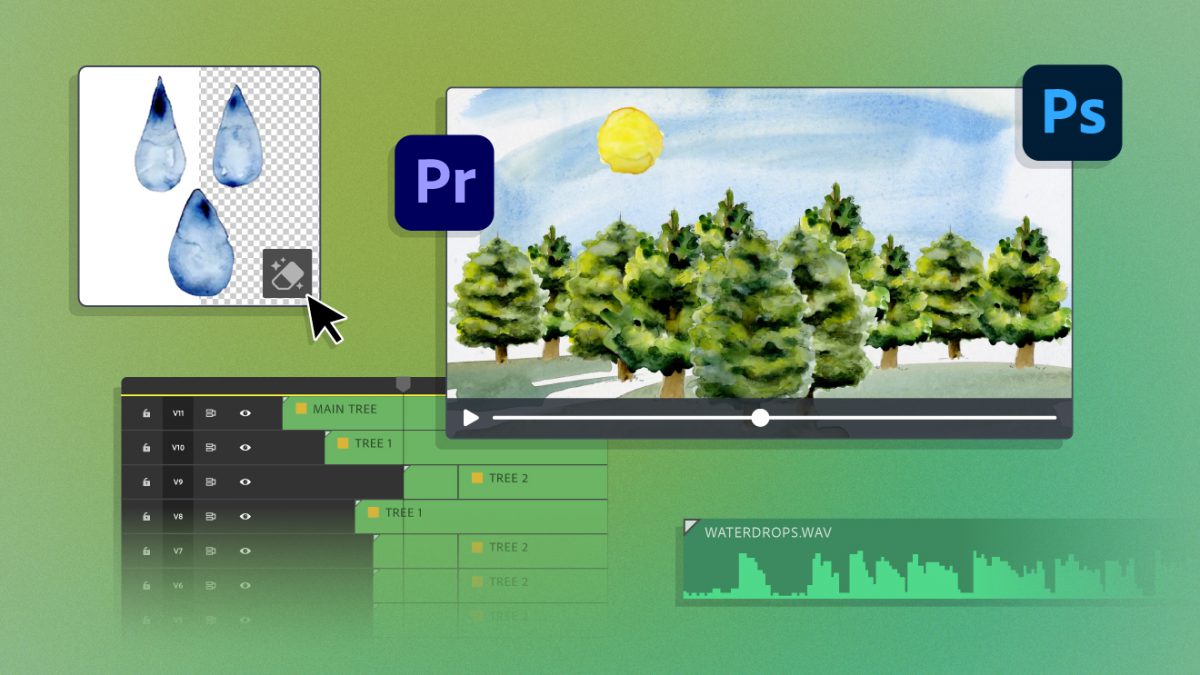
With the physical notebooks in hand, it was time to scan each image into the computer. We removed the backgrounds and cleaned them up in Photoshop. Now our graphics are in a digital format that can be easily edited together into a 2D animation.
5. Animate Images in Premiere
It’s time to animate the images!
We used Adobe Premiere Pro to animate the images; however, any professional video editing software will also work. We highly recommend using nesting sequences in Premiere — these are sequences within sequences that make it easy to animate elements and movements separately.
Combine all elements in the main edit, adding background details and sound design to bring it all together. If applicable, incorporate text supers and end card elements to enhance the overall presentation. Export your video, upload to SproutVideo, and share!
Prefer Resolve? DaVinci Resolve for Beginners: Simple Video Editing Tutorial
We hope this guide on 2D animated videos will inspire you to bring your vision to life! Check out our related content to learn more about creating videos: