Stop motion is the darling video format of the social media age. It’s fun, light-hearted, engaging, and appropriate for many types of videos. So, how can you go about making your own stop motion animation?
Since stop motion animation requires a certain level of precision and attention to detail, there are many pitfalls to be aware of. From the lighting to the plan of action, these six key factors can impact your final result. Here’s our guide to getting it right.
What is Stop Motion Animation?
Stop motion animation is a specific type of animated video where the action taking place is filmed one frame at a time. Typically, it’s done with inanimate objects to bring them to life in unexpected ways.
A particularly famous subcategory of stop motion is claymation. A hugely popular series called Wallace and Gromit was made entirely from claymation, with each video taking a tremendous amount of work hours to produce.
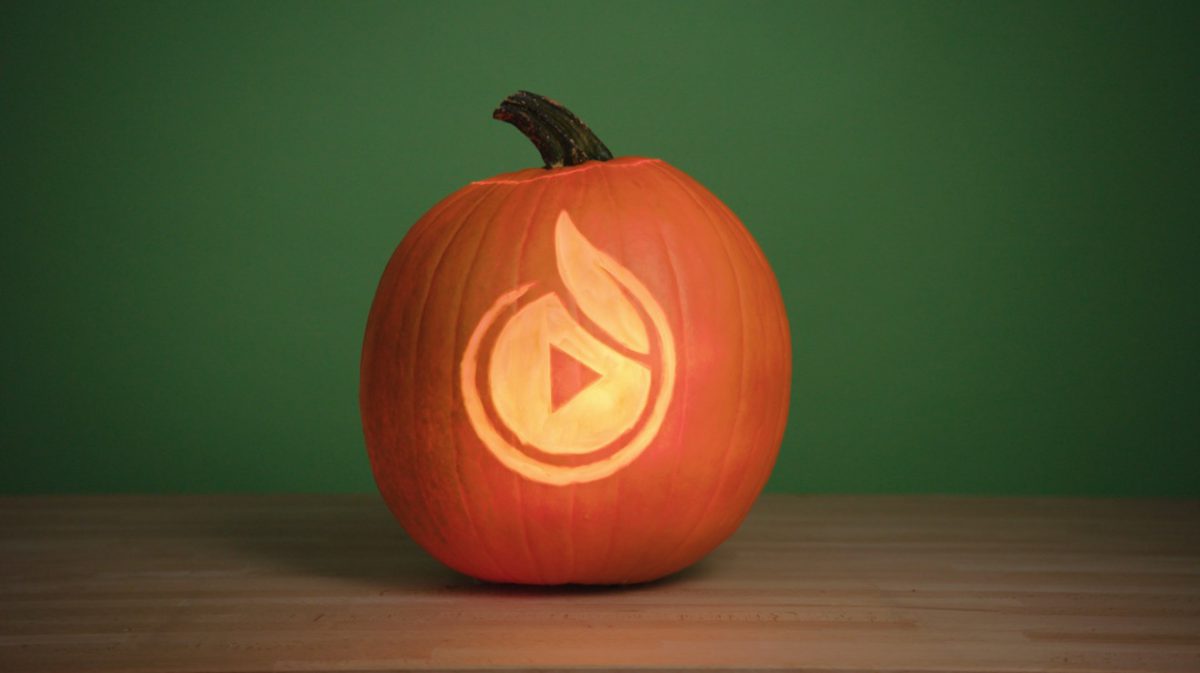
Recently, at SproutVideo HQ, we got into the Halloween spirit with a stop motion animation of our own. Check it out:
Stop motion can be used for all types of video, from feature-length films to ads on social media. It’s flexible, since nearly any object can be animated one frame at a time, but also comes with lots of creative constraints. Here are the six steps you need to take to get it right.
1. Precise Planning
Stop motion video is one of those projects that sounds a lot simpler than it is. Moving and filming an item a frame at a time should be straightforward enough, right? Turns out, there’s a lot more to it than that.
Stop motion animation requires a lot of planning to turn out well because the process is almost completely linear. Unlike with other types of video, you can’t do multiple takes to see if one turns out better than the other.
If anything changes during the course of filming, you can’t quickly reset and pick up where you left off. It’s very difficult to add anything in or take something away on the fly. You typically have to start over to make even simple corrections.
Sketch or storyboard what you want your action to be. Have a very clear concept and script before you start rolling, since there’s no backtracking once you start moving elements around on camera.
2. Control the Lighting
Make sure to use studio lighting if possible. By studio lighting, we mean a controlled environment where you can set and adjust the lighting very precisely. Usually, you use different types of artificial light sources directed at your subject to get the effect you want, and block out natural light sources.
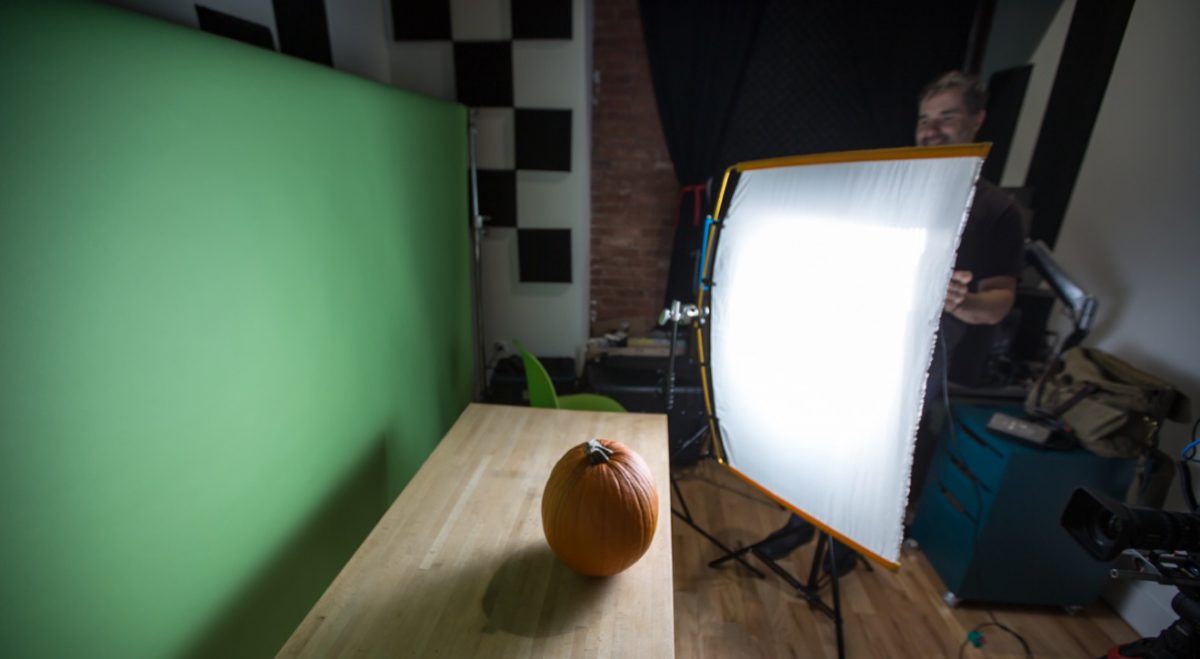
Otherwise, imperceptible changes in natural light will make your stop motion flicker during playback. Even a small difference in shadows or brightness can really stand out with this type of animation.
Our guide to tabletop shooting is a can’t-miss if you’re planning a stop motion animation video. It’ll walk you through exactly how to set up your lighting for this type of project.
3. Lock Down Your Camera
Make sure to use a sturdy tripod, and DON’T BUMP IT. This is harder than you might think, since stop motion shoots tend to be lengthy, and usually require a lot of walking around, moving props, eating take-out, etc.
No matter how much action and chaos might be going on in the studio, be careful around your camera. Use road cones, gaffer tape, or other obstacles if need be. If you bump the camera, you may have to start from scratch.
A small change in your camera angle can throw off everything. From the lighting to the perspective on your subject, it’s very important to keep it consistent for a polished end result.
4. Lock Down Your Subjects
Consistent lighting and a stationary camera are key to filming smooth and appealing stop motion animation. Similarly, for your subject, any movement has to be very intentional.
Make sure to change only one element at a time, and take the time to figure out how to lock down the items on screen that aren’t supposed to move. The smallest nudge to an object that wasn’t meant to budge can be really obvious and distracting. If your subject is a pile of small slips of paper, for instance, a sneeze is all it takes to ruin your shoot.
For example, for our pumpkin video, we drilled holes into our tabletop and bolted the pumpkin to it to keep it from wiggling around while our artist carved it. This is a bit extreme, but it was necessary for a large, relatively heavy object like a pumpkin. We also used brightly colored tape to mark the positioning of our second pumpkin.
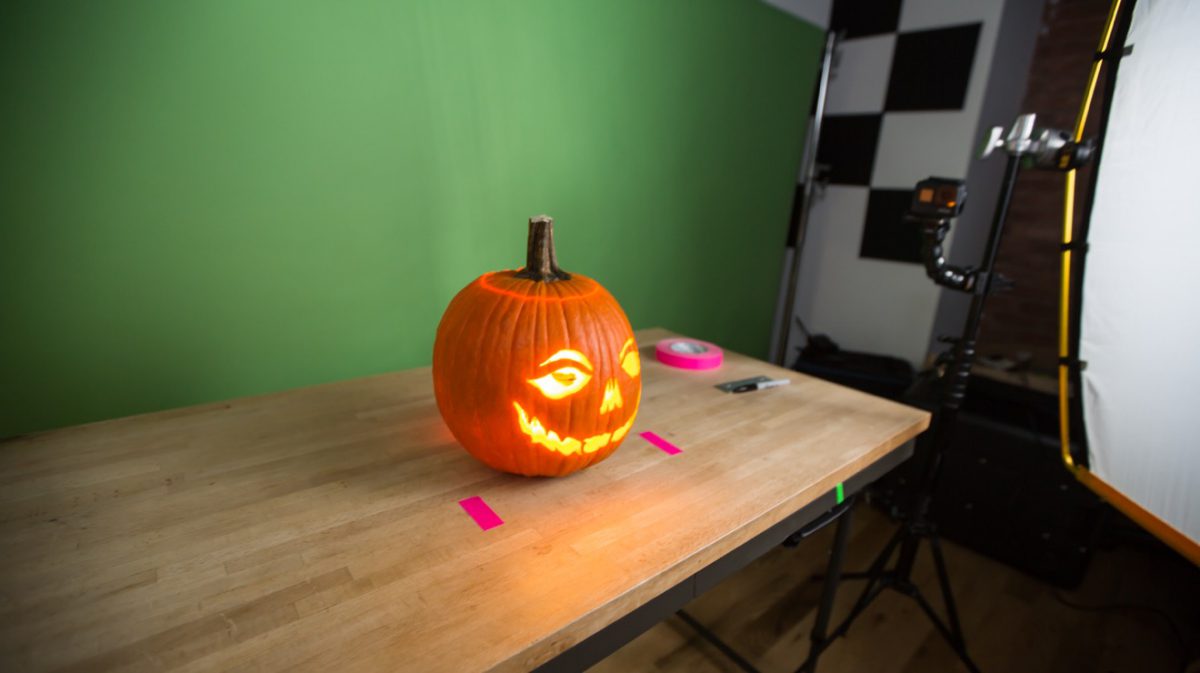
For smaller scale shoots, you can use double-sided tape, velcro, or other crafty solutions to prevent unwanted movement.
Of course, sometimes, a small amount of movement in background objects can be desirable in animations. For instance, when we animated watercolor sketches for our Earth Day celebration video, we wanted the elements to move around a little to appear more lifelike and natural. Here’s an excerpt as an example:
With stop motion animation, a little extra wiggle can add energy and excitement to what’s happening on screen. However, you still need to introduce it with intention, otherwise it can be overwhelming and distracting from the main action.
5. Make Small Movements
Stop motion animation rarely looks as smooth as live action shots. That’s part of its appeal and one of its defining characteristics.
However, there is a difference between jumpy and stuttering animation, and a more professional result. The trick is not to move too much at once. This requires a level of patience and attention to detail that other types of filming simply do not.
Making small, incremental movements will result in smoother animation. Of course, there is a limit to what’s feasible in a given timeframe, or simply to preserve sanity.
Before shooting, perform some simple tests by moving an object across the screen in different measures to figure out what looks right for your project.
6. Shoot More Than You Think You Need
Shoot a frame at every small change, and add more frames than you think you may need. If your playback is too slow, you can always speed it up in your editing software, or remove frames. However, you can’t create frames that aren’t there after your shoot is completed.
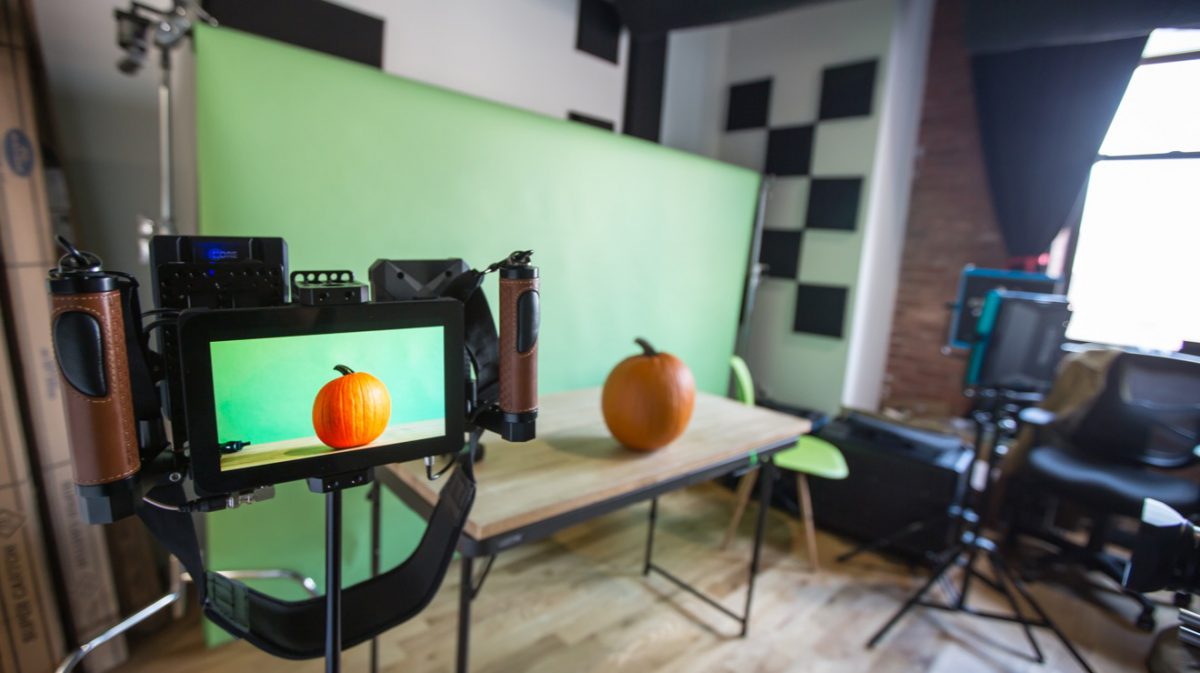
Here are your options for capturing your stop motion animation on camera.
Still Photo Cameras
Most stop motion animations aren’t actually filmed – they’re photographed. The approach is simple. Use a still photo camera, and snap a photo after each movement. Each photo represents a frame of your video. During the editing process, you can duplicate frames as needed for your animation.
The main advantage to using a photo camera is that you have more lighting options. Strobes or constant lighting both work with this approach. Another good tip is to use a shutter remote or bluetooth app to control the camera so you don’t accidentally bump it while pressing the shutter button.
Video Cameras
If you’re using a video camera, all you need to do is record a second or two for each frame. This is similar to using a photo camera, but will likely result in more frames than you really need, and requires the use of constant lighting.
Alternatively, you could record the entire process without stopping and starting the camera for each frame. This reduces the amount of contact with the camera, which can help ensure it stays stable throughout. Also, it gives you more options since you could create a high-speed time lapse of the entire shoot in addition to your stop motion animation.
However, you’ll have to edit out a lot of frames to create your stop motion animation. Also, you’ll use quite a bit more storage space with this approach.
For our pumpkin shoot, we had to use a video camera because of the transition from stop motion to rolling video at the surprise reveal. Otherwise, we would’ve used a photo camera. No matter what, we wanted a high-speed time lapse of the process, so we recorded that part separately with a GoPro.
If you have a stop motion animation video ready to share with the world, you can get started with a 30 day free trial today!
Questions about making your own stop motion video? Get expert advice in the comments below.


