This post was contributed by VEEDYOU Media, a professional video editing services firm. They definitely know a thing or two about getting the most out of video editing!
Video marketing can offer excellent return on investment. That’s especially true if you keep your production costs low and set up your advertising campaign correctly.
However, some of the biggest gains in conversion rates can actually be derived from the editing process in post-production. Simple changes can result in an even higher ROI.
In this post, we explore five tips you can easily use in post-production to ramp up your conversions.
1. Text overlays
Incorporating text into your video is a great way to reinforce your core message. It can also help with viewer comprehension, retention, and engagement. Finally, adding text improves accessibility, and helps you reach anyone watching without sound.
Instead of just adding subtitles, use text overlays which coordinate with the type of video you are doing. Subtitles are often a great idea to include with nearly any video. However, text overlays are more flexible, and can be used in more creative ways.
Here are two types of text overlays you can easily implement when editing your video.
Cinematic Text
Cinematic text is simple to do, and adds emotion and drama to your video. Often, this is comprised of simple white text on a black background. You could potentially add a subtle zoom effect to create some motion. If you go that route, the title will appear in the center of the screen, and will slowly zoom in for a couple of seconds.
This type of text is excellent for video titles. Give the video a catchy title, and display it on the screen in the first three seconds of the video.
The result will be very similar to the onscreen text you see at the beginning of any Hollywood movie (like the opening credits), hence the name. The cool thing about cinematic text is that it can be easily handled in post-production by using any video editing software.
Cinematic text can help increase conversions because it drives viewer engagement by heightening the sense of drama in your video. It’s not appropriate for all types of videos, but if it matches the style you are going for, it can make a difference.
Animated Text
Animated text is more involved than cinematic text. It works particularly well for fun, upbeat videos, or a fast-paced video clip. You can use unique fonts, have the text flying in from different areas of the screen, and you can also get creative with the colors and sizes you use for each word.
A great tool for creating animated text is Adobe’s After Effects. There is a learning curve, but it’s really powerful once you get the hang of it.
A great shortcut is to use a template for animating text in After Effects. This is perfect for beginners, or anyone short on time. Find the animation you’d like to use, place it in your video, and edit the text. It’s as simple as that.
Our friends at Motion Array specialize in templates for animated text. Other great options for templates include VideoHive by Envato, and Videobolt. There are plenty of other options out there, but these are a great starting point.
Other video editing programs often have basic templates built-in. For instance, iMovie has some basic options for animated lower-thirds and titles that can work well for simple use-cases.
By adding information and interesting motion to your video, animated text can help engage viewers and convince them to keep watching. Use animated text to reinforce your value proposition to help convince viewers to buy.
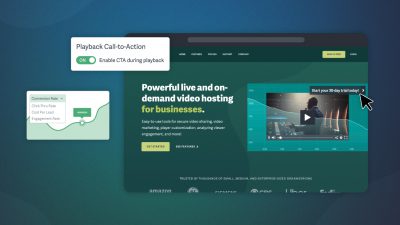
2. Call-to-Action
It’s all too easy to lose sight of what you would like viewers to do after watching your video. What is the one specific action they should take? The answer is your call-to-action.
Here are four simple approaches to building effective, high-converting calls-to-action.
Approach #1
At the very end of the video, briefly recap what the whole video was about. Make quick a summary of your message, no longer than ten seconds, and insert it at the end of the clip.
This can be done by taking bits and pieces of the whole video, and editing them together. Or, it can be an entirely different clip filmed specifically for this purpose. Alternatively, you can build this yourself in post-production by using text to recap everything.
Treat this as your chance to up-the-ante, and really hammer your points home. Emphasize the benefits viewers will receive, rather than product features or pricing. Your viewers should be left with a crystal clear picture of the advantages they’ll gain by using your solution. This highly effective sales tactic works particularly well for retail goods.
Approach #2
Tease viewers by providing the majority of a solution, but omitting the most key part of it in the video. By building up anticipation, you’ll increase the likelihood they’ll be curious to see the final solution.
So, in your video, leave out a small, but essential, piece of information which viewers absolutely need to know. Then, use your call-to-action to instruct them on how to obtain the information. They could make a purchase, join an email list, enter a contest, etc. The right option depends on the specific aim you have for your video.
Approach #3
Offer a special incentive to viewers to watch your video by displaying a coupon, discount code, or clue to a contest at the end of the video.
By rewarding them for taking the time to learn more about your product, you’ll help drive sales and improve brand affinity. You’re likely to succeed because you’re tapping into people’s innate desire to win, or get a special deal.
Approach #4
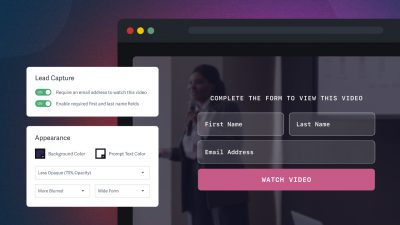
Once your video concludes, viewers are likely at their most engaged, and excited about your product or service. Point them in the right direction by using a custom post-play screen to display a clickable image, HTML form, or text with a link to a landing page.
This last approach doesn’t actually require any video editing. It can be setup after your video has been uploaded to SproutVideo’s hosting platform.
Read this post for more ideas on creative ways to use a post-play screen for your call-to-action.
3. Use B-Roll Footage
Regardless of the type of video you are making, you can never have too much b-roll footage on hand. You can use customer testimonials, service demonstrations, a product close-up, introduce your team members, or show off your finished projects.
Using b-roll footage in this manner helps viewers grow comfortable with you, and reinforces your brand identity. By building their trust, your viewers will be more likely to convert into subscribers, fans, followers, or customers.
If you don’t have any existing b-roll footage, here are 25 ideas for interesting places you could film engaging b-roll. If you can’t create your own, here is a guide to finding stock footage for free, and incorporating it into your videos.
A cut away to b-roll is one of the most fundamental video editing techniques because it can help you tell your story in a more engaging way. There are two main methods with which you can incorporate b-roll into your video.
B-Roll On Top
The first method is by simply inserting the b-roll footage on top of your main footage track. This will cut away from the main video to the b-roll while still playing the audio of the main footage.
This technique works well if you want to keep the video shorter while showcasing more than just the main footage.
B-Roll In Between
The second method is great if you want to add a more cinematic look to your footage, and don’t mind if your video ends up being slightly longer. The idea is to cut the main clip, and insert the b-roll footage in between the two halves of the main clip.
The main difference from the first method is that the b-roll has its own time slot in your video edit. It’s not just playing on top of your main clip’s audio – which might be someone talking, for example.
This means the b-roll will have its own audio track. You could add some nice background music, or someone else talking. After the b-roll, you go back to the main footage without skipping a beat of it.
4. Keep It Short
It’s a well-known fact that attention spans are waning as distraction levels are increasing. We’d like to believe attention spans are longer than eight seconds, however, you’ll still want to keep your video as succinct as possible.
Keeping it under a minute or two can be challenging, but there are a few tricks you can use to achieve that.
One of the most important things is to be organized in your approach to video editing. Create a video editing guide or storyboard that lays out the scenes of your video in detail. You should have everything written down: which shots to use at which times; when the text needs to come in and what it should say; when the b-roll will cut in, and so forth. By having a clear layout of the end product you want to achieve, you’ll be more likely to keep your video down to size.
Another easy way to shorten your video is to use fast transitions, and cut out any pauses. Eliminate those pesky “ah’s, uhm’s”, or even words or phrases that can be skipped without altering the message. For example, “OK, now let’s look at how to use the service” can become “Let’s look at how to use the service”.
Yet another way to shorten your video, but without cutting anything, is to alter the pace of clips. Time lapse or fast forwarding are creative techniques that save time while still showcasing certain shots that need to be in the video.
For example, if you are doing a workout video which consists of doing three sets of the same exercise, you can play the first set at normal speed, and then fast forward through the remaining two sets as you use a voice over or a nice soundtrack on top.
By keeping your video down to size, you’ll increase the likelihood viewers will actually watch the whole thing. This will help drive conversions because you can be sure your message is to getting across.
5. Make it Look Professional
Lastly, you’ll want to make the video look as pleasing to the eye as possible. It will be more difficult to turn a viewer into a customer if the quality of the video is not up to par, regardless of how valuable the information is.
Video editors often get stuck with mediocre footage, to say the least, so taking good care of it in post-production is essential. Luckily, most of the problems can be fixed or improved relatively easily with modern-day tools.
The exact way to use the techniques described below depends on the editing program you’re working with. These are relatively advanced video editing techniques, so if you feel a little lost, leave a comment below with the specific program you’re using, and we can try to point you in the right direction.
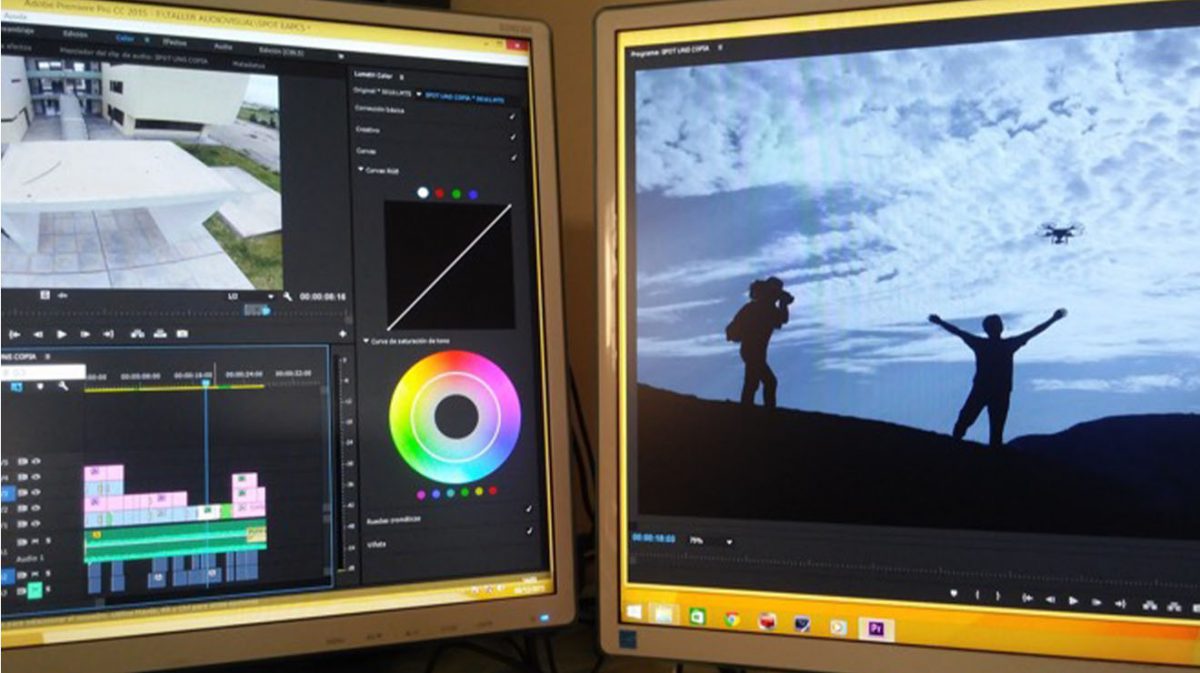
Brightness
The most common problem you want to watch out for is the lighting. This is especially true for videos shot indoors, because many small cameras perform badly in poor lightning. An example of poor lighting can likely be found in your office: harsh, overhead fluorescent lights do not translate well on camera.
If the lighting is too bright or too dark, you’ll need to adjust the brightness and the contrast. Footage that’s too bright will appear washed out. If there isn’t enough light, you will get grainy and murky footage.
You can fix this by adjusting the brightness and the contrast. You can also add more sharpness to the video. Here is a video walk-through of how to do so for Final Cut Pro 10 and Adobe Premiere Pro:
If you’re working with Final Cut Pro, you can also follow this guide to correcting the image. If you’re using Adobe Premiere, use this guide instead.
Color Grading
You can make your videos look much more alive, or if give them a more cinematic look, by applying a bit of color grading. This will help bring out the colors, and combined with the brightness tweaks we made above, it will give your video a polished and professional look, even if it was shot with a smartphone.
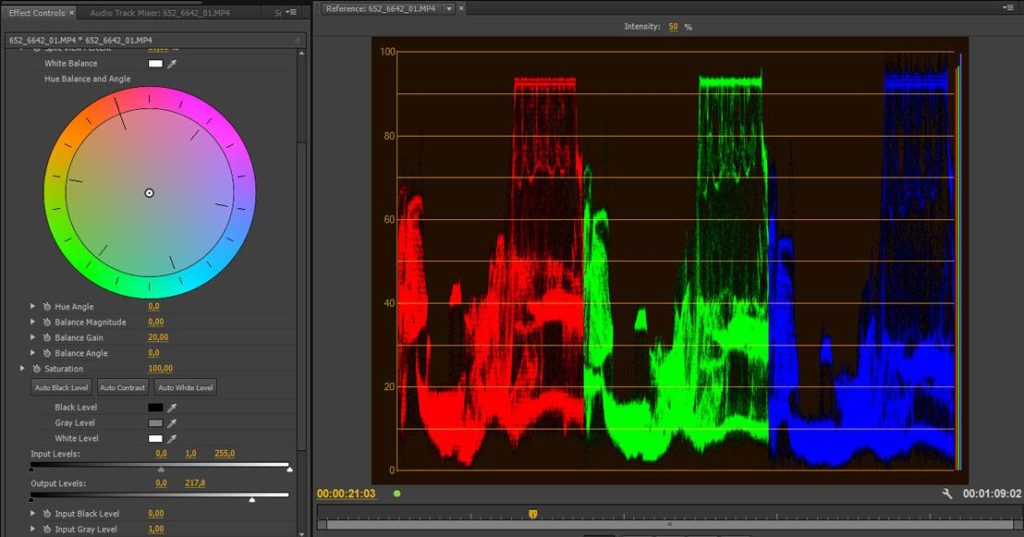
Here’s our guide to color grading from Adobe, which includes a nice background primer on color grading. And, here’s a guide to adding a color correction from Apple for Final Cut Pro.
Color grading is a finely tuned art. It can be hard to get it right. Start with small tweaks to see what works for your video.
Summary
So there you have it, five easy and actionable post-production tips which you can start applying right away to improve the conversion rates of your videos or your clients’ videos. You may not need to apply all five in each and every video, but make sure you double check each of them on your next video editing project.
Questions? Other ideas we should add? Please share in the comments below!