Ever wonder how the pros manage to get that perfect, glow-y lighting when filming in a studio? You’re about to find out.
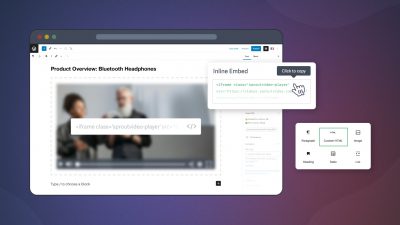
In this episode of our How To Video: Lighting series, we cover best practices for studio lighting. Our video tutorial walks you through the equipment to use, and exactly how to position your different lights to get the best results. Keep reading for our illuminating tips on three-point studio lighting.
Perfect Studio Lighting
We use the term “studio” loosely. This could be your office, an empty room – basically any space where you can control the lighting and have some kind of backdrop.
The go-to setup for studio lighting is classic three-point lighting. It gets its name from the three lights typically used to create flattering lighting with no harsh shadows. Known as the key light, fill light, and backlight, each has a different role to play in getting your subject to look their best on camera.
The trick is to position the lights just so around your subject. And, to learn how to use diffusion and reflectors to maximize their effect. Below, Nick LaClair, head of video production for SproutVideo, walks you through how to do exactly that:
Setting the Stage
First of all, make sure your background fills the frame properly by adjusting the position of your camera. In our example, we’re using a plain backdrop suspended between two tall poles. It’s a safe option, and very common for interviews in a studio setting.
There are plenty of alternatives. You can use a plain sheet as a backdrop – just be sure to iron or steam it thoroughly first. Or, a plain wall color will do just fine too. Of course, you can also use a more dynamic background, such as an office setting.
The key is to verify that nothing distracting or undesirable is appearing in your frame. Check for wrinkles, smudges, clutter, or anything that might distract your viewer.
Framing Your Subject
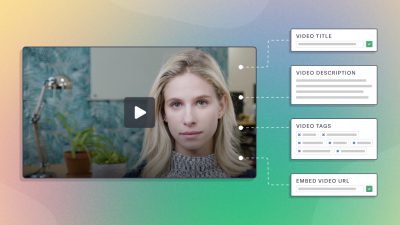
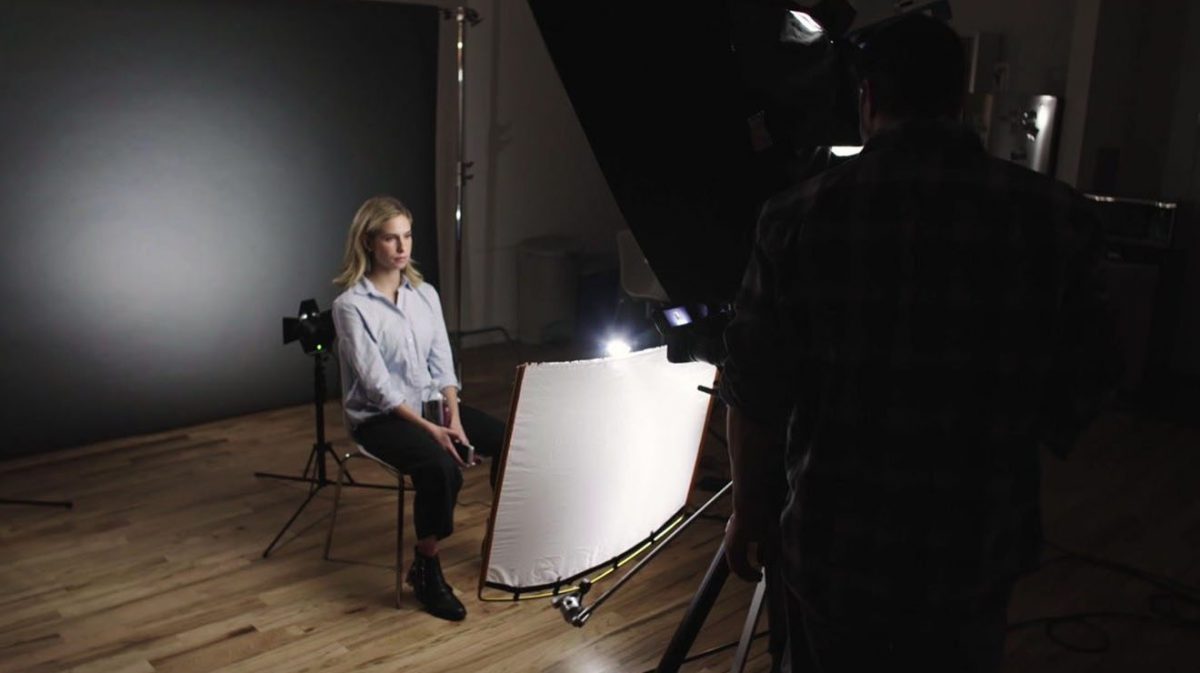
Next, position your subject in between the backdrop and the camera. In our video, we’ve placed the camera so that the background just fills the frame. Then, we positioned our subject, Leigh, to be framed correctly for a medium shot.
A medium shot is when the subject’s face appears roughly in the center of the shot. You can see their shoulders, and there is some empty space above their head.
This is a popular choice for framing a person for a video interview in a studio because it’s relaxed and open, but still very personal. You feel as though you are sitting across a table from the person talking on camera.
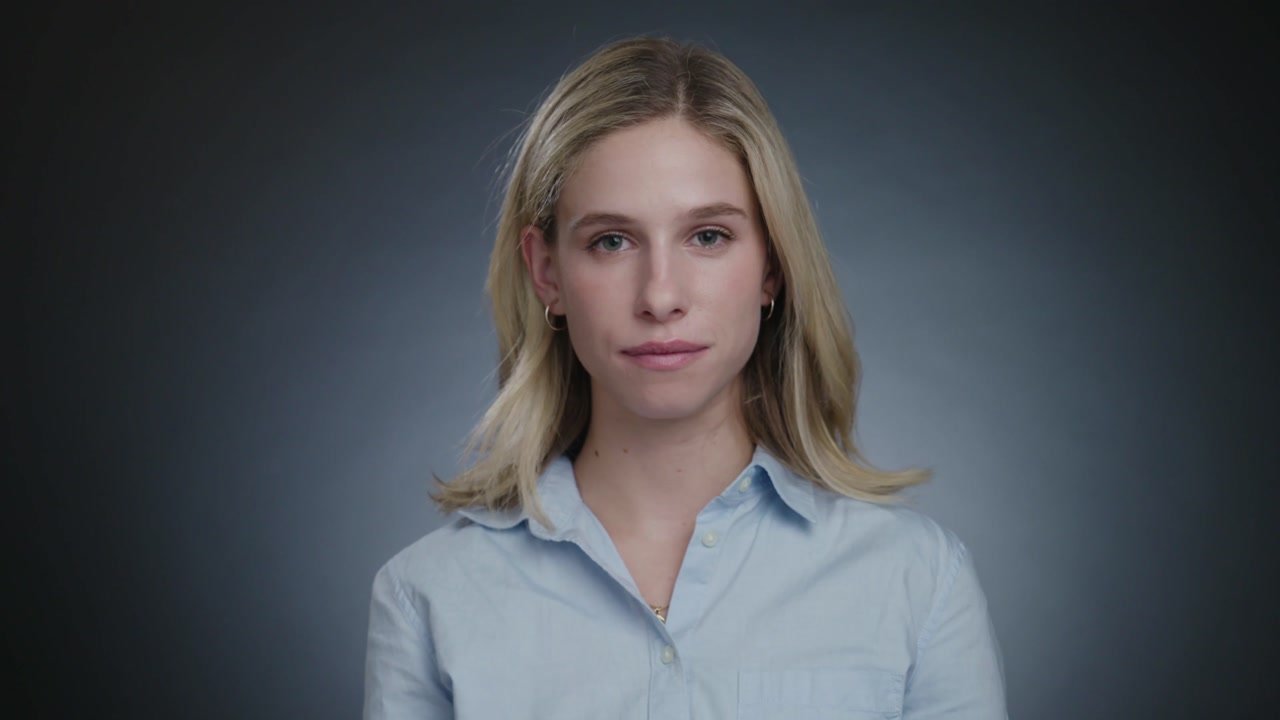
Other ways to frame your subject include closeups, or medium-long shots. In a closeup shot, your subject’s face takes up the majority of the frame. It’s often used in emotionally charged scenes or for added emphasis.
In contrast, a medium-long shot will show your subject from roughly the knees up, and provides more perspective and context. Mixing up your shots can help keep your video interview engaging and lively.
Blurry Background
One key to getting your shot just right is to ensure the camera is far enough from the backdrop so that when the subject is in focus, the background is blurry. For our medium shot, that meant Leigh was roughly halfway between the camera and the backdrop, with 4-5 feet of clearance on either side.
By ensuring the background is not in focus, you’ll minimize any potential distractions, and add dimension to your shot.
The right distance for your video will depend on the camera you’re using and the backdrop you’re working with. Test a few different options to see what looks best.
Now that you’ve got your subject, camera, and backdrop squared away, let’s light it.
Tackle Your Main Light(s) First
In a true studio setting, you have complete control over your light sources. Try to replicate this as closely as you can in your environment.
Cut the “house lights” – meaning, any overhead or ambient lights in the room. Cover windows with heavy curtains or shades. You may need to cover any bright LED displays or turn off computer monitors depending on your situation.
Once you’ve eliminated competing sources of light, you’re ready to set up your key light.
Selecting Your Key Light
The key light is your main light source, and primarily serves to illuminate your subject’s face. It’s typically positioned a few degrees off camera to the right or left, and aimed at a subtle angle onto your subject. Key lights are also usually raised so that they point slightly down at your subject.
You can use many different types of lighting as your key light. In a studio setting, common options include LED light panels, or fresnels with some kind of diffuser. In our example, the key light is a fresnel directed through a chimera. This gives us a soft, diffused light, and helps to minimize harsh shadows.
Positioning the Key Light
In our last episode, we learned how to craft light around the face using our key light and fill light. Remember, if the key light is too far off-center, the nose shadow will reach too far over on the cheek. If it’s too high, we’ll lose the key light in the eyes. Called catch lights, these lights prevent your subject’s eyes from looking dark and lifeless. It’s an important detail that can make a difference to the overall feel and polish of your video.
There is no perfect science to positioning your key light correctly. The trick is to just move it around until you can see the catch lights in your subject’s eyes, and the shadow from their nose isn’t falling too far on their cheek.
The key light in our video pulls double-duty by also lighting the background (0:43-0:52). To make this possible, you’ll want to position your subject close enough to the background so that the key can reach it, but far enough away so that the background is slightly out of focus; this is known as “separation”.
Adding Dimension
Next, you’ll want to add a backlight to help separate your subject from the background. Backlights are usually positioned opposite the key light, and illuminate the subject’s silhouette.
Here is what the backlight looks like on its own (0:54-1:00):
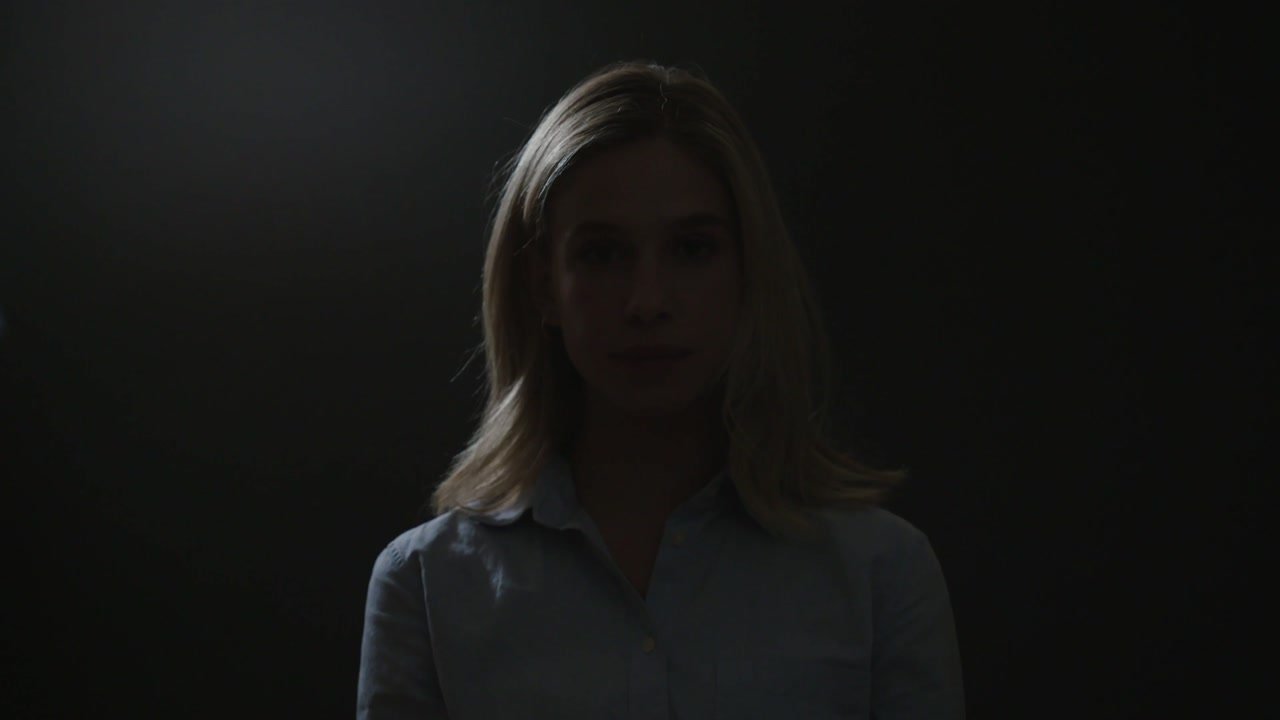
You can see that it gives Leigh a ring of light that helps to distinguish her from the background. The key light and the backlight should meet at about a 180 degree angle. In the video, you can see this when Leigh turns her head (1:01-1:10).
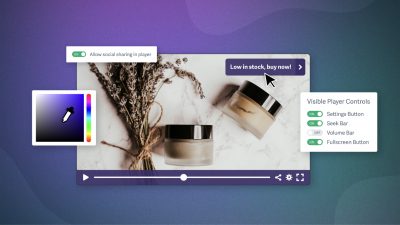
Once your backlight is in place, you can add a background light. You have options depending on the look you’re going for. You can add two background lights to brighten the background evenly, or just one to add a vignette around the edges. Again, work with your setup until you get the look and feel you’re going for in your video.
Filling in the Shadows
Once your key light and backlight are in place, you will be able to identify the areas on your subject’s face that need a bit more light. The idea is to offset the shadows on their face, which allows the camera to capture more detail. In turn, this will give you a more flattering result.
In this setup, we are actually using two different light sources for this purpose: a silk and a reflector. The silk is directly in front of Leigh, and bounces the light emitted from a small light positioned out of frame to her left up onto Leigh’s face. This opens up the shadows under her nose and chin.
In the center of the photo below, you can see the light pointing straight at the illuminated silk square in front of Leigh:
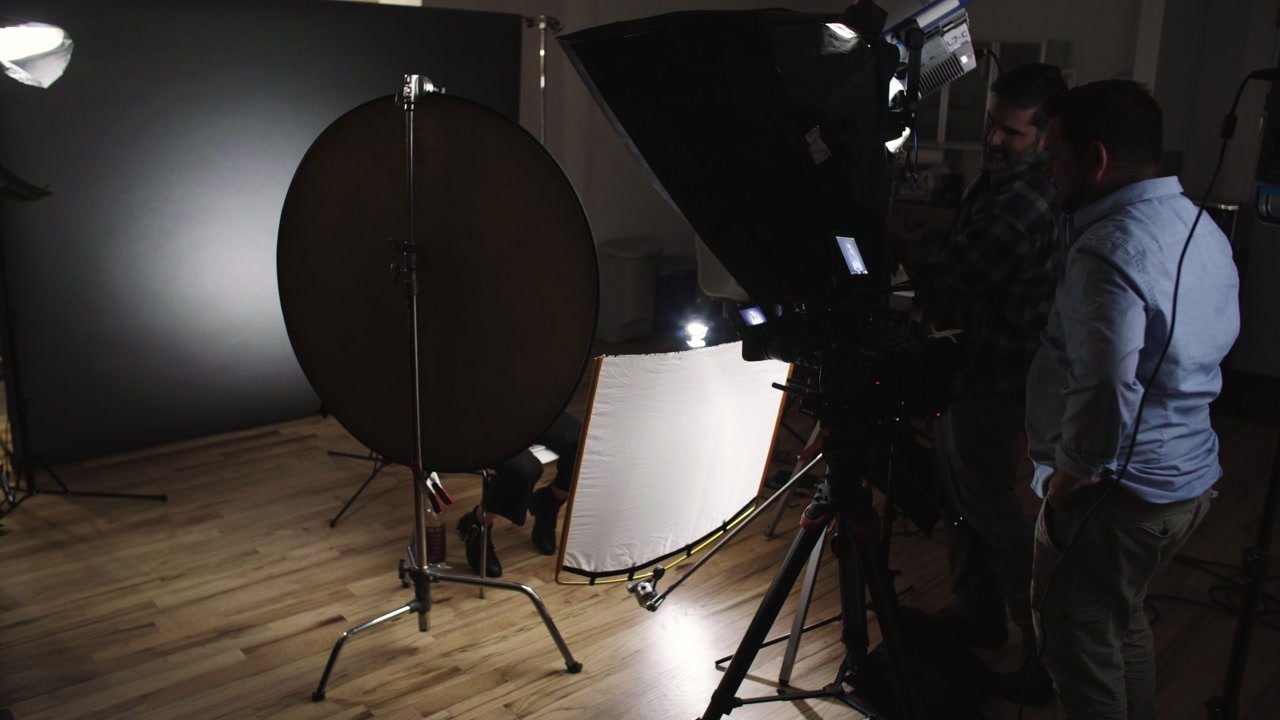
The light bounces off the silk, and softly fills in shadows on Leigh’s face.
Adding a Reflector
We’re also using a reflector to open the side shadows. The reflector is the large circular object blocking our view of Leigh in the image above.
The reflector allows our key light to work in two ways. The key light not only lights the key side of Leigh’s face, it also fills in the shadow side by bouncing off that reflector. We can adjust the intensity of these two lights by gently panning the key light to and from that fill reflector.
Once you learn how to use diffusion and the reflector, you don’t need a lot of lights for a really good looking studio lighting setup.
Be sure to catch the rest of our How To Video series. In the next episode, we’ll tackle indoor environmental lighting. You’ll learn to mix studio lighting with the natural lighting of the room.
Thanks for tuning in, and be sure to let us know if you have any questions in the comments below or by tweeting us @sproutvideo.