In an ideal world, your budget for making a video will always include plenty of resources to hire a talented producer to oversee all aspects of your shoot’s planning, execution, and the final editing process. I don’t know about you, but sadly, that’s not the world we live in! Here’s an in-depth look at best practices for managing the entirety of the video production process, giving you a failsafe action plan and thorough checklists for when you have to do it yourself.
Understand the Scope of Video Production
Video production is a vague term since there are so many ways to produce a video these days. The general process consists of conceptualizing a video, hiring and managing your film crew, coordinating shoot locations, renting or acquiring equipment, hiring and coaching actors, scriptwriting, filming, editing, and publishing the final product. Phew.
Sometimes, all of that is handled by just one person. Regardless of the size of your team, it’s important to think through every step of the process, and assign clear responsibilities to each person contributing to the project. Asana has a great name for that person – the DRI, or Directly Responsible Individual.
We’re going to breakdown each of those elements and walk you through exactly what needs to be done at every step of the way, with handy checklists you can use to stay organized down the road.
Conceptualizing the Video
Start things off on the right foot by thoroughly thinking through all aspects of what you want to achieve with this video project. That means starting with the ultimate goals you are targeting, defined by measurable criteria for success, and working your way backwards.
For example, an internal video communication to your employees could be measured by the level of engagement you achieve with it, because that would indicate your colleagues actually watched it all the way through, meaning your message was received. A product announcement video could be considered a success if it was shared widely on social media, and increased traffic to your product landing page. An explainer video on the homepage of your website should improve your onsite SEO, and drive conversions or qualified leads.
Once you have your goals clearly defined, you can work backwards to figure out the best approach to take for creating the video and distributing it. Start with the message you want to get across, then the tone, the action, the location, the talent you’ll need, and then move onto the script. You can even storyboard your video to make the visual aspects more tangible, which can help you think through any equipment or props needed as well.
Being incredibly detailed at this stage is critical to ensure nothing is overlooked, and will give you a clear path to your end goals.
Checklist:
- What are the goals you will achieve with this video?
- How will you measure success? What metrics will you use specifically?
- What distribution channels are most relevant for your video? Do those channels have any implications for the format or length of your video?
- Do you require privacy tools, social sharing tools, or specific analytics to measure or achieve your goals for this video?
- Do you need a cast or film crew? Who needs to be involved, and what are their exact responsibilities?
- What video, audio, and lighting equipment do you need? How will you obtain it, if you don’t have it already?
- Where are you filming? Do you need any specific permissions to do so? What about weatherproofing?
- Can you film everything, or do you need stock footage, motion graphics, or animation for your video?
- Do you need a detailed shot list, meaning a list of all of the different scenes you need to get on camera?
- Do you need any release forms, permits, or licenses for your shoot? You probably do if you’re filming in public spaces, or using drones.
Pre-Shoot Prep
Prepping for your shoot starts well before the actual day. Many of the action items are driven directly by the video conceptualization phase, and need to be checked off before you can roll camera. This stage is much more about project management, and moving parts.
As the person managing the whole video production process, regardless of the size of your team, you need to be organized, with a clear plan for who needs to be doing what, and when and where they need to be doing it.
Creating a detailed schedule in advance that can be shared with your team (or client, or just yourself) will allow you to check for any gaps, and review it for efficiency as well. Take the time to go over every aspect of the plan meticulously to ensure everyone is on the same page.
You’ll also want to come up with plenty of back-ups – meaning everything from a Plan B, to extra batteries, cables, outfits, makeup, and more. If something were to break, be forgotten, or misplaced, would you be able to function without it? If not, find an alternative.
Checklist
- Do you have all the equipment you need, and is it charged up and ready to use?
- Do all participants know where they need to be and the times they need to be there? Are responsibilities for each stage of the process crystal clear?
- Is transportation sorted for your crew, talent, and equipment?
- Are you appropriately prepared for the weather on the day of the shoot?
- Are all contracts, licenses, permits, and release forms in place?
- Did you budget time for necessary but non-shoot-related activities, like eating lunch?
- Are all props packed up and ready to go?
- Do you know what your talent is wearing, and do you have a plan for makeup or hair styling?
Filming the Video
The day of the shoot is typically a high-pressure day. You only have so much time to get all the takes you need, and simple errors can be costly. Hopefully your careful pre-planning, using all our aforementioned tips of course, will help you avoid any day-of disasters.
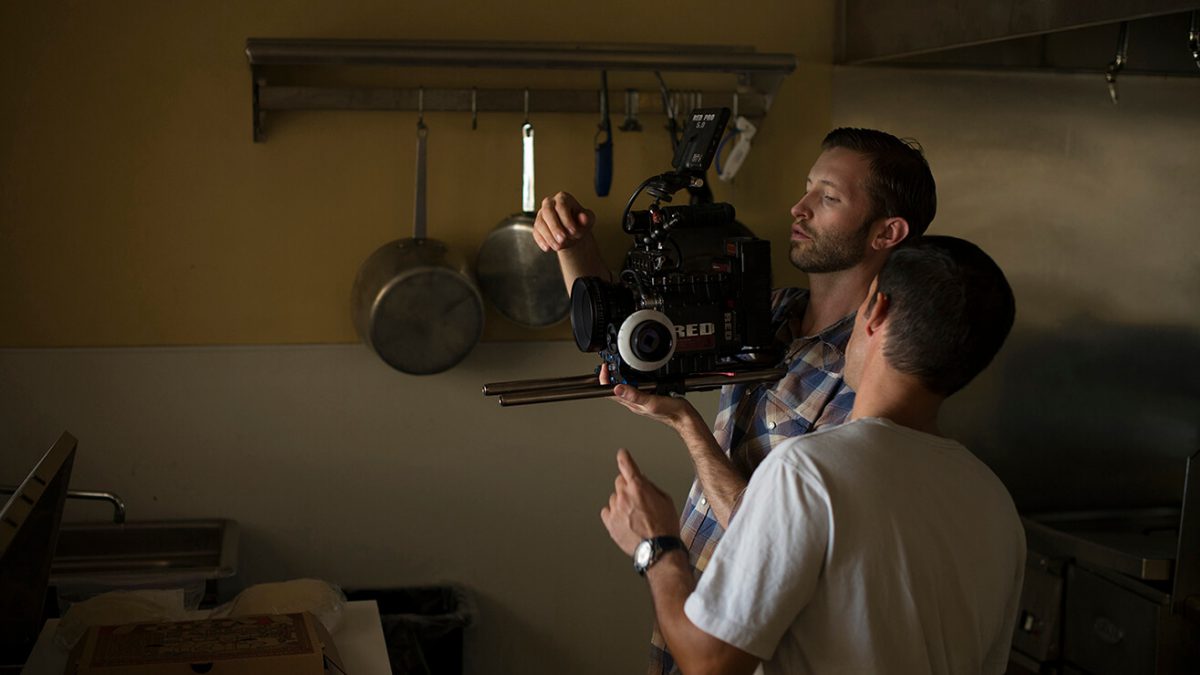
While the prior two phases of video production management were more about meticulous planning and preparation, filming is the artful execution of your well-laid plans. Sticking to the schedule, crossing items off your shot list, and coordinating with your crew is the name of the game.
Sharp attention to detail is still necessary. With each scene you are filming, check the frame to ensure the lighting is right (meaning no harsh shadows, glares, silhouettes, or overexposure), that there are no unwanted elements in view, and check the sound for any hums or noises picked up by your microphones that you might not notice with your naked ears. Being strict about this will prevent footage from being tossed in post-production because of visual or auditory flaws.
You’ll also want to ensure continuity between takes if some scenes are taking place in the same location. Unexpected changes in lighting, time of day, or the weather can all interfere with a viewer’s perception of the scene and leave you with a disjointed end result.
Making a video is ultimately a creative endeavor, so avoid being too rigid if someone goes off script, or something unexpected occurs during the course of filming. Think Bernie Sanders’ moment with the little bird that happily alighted on his podium, to the collective joy of many, regardless of their political affiliation. Adapting and working around obstacles or interruptions is what the creative process is all about.
Taking careful notes throughout the shoot is a really important way to make sure you’ll remember what worked and what didn’t, and to quickly verify if you got everything you needed on camera. It might feel a bit onerous at the time, but organized notes will also speed up the editing process dramatically.
One final trick is to capture much more footage than you think you need. Start rolling before the action starts, and keep rolling after it ends. Try a critical scene a few different ways, rather than assuming you nailed it the first time. Capture plenty of B-Roll footage to help smooth over cuts during the editing process. This is key to achieving a professional result.
Checklist
- For scenes taking place in the same location, is the lighting and context consistent between takes?
- Did you get all the shots you needed? Do you have a plan for those you didn’t get?
- Do you have adequate B-Roll footage?
- Did you pack everything you came with at the end of the day?
- Don’t forget your notes!
Post-Production
Just when you think you got the hard part out of the way, you now have to take all your different clips and splice them and dice them into a cohesive and compelling video.
If you took careful notes during filming, you already have a head start. Ideally, this will allow you to quickly identify and import the clips you want for editing purposes, and to skip the footage you don’t need.
If you didn’t, our hearts go out to you because you’ll probably wind up spending a lot more time scanning through your footage looking for that one point where someone said something important just the way you wanted.
The rest of the process will vary quite a bit depending on the end result you are aiming for, and probably deserves its own detailed blog post. Start with a clearly labeled and organized clip library, and go from there.
Keep any platform-specific requirements that may have been determined during the planning phase top of mind to ensure the end result will conform to any content requirements that might be relevant.
If you are working with a third party for the editing process, it’s critical to share your notes, end goal, plan for distribution, and the look and feel you are going for. Establish the number of times you will be able to review rough cuts, and clear deadlines for every step of the way.
It’s really important to make the absolute best use of your review of rough cuts. Being thorough and getting feedback from all stakeholders is critical to ensure an endless back and forth does not ensue, which can drive up both the cost and time required to produce your video.
Checklist
- If you come back to this project in 6 months, will you be able to identify which clips are which based on their names?
- Will the end result be acceptable on your distribution platform of choice?
- Are the export settings optimized for sharing online?
- Overall, is this the video you had in mind in the beginning of the process? Are you happy with the end result?
Do you have any tips to add? Share them in the comments below!


